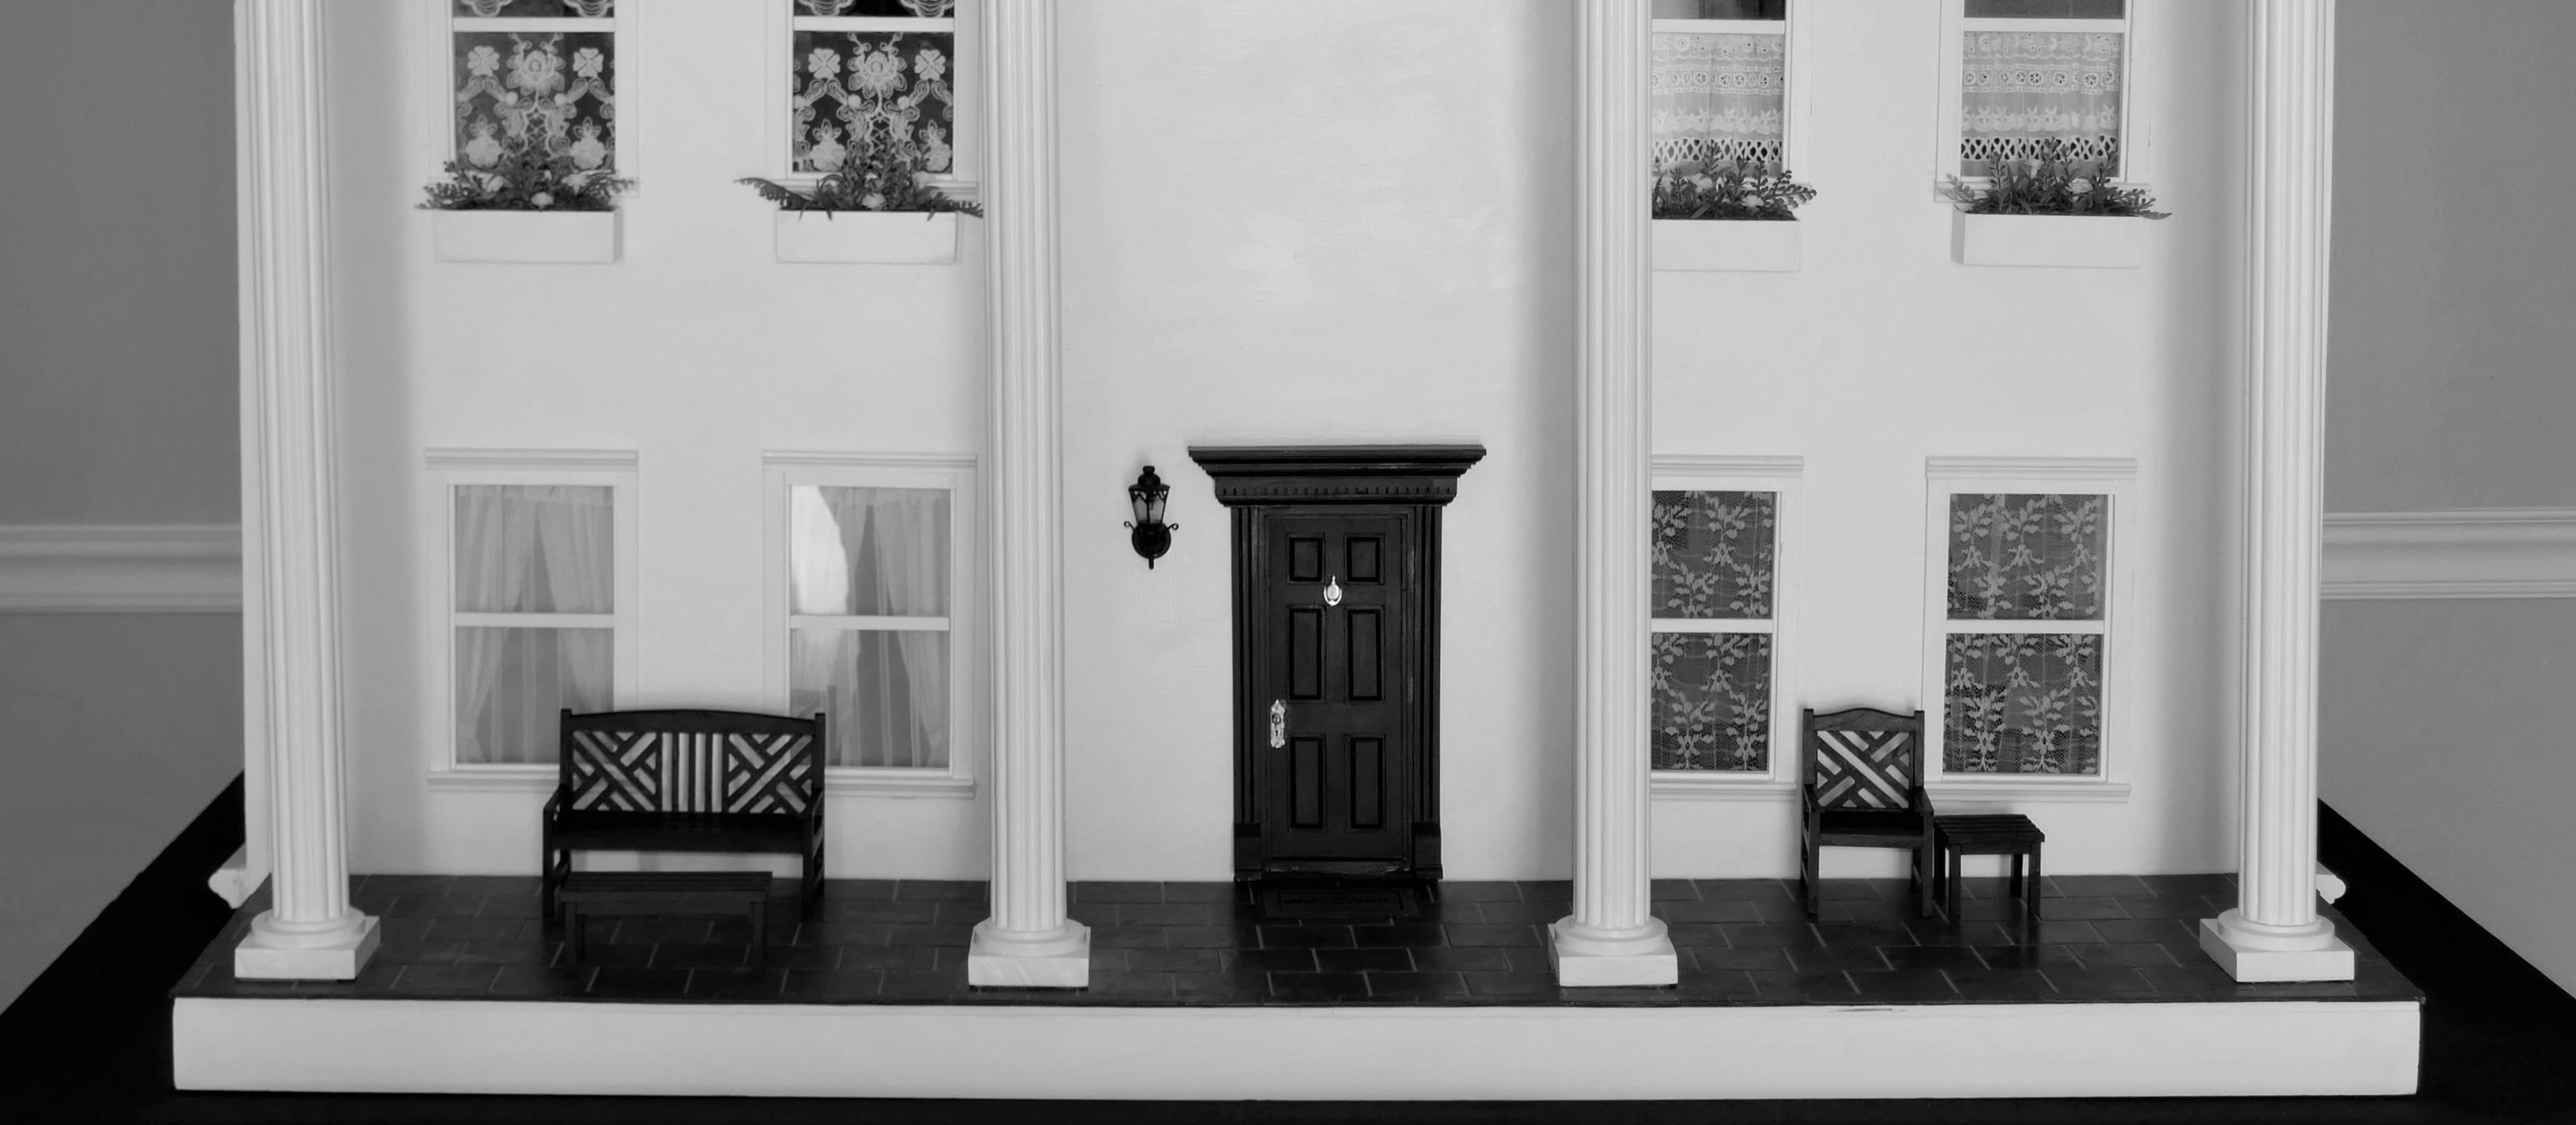
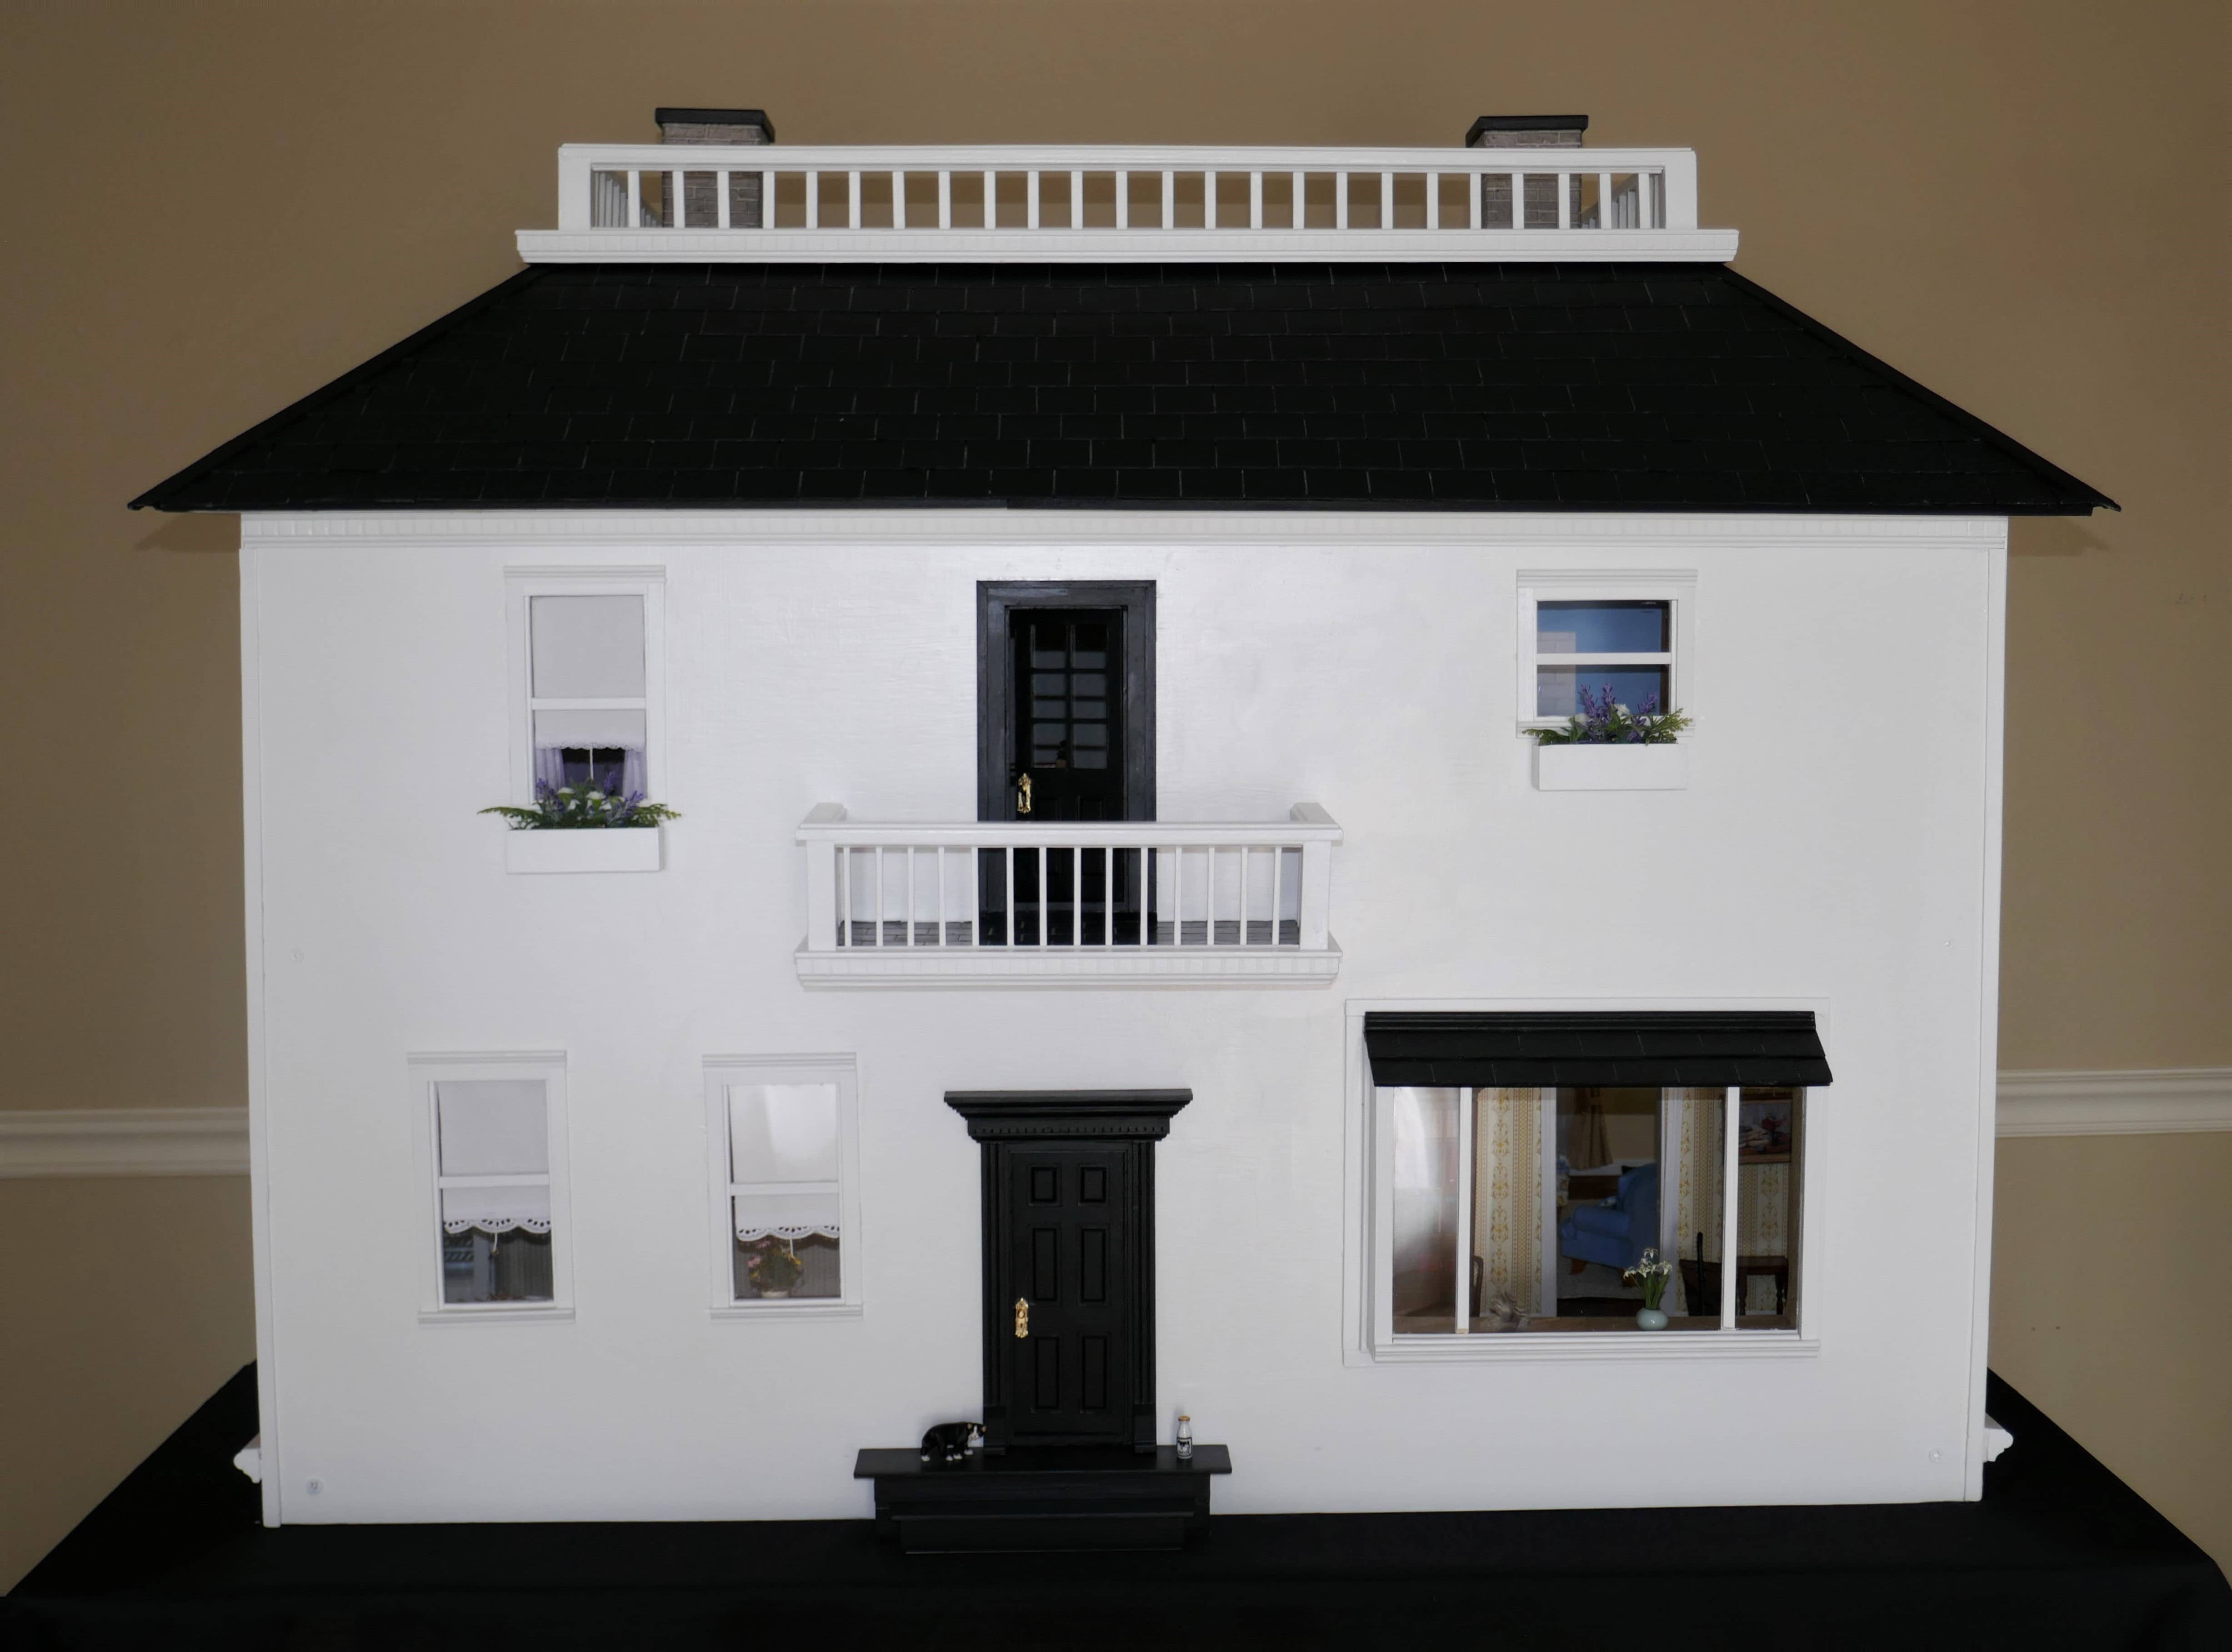
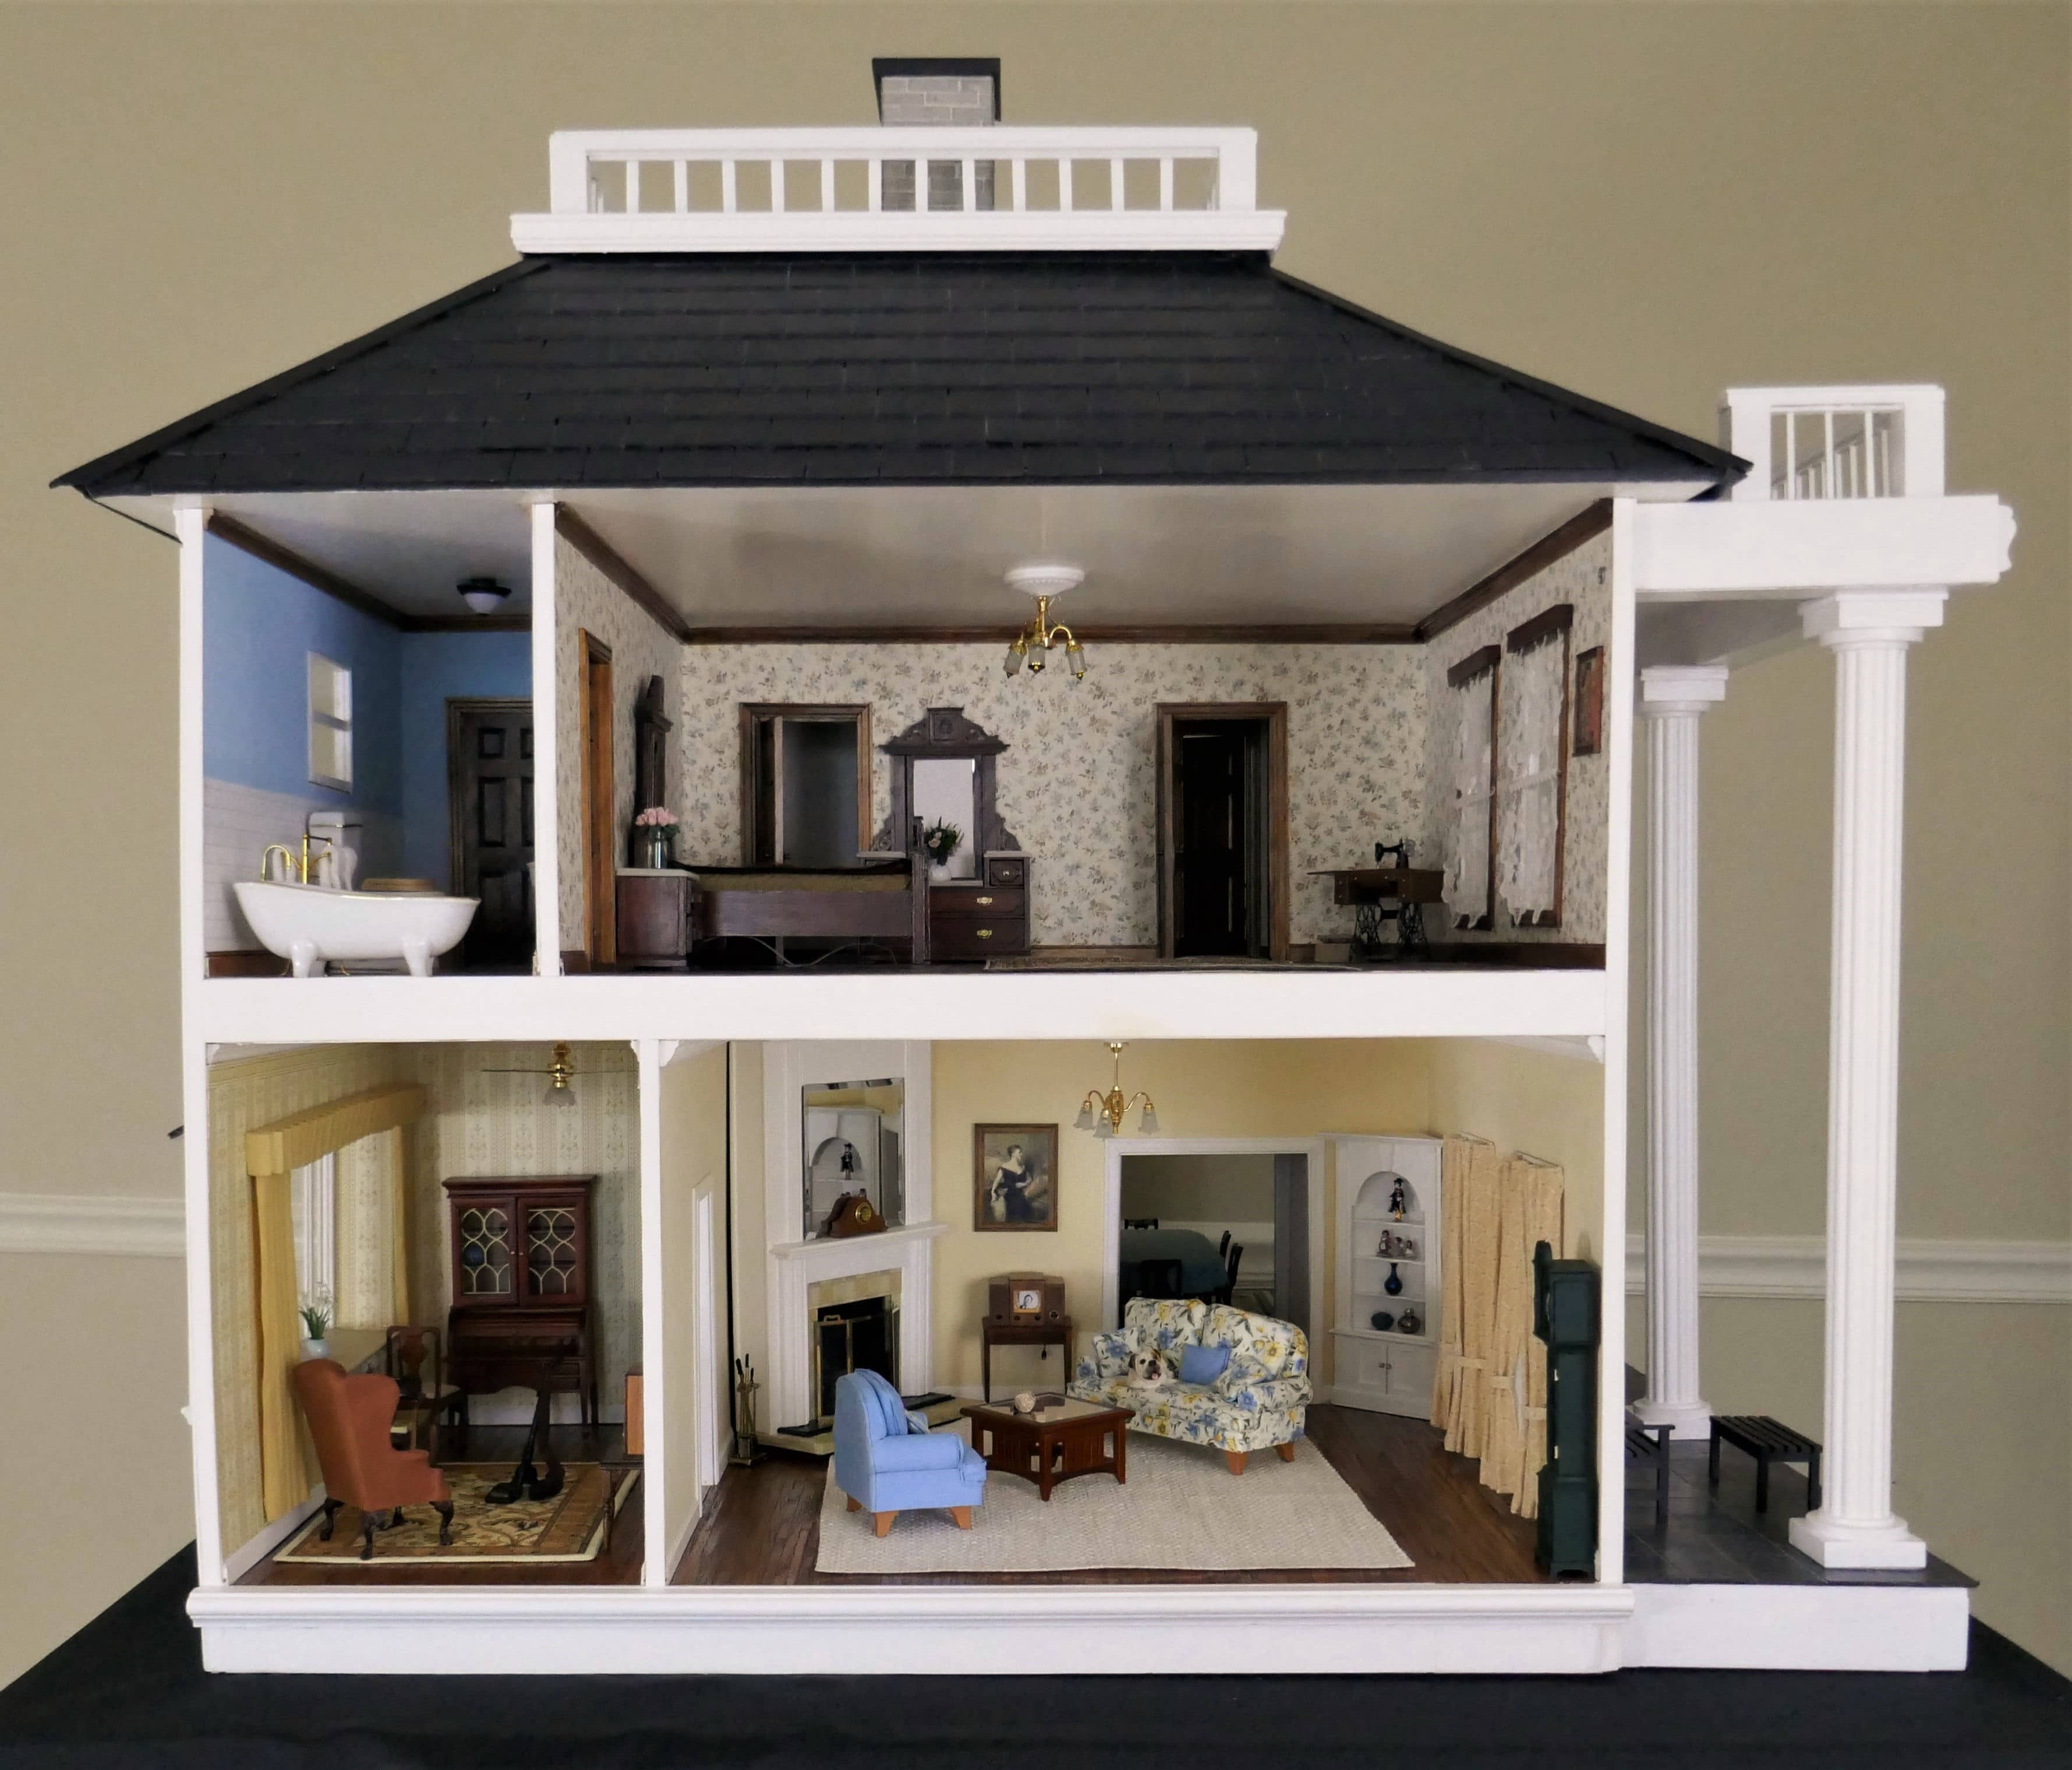
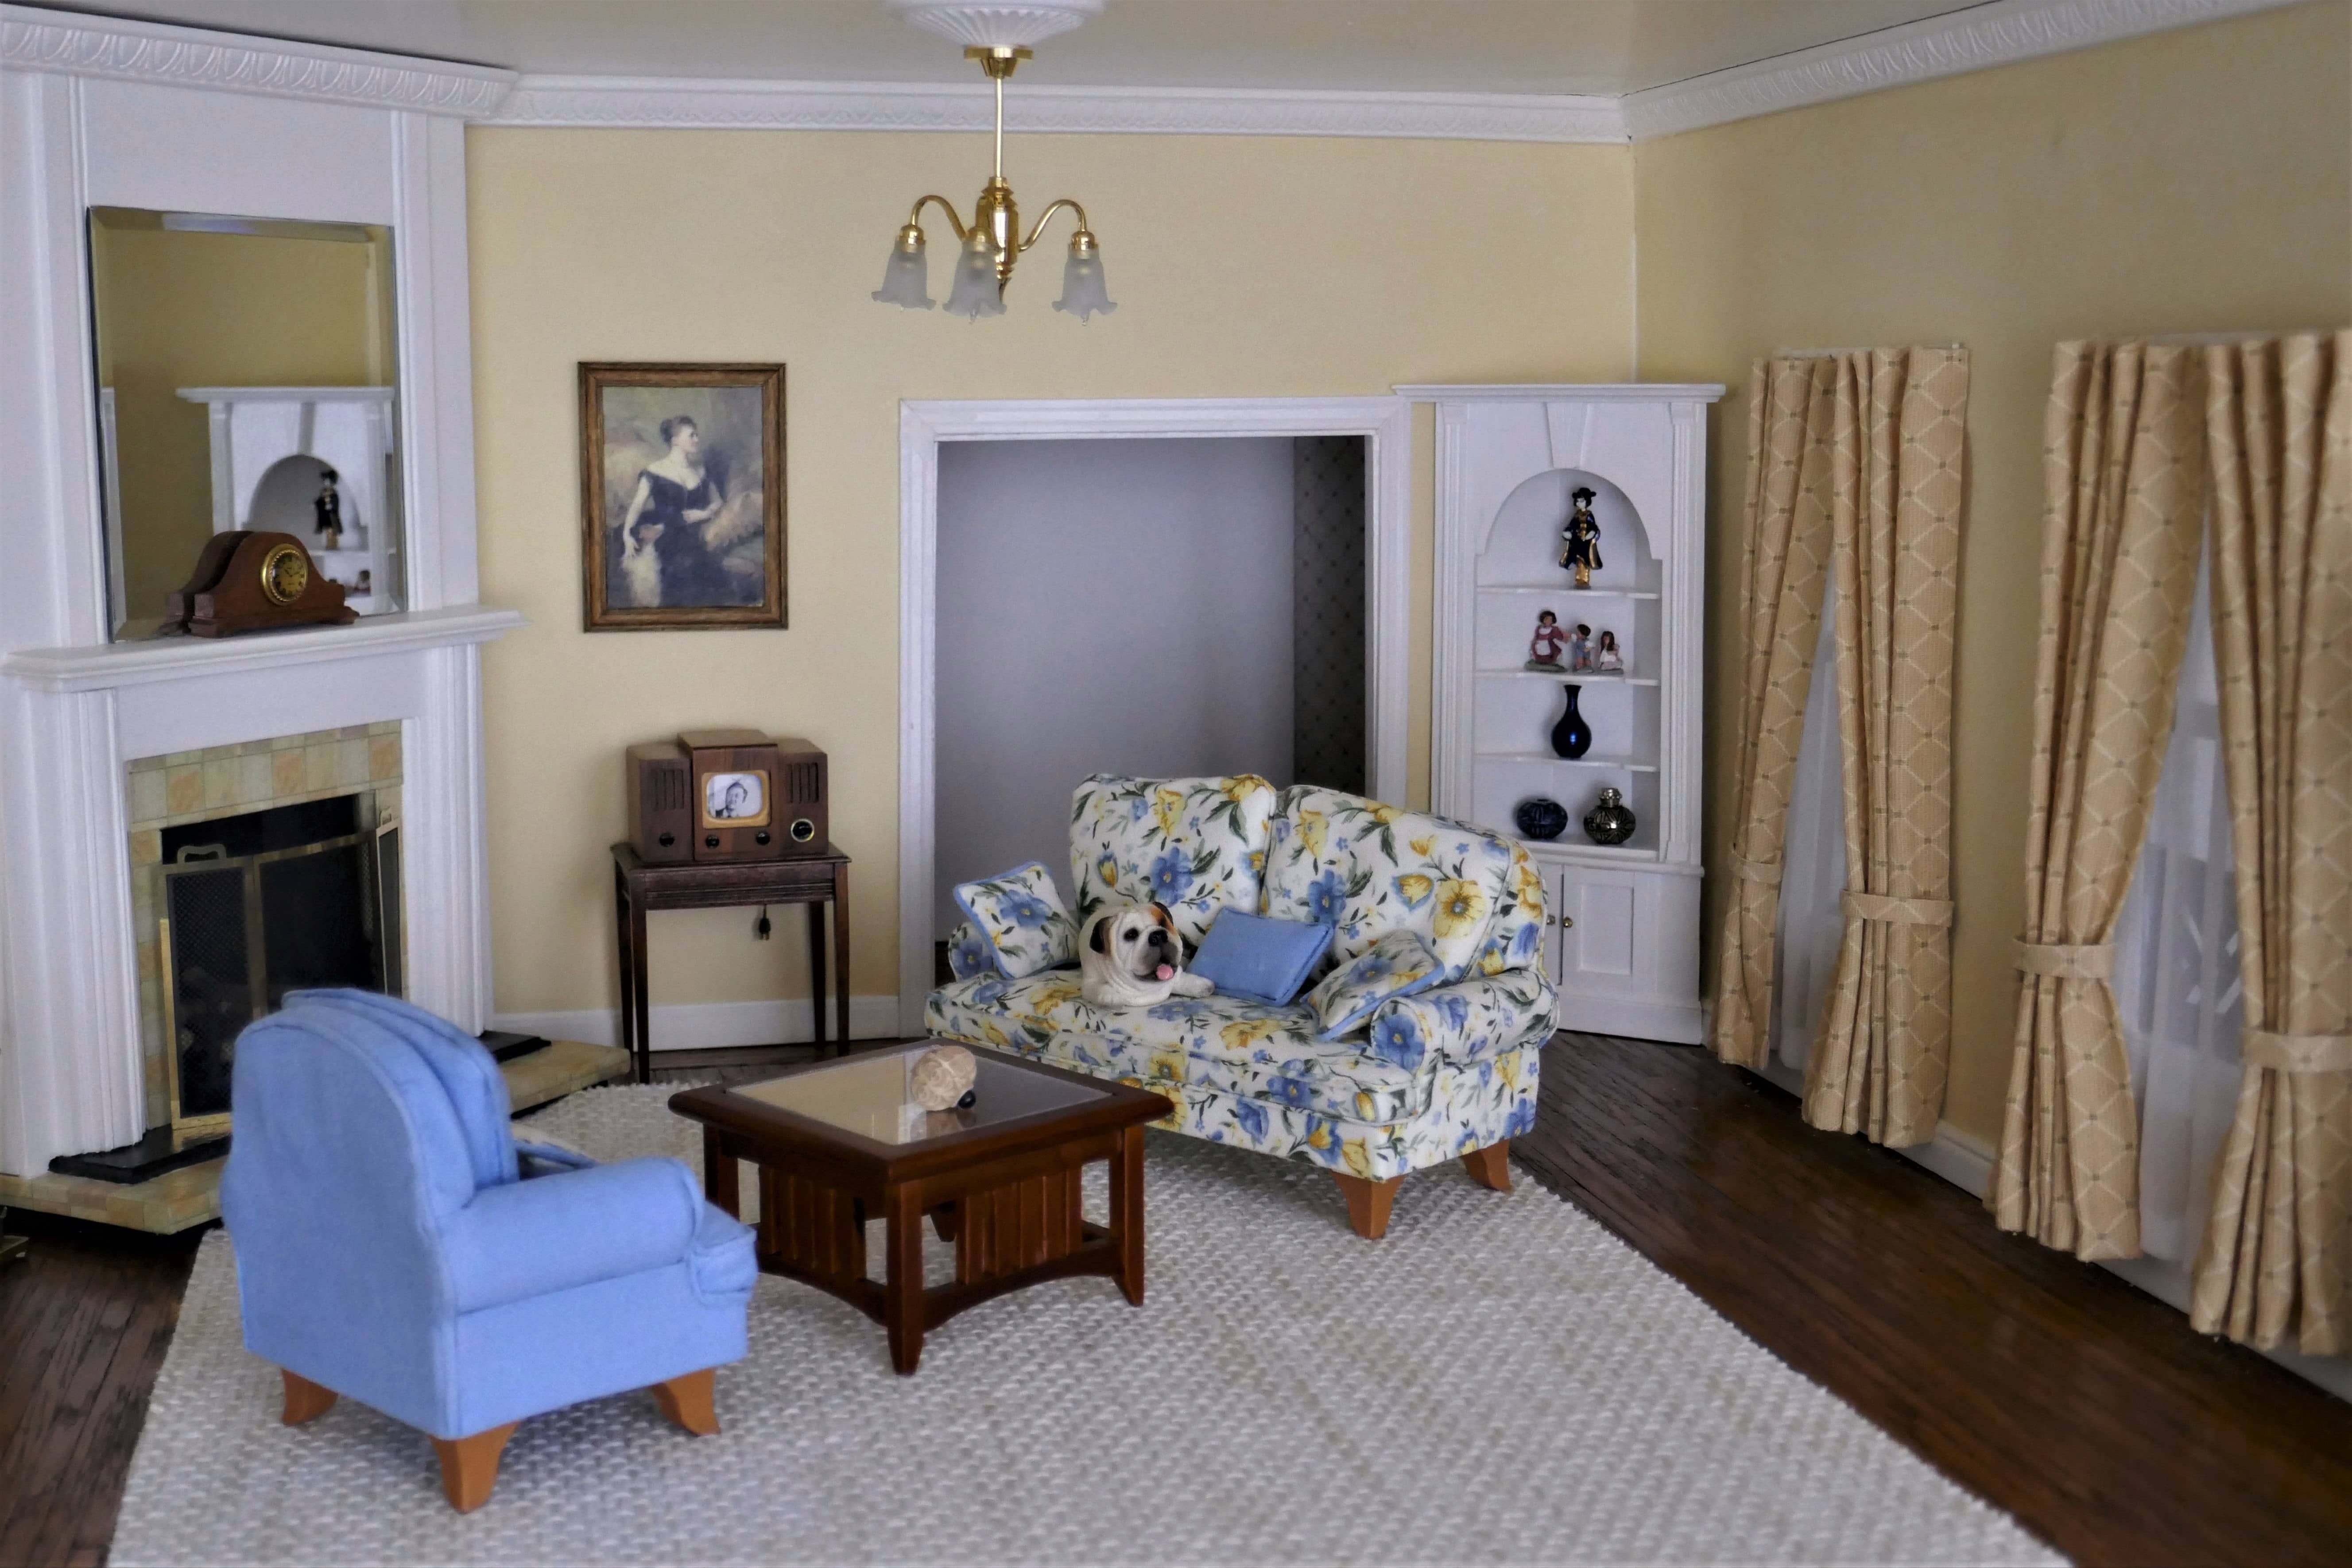
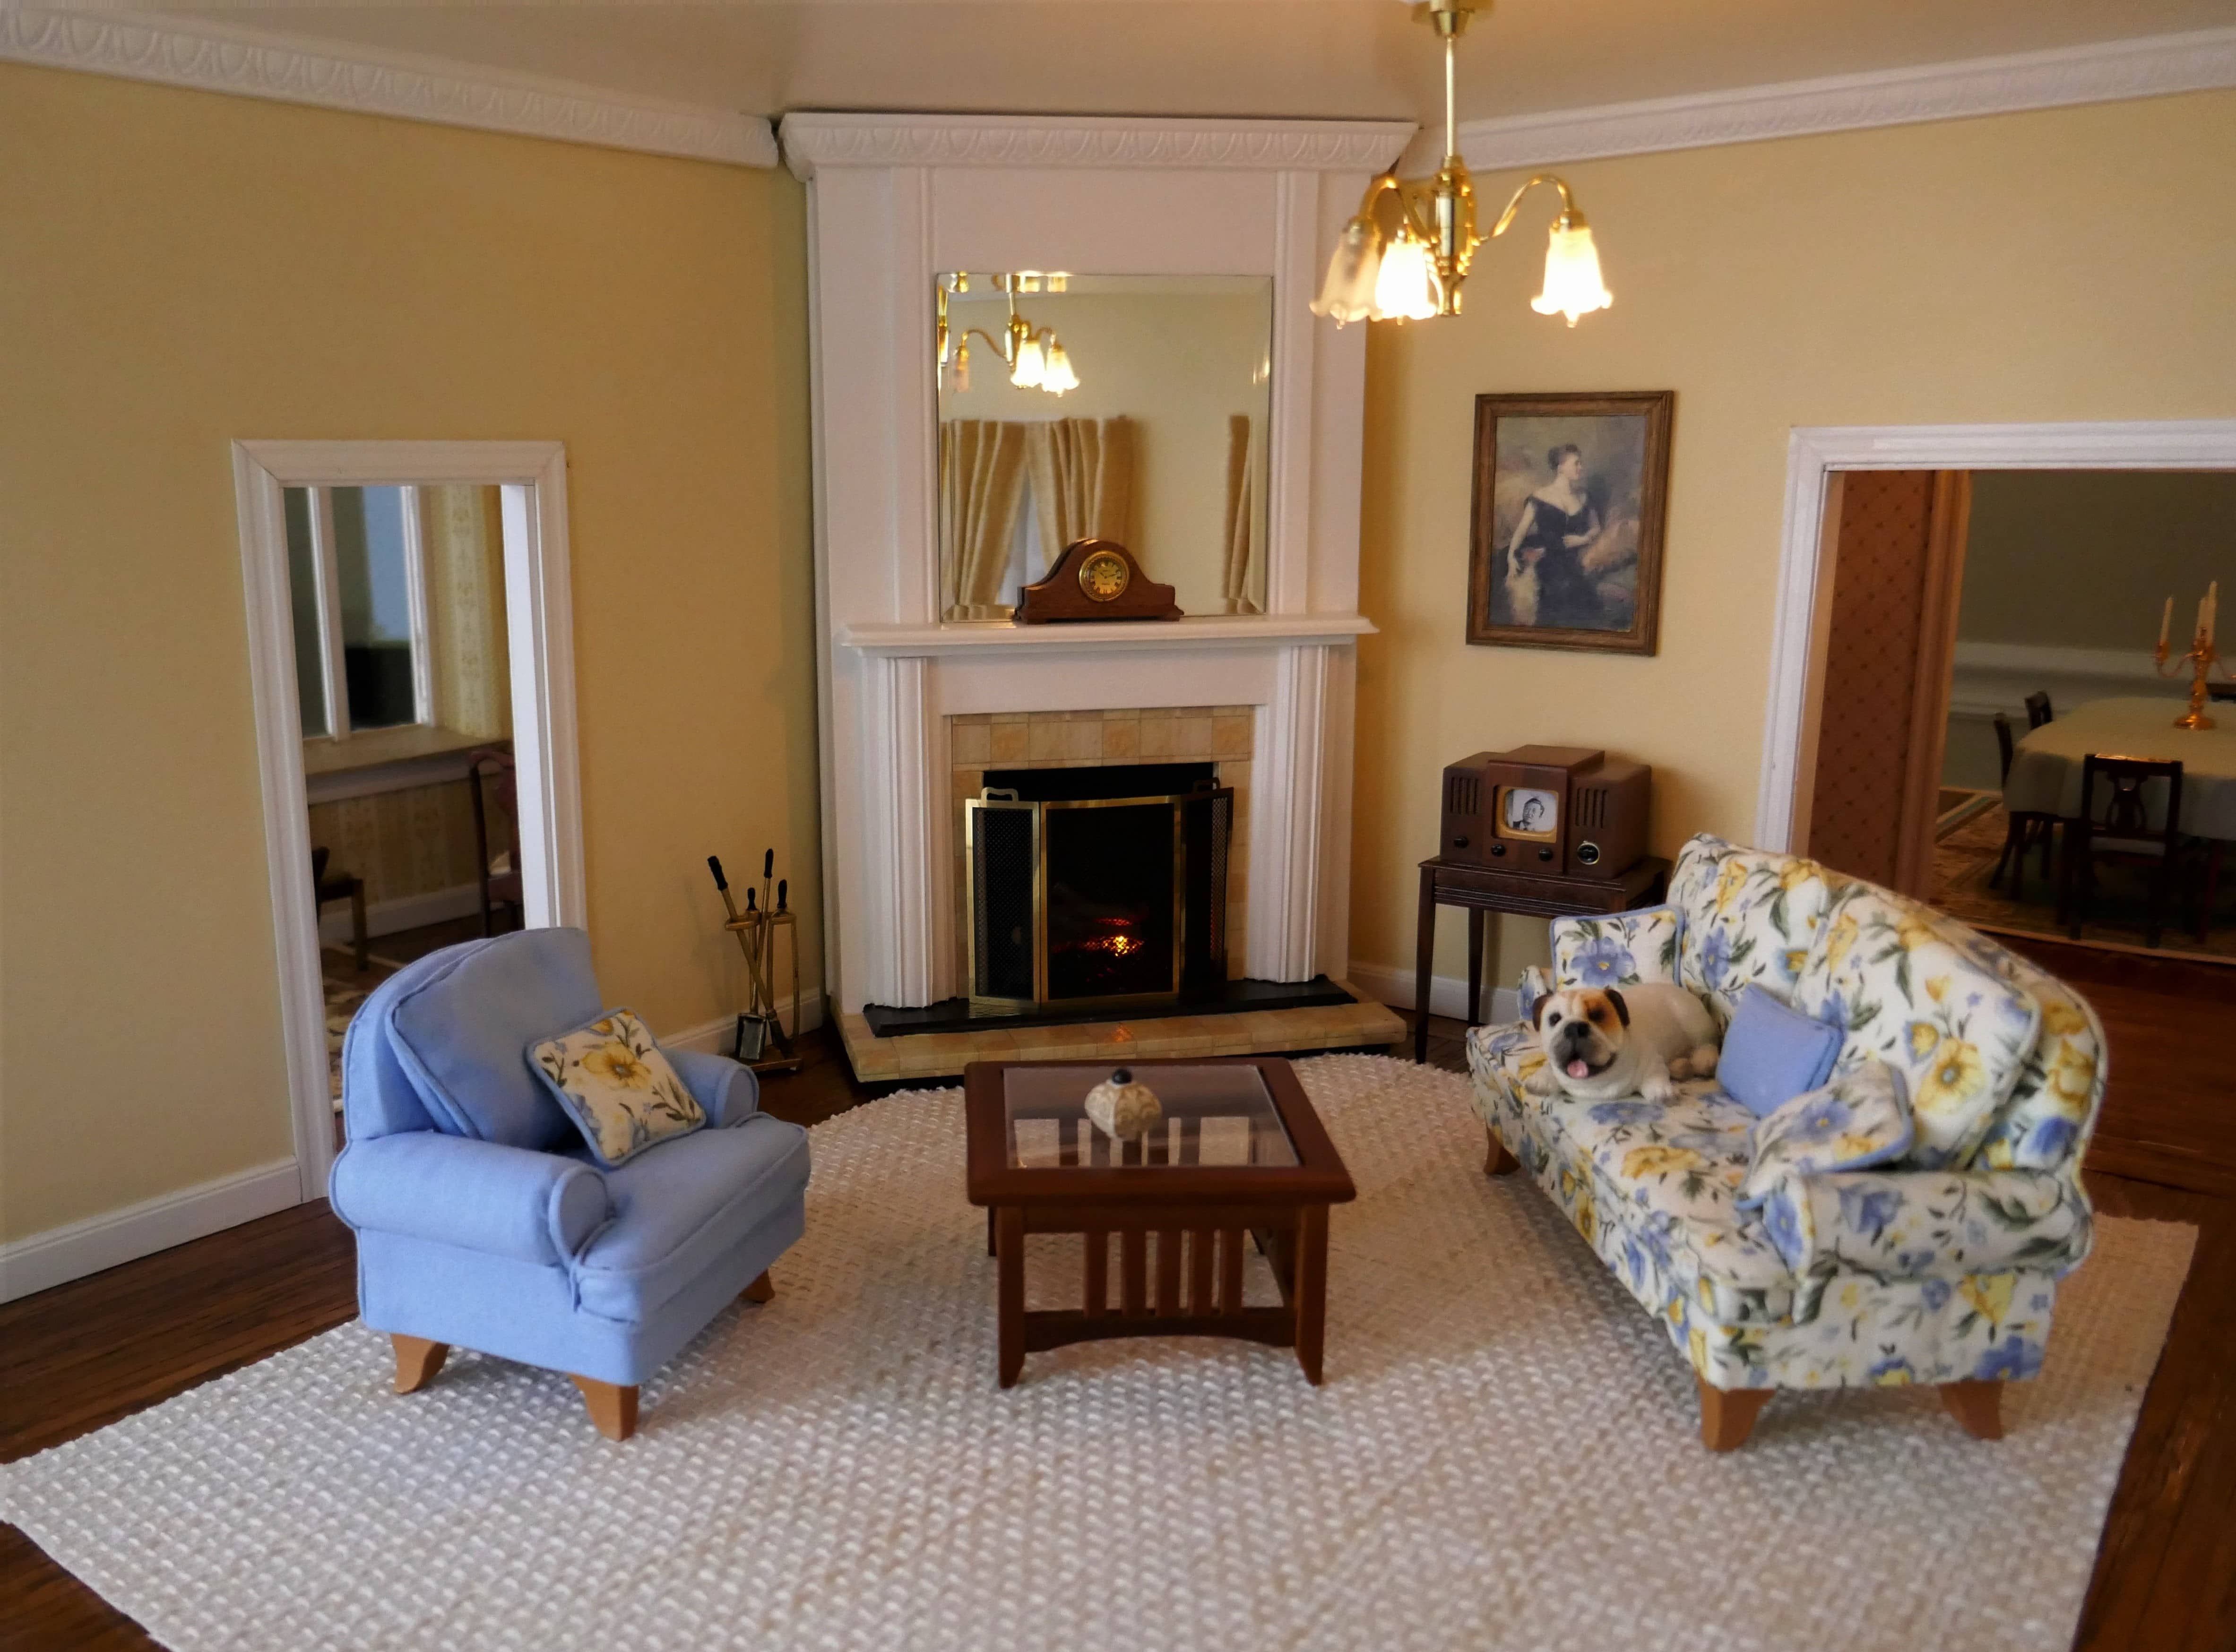
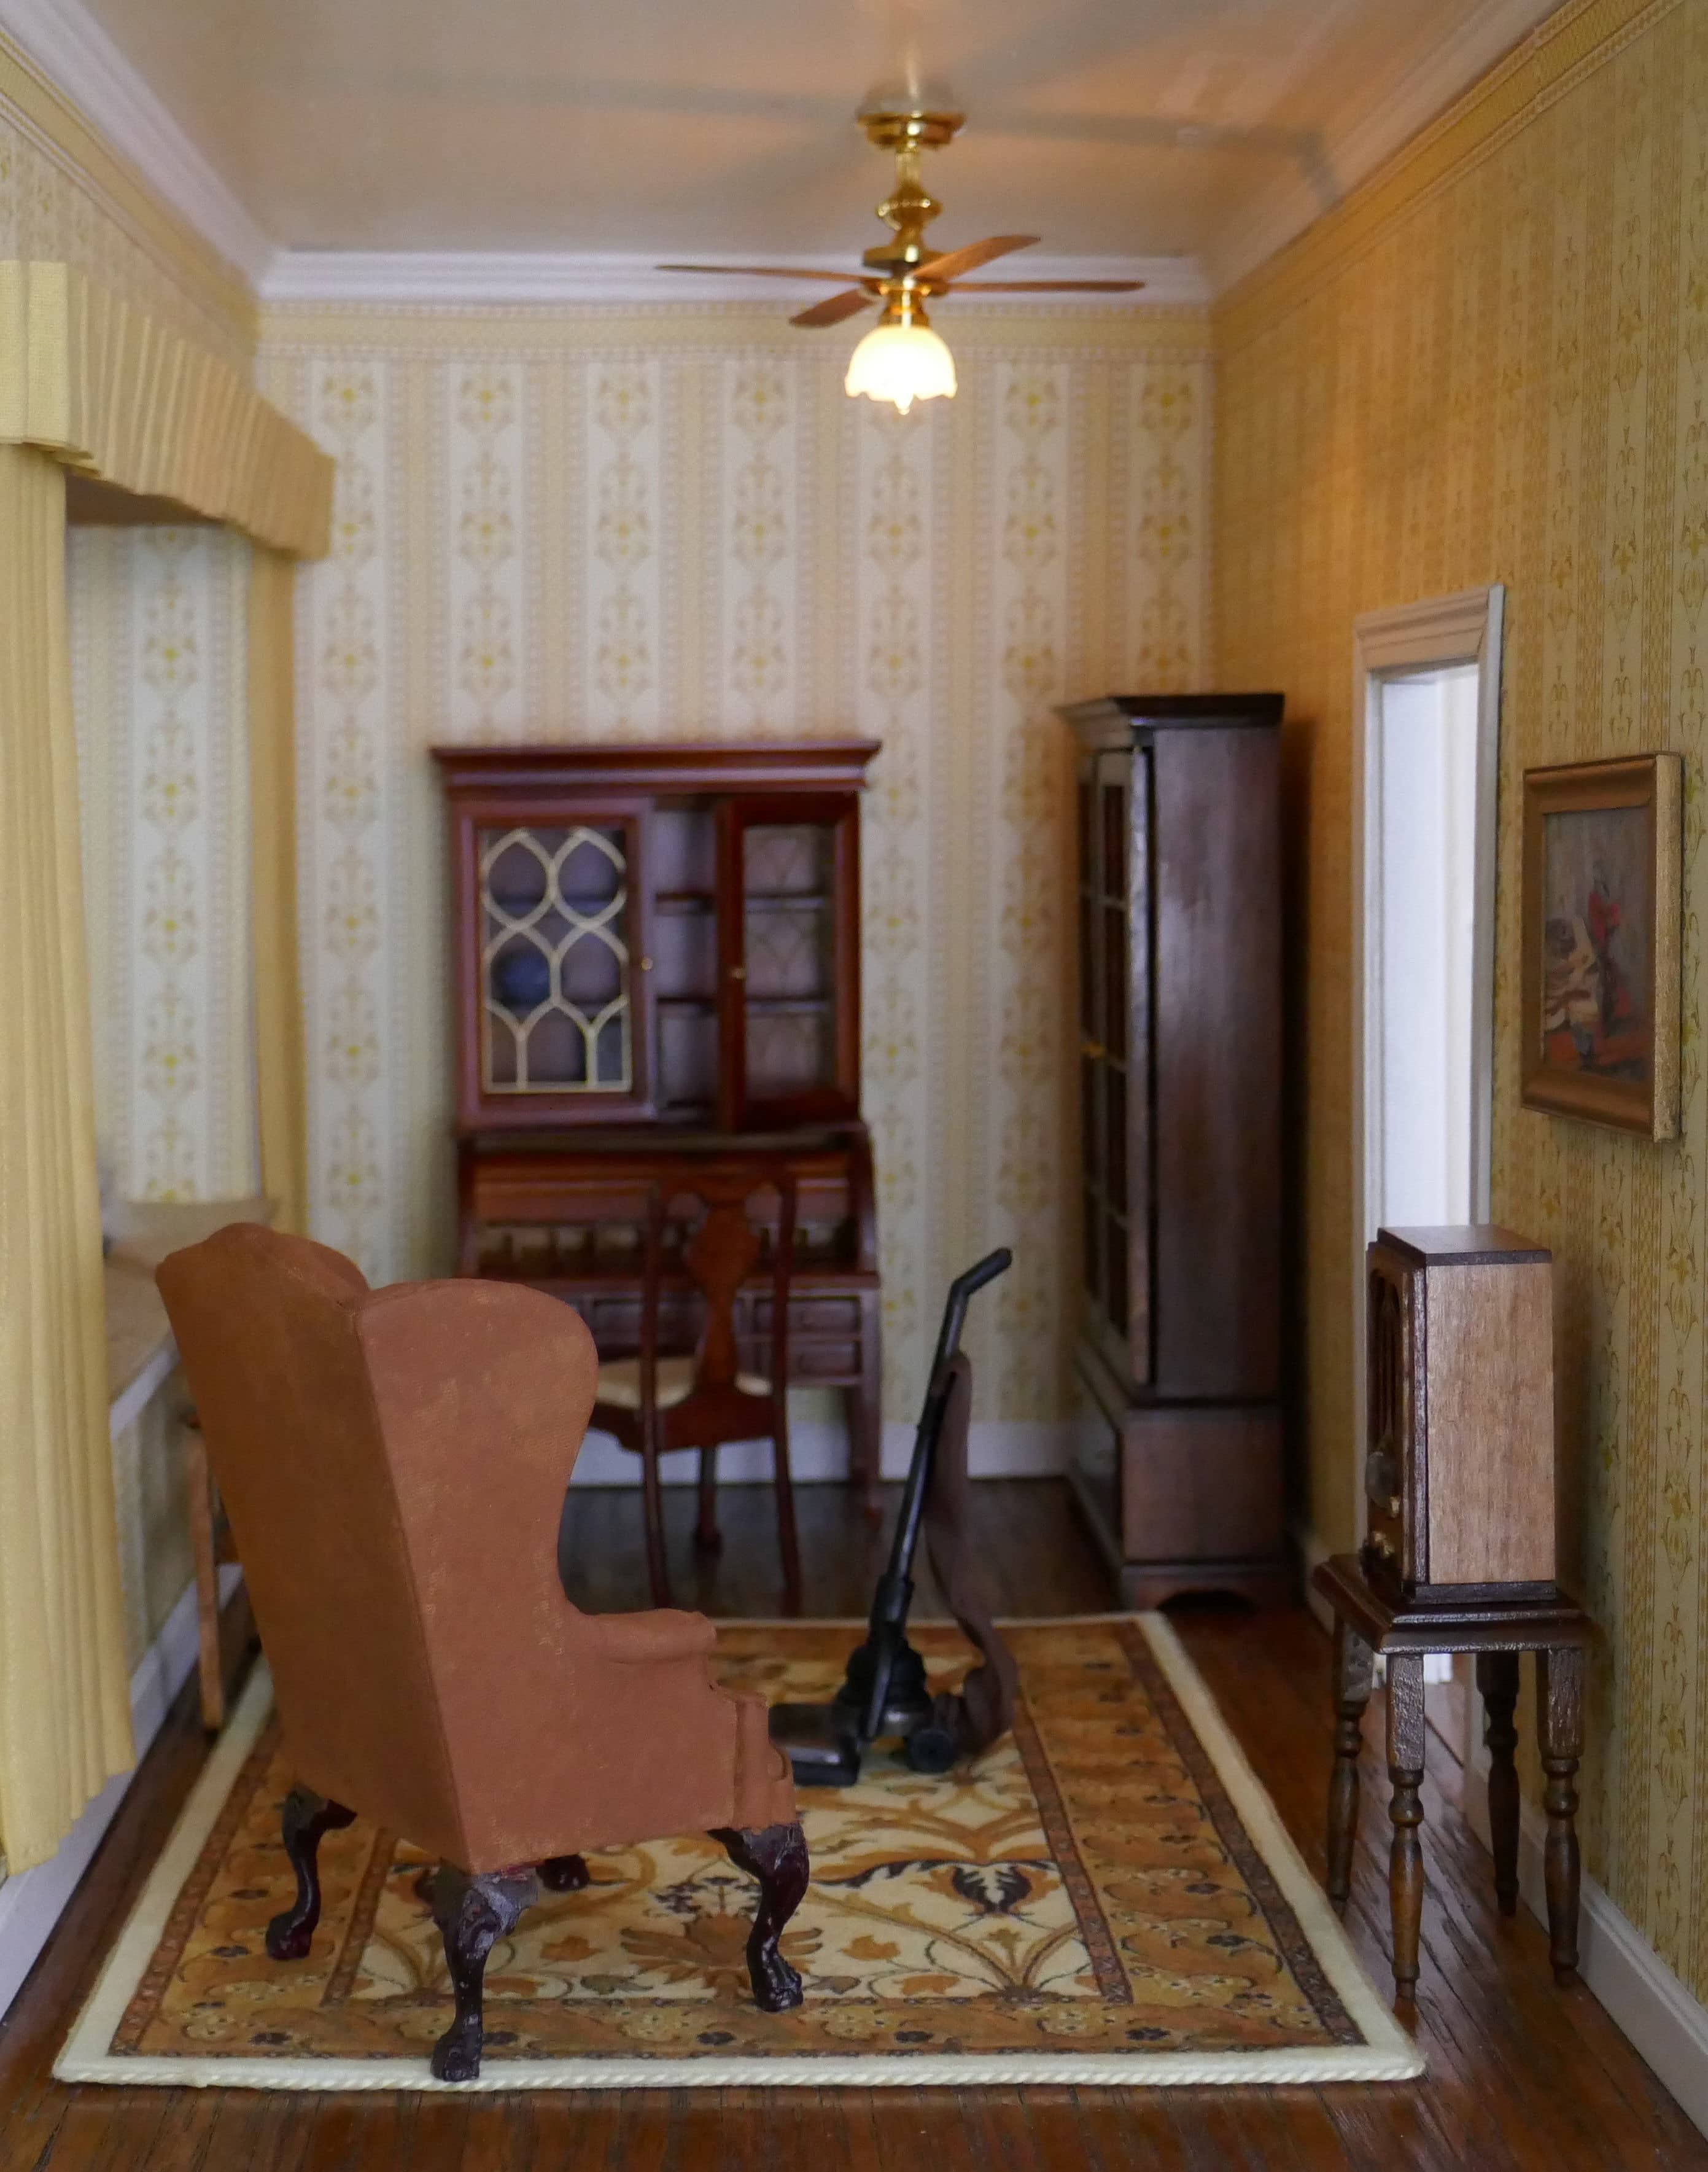
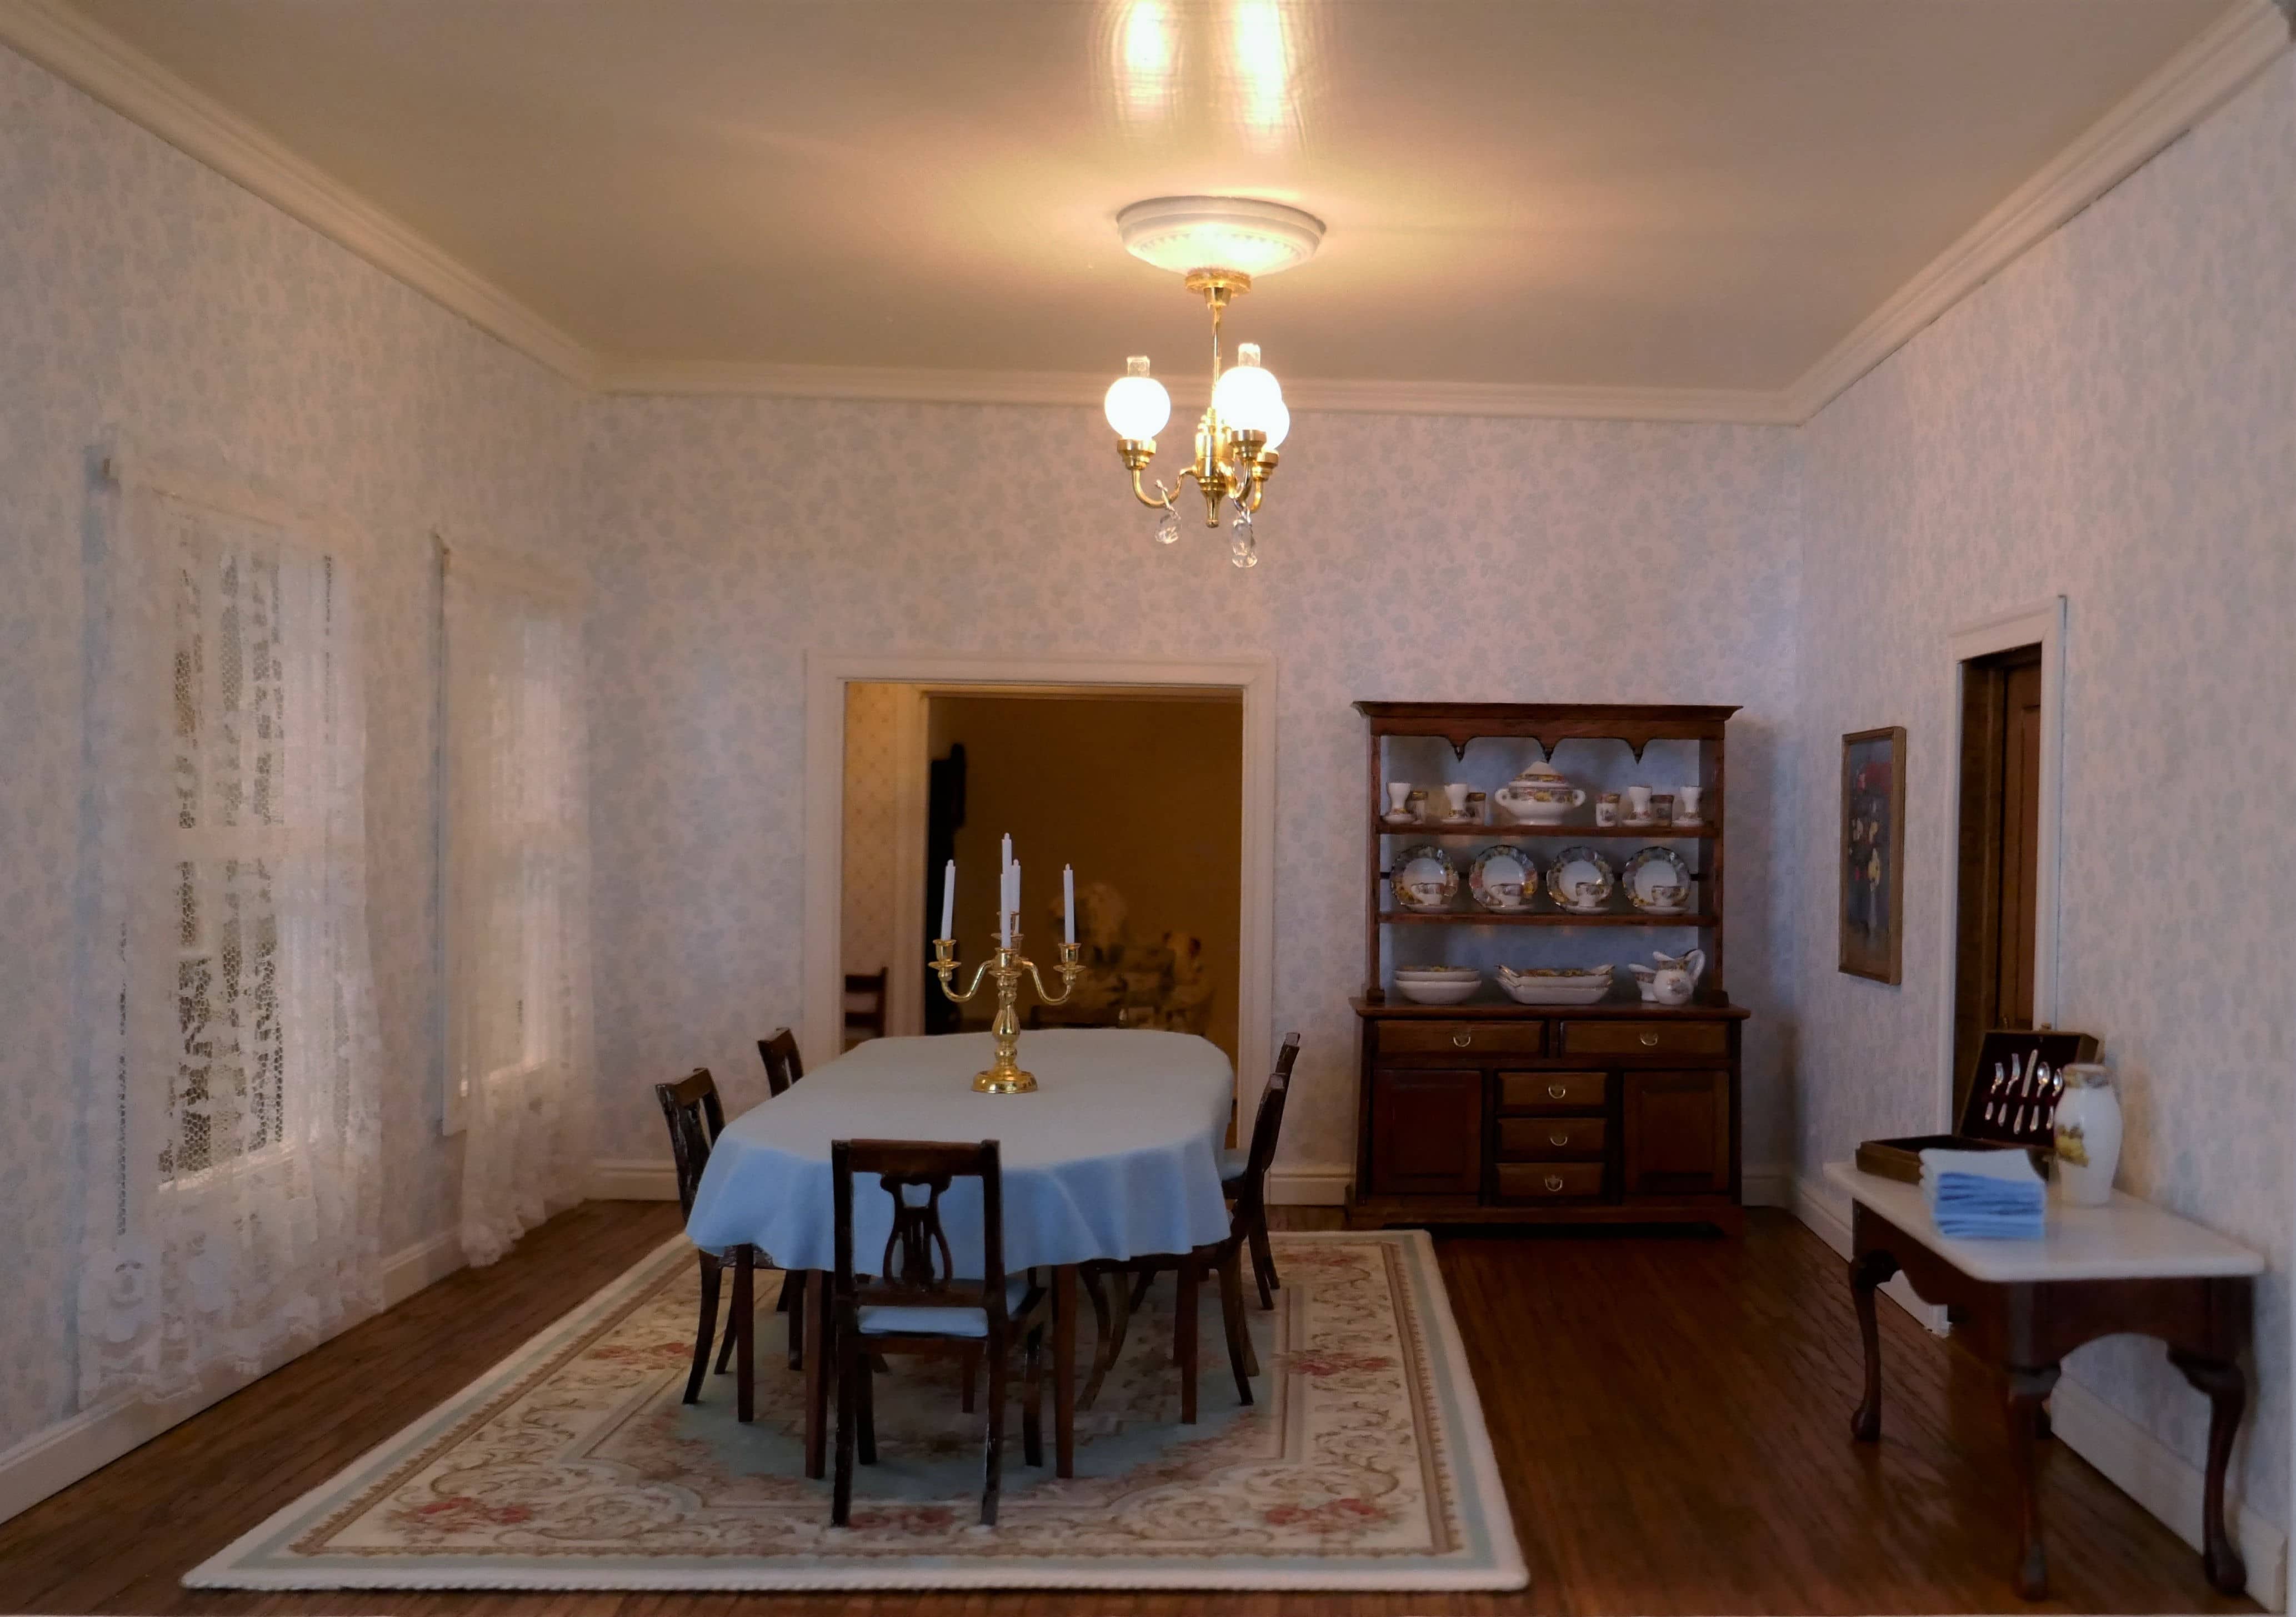
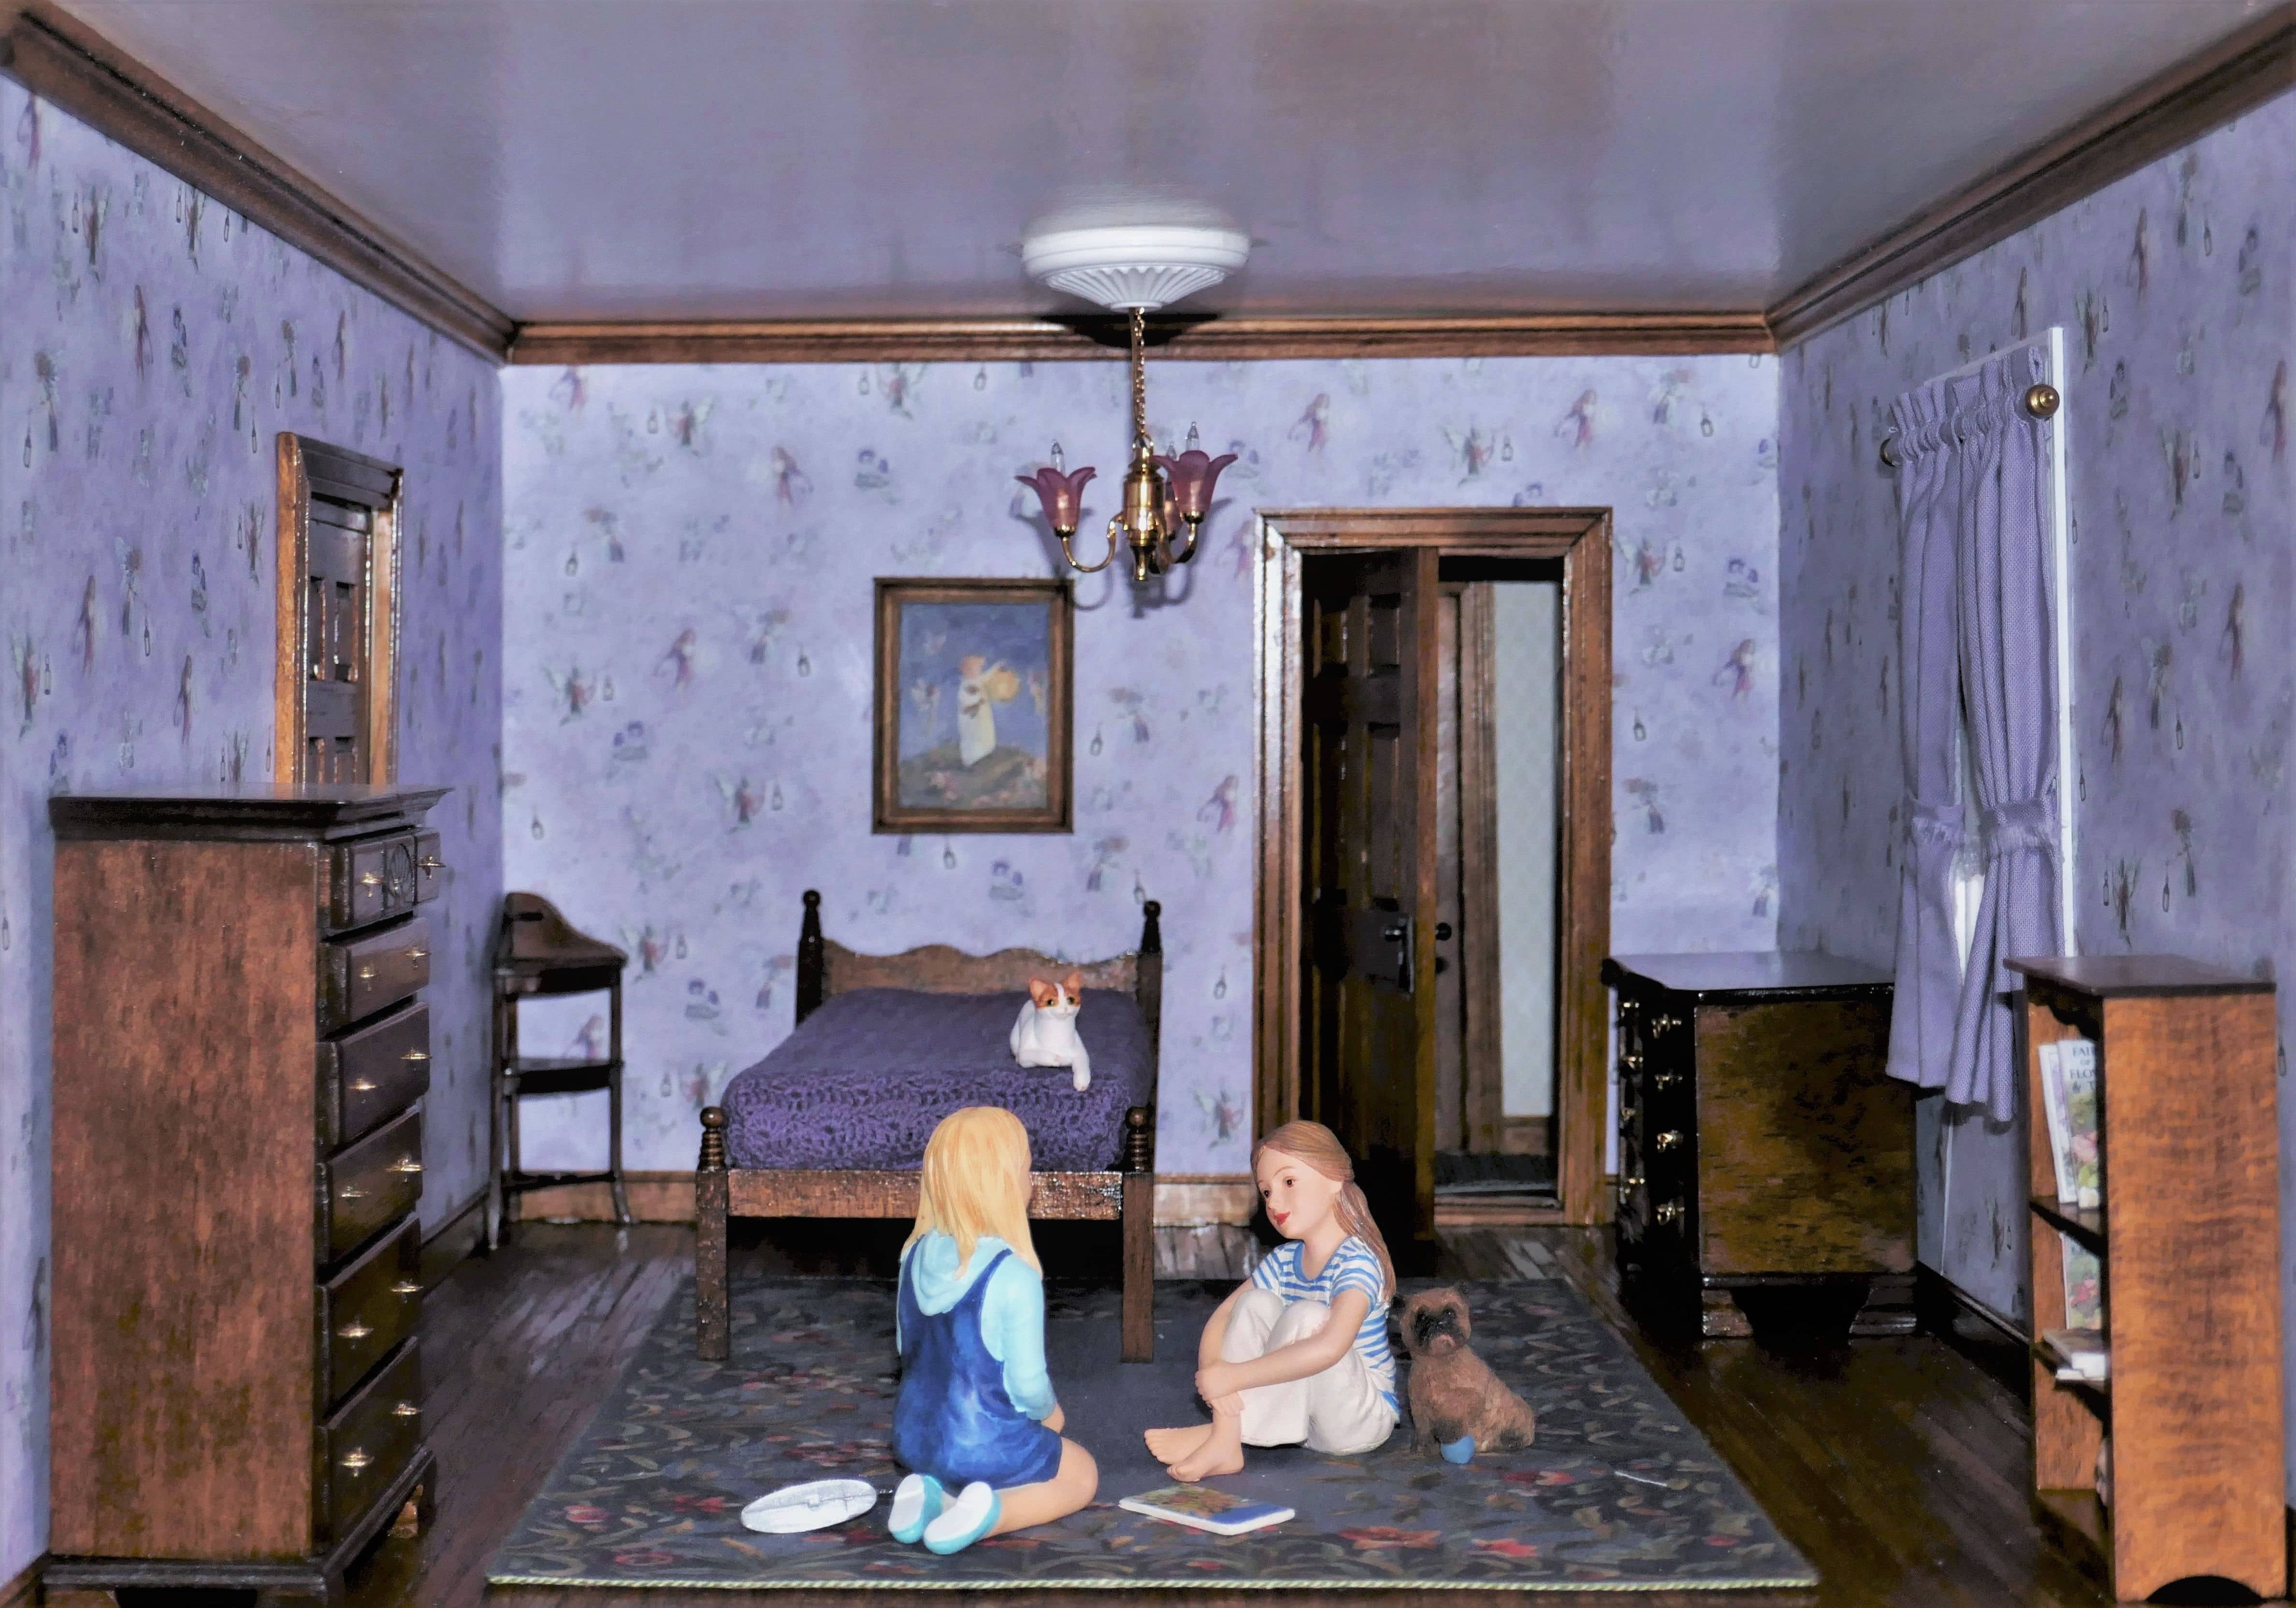
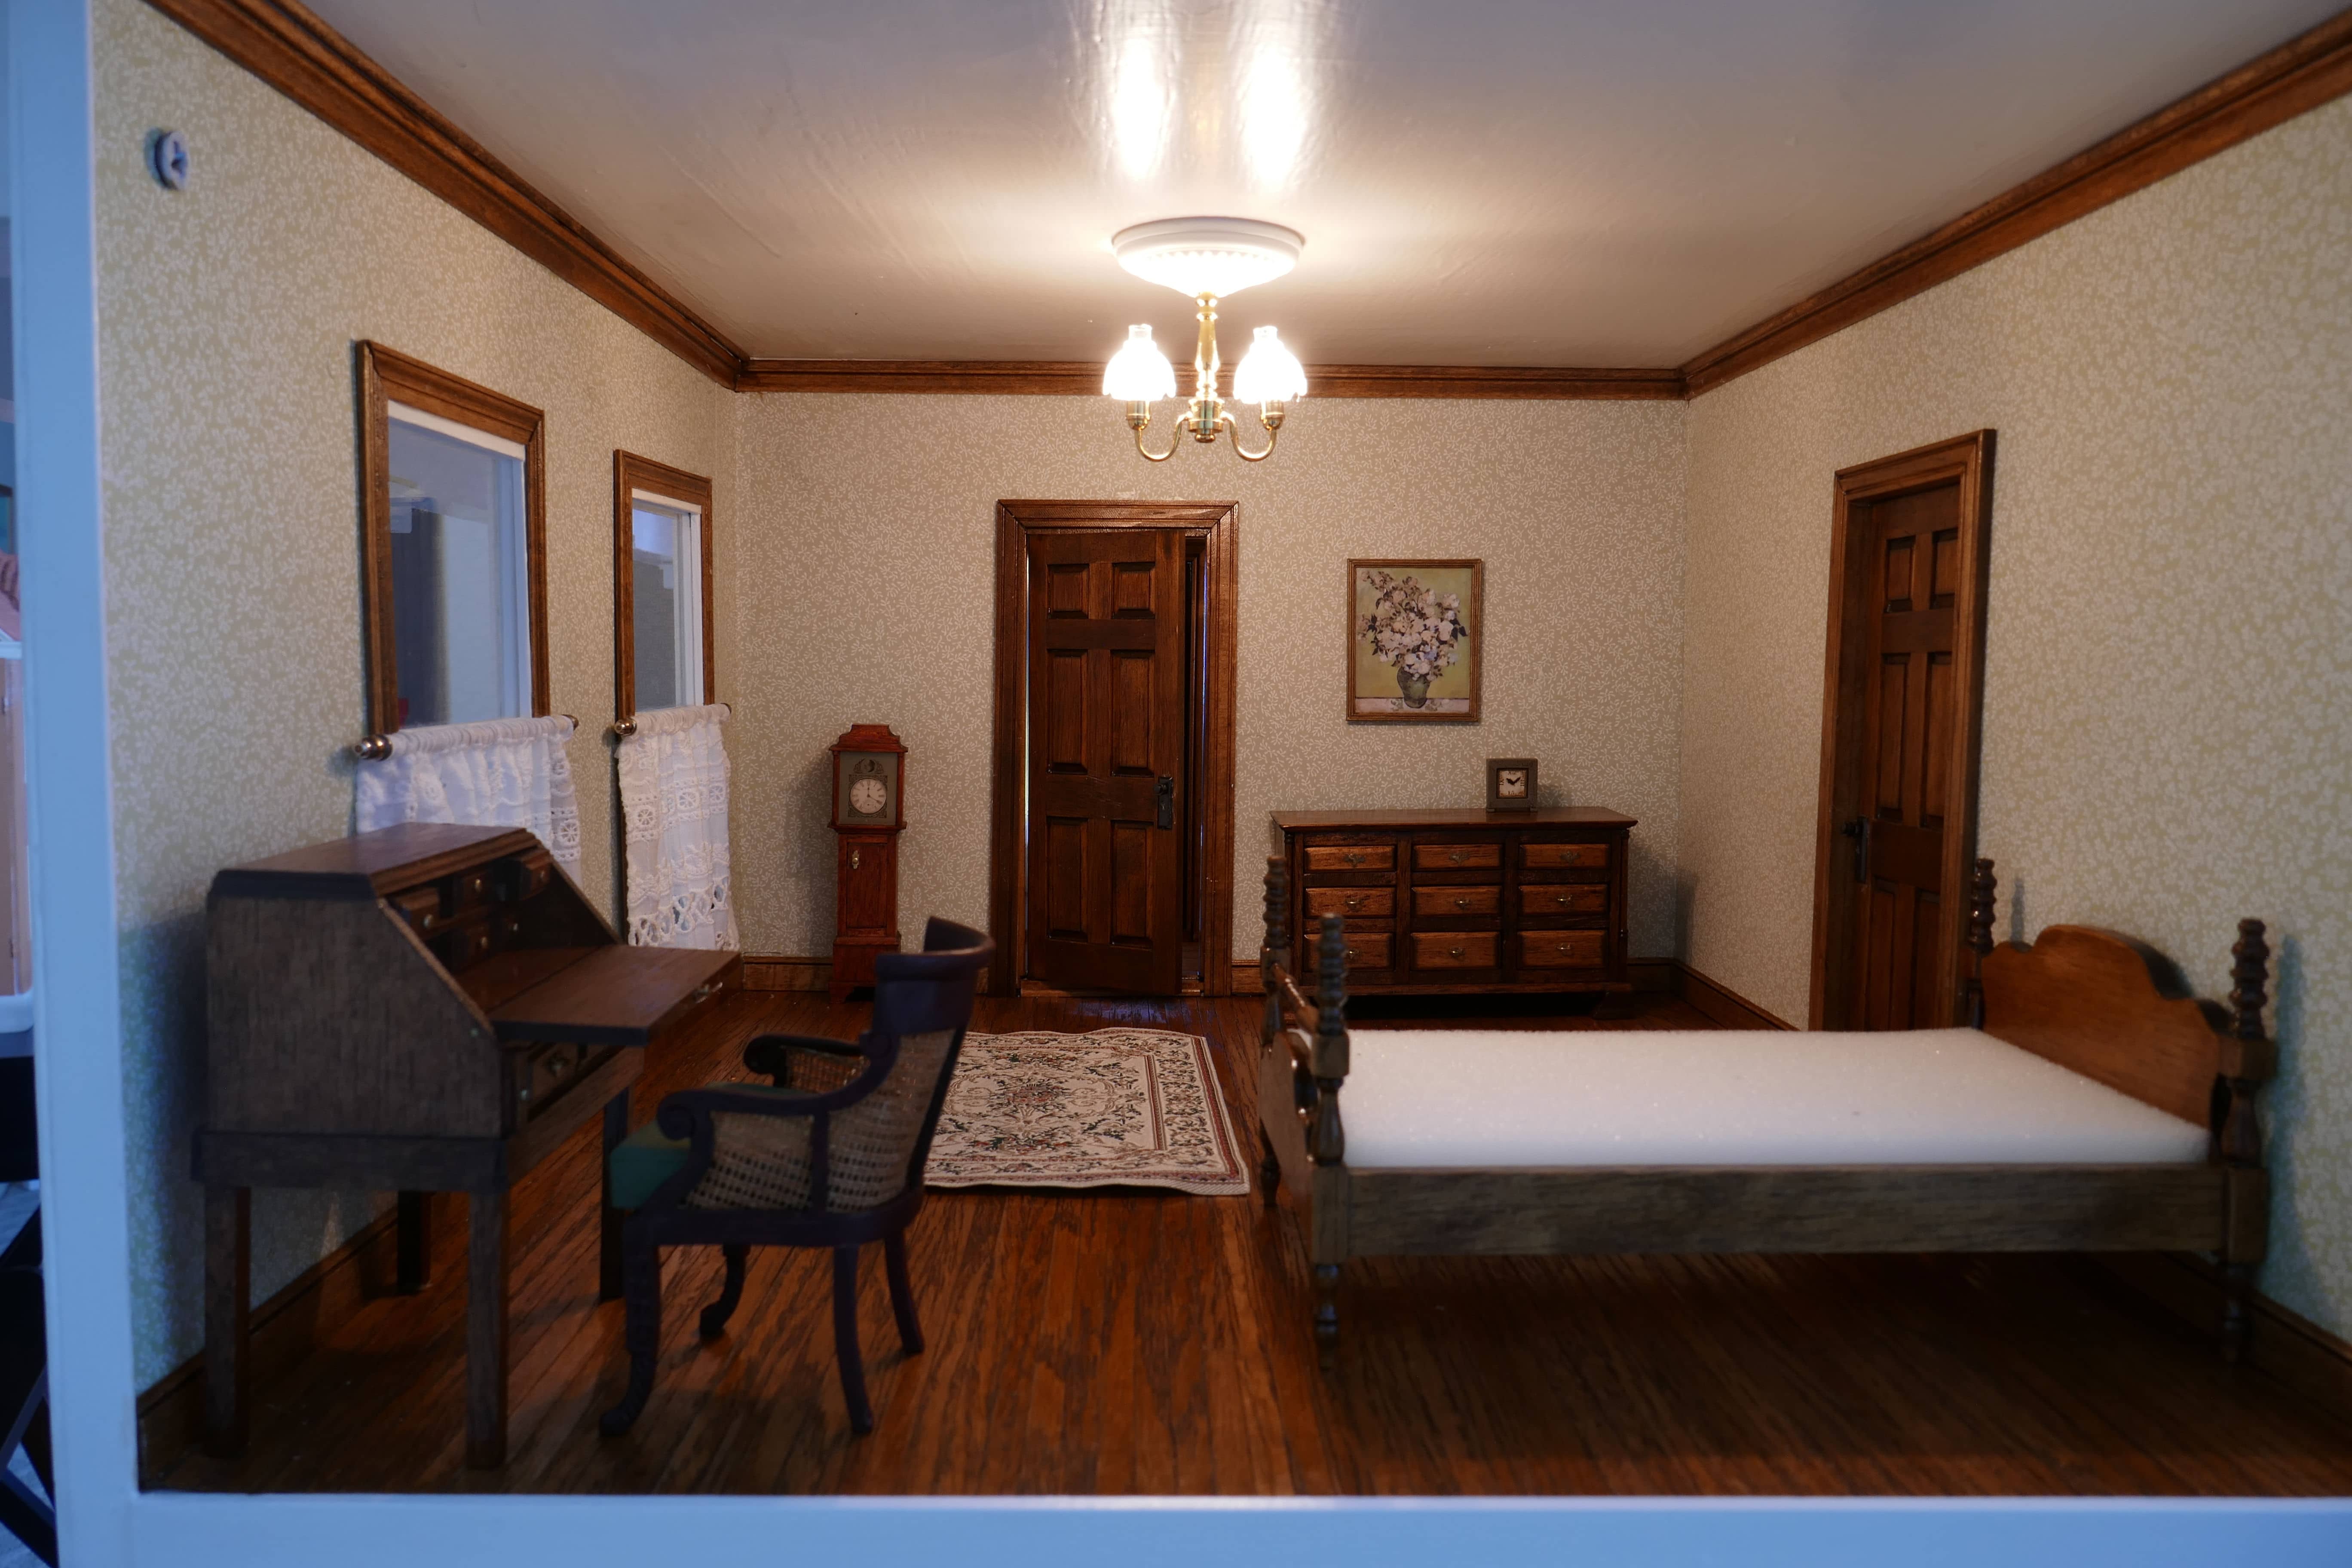
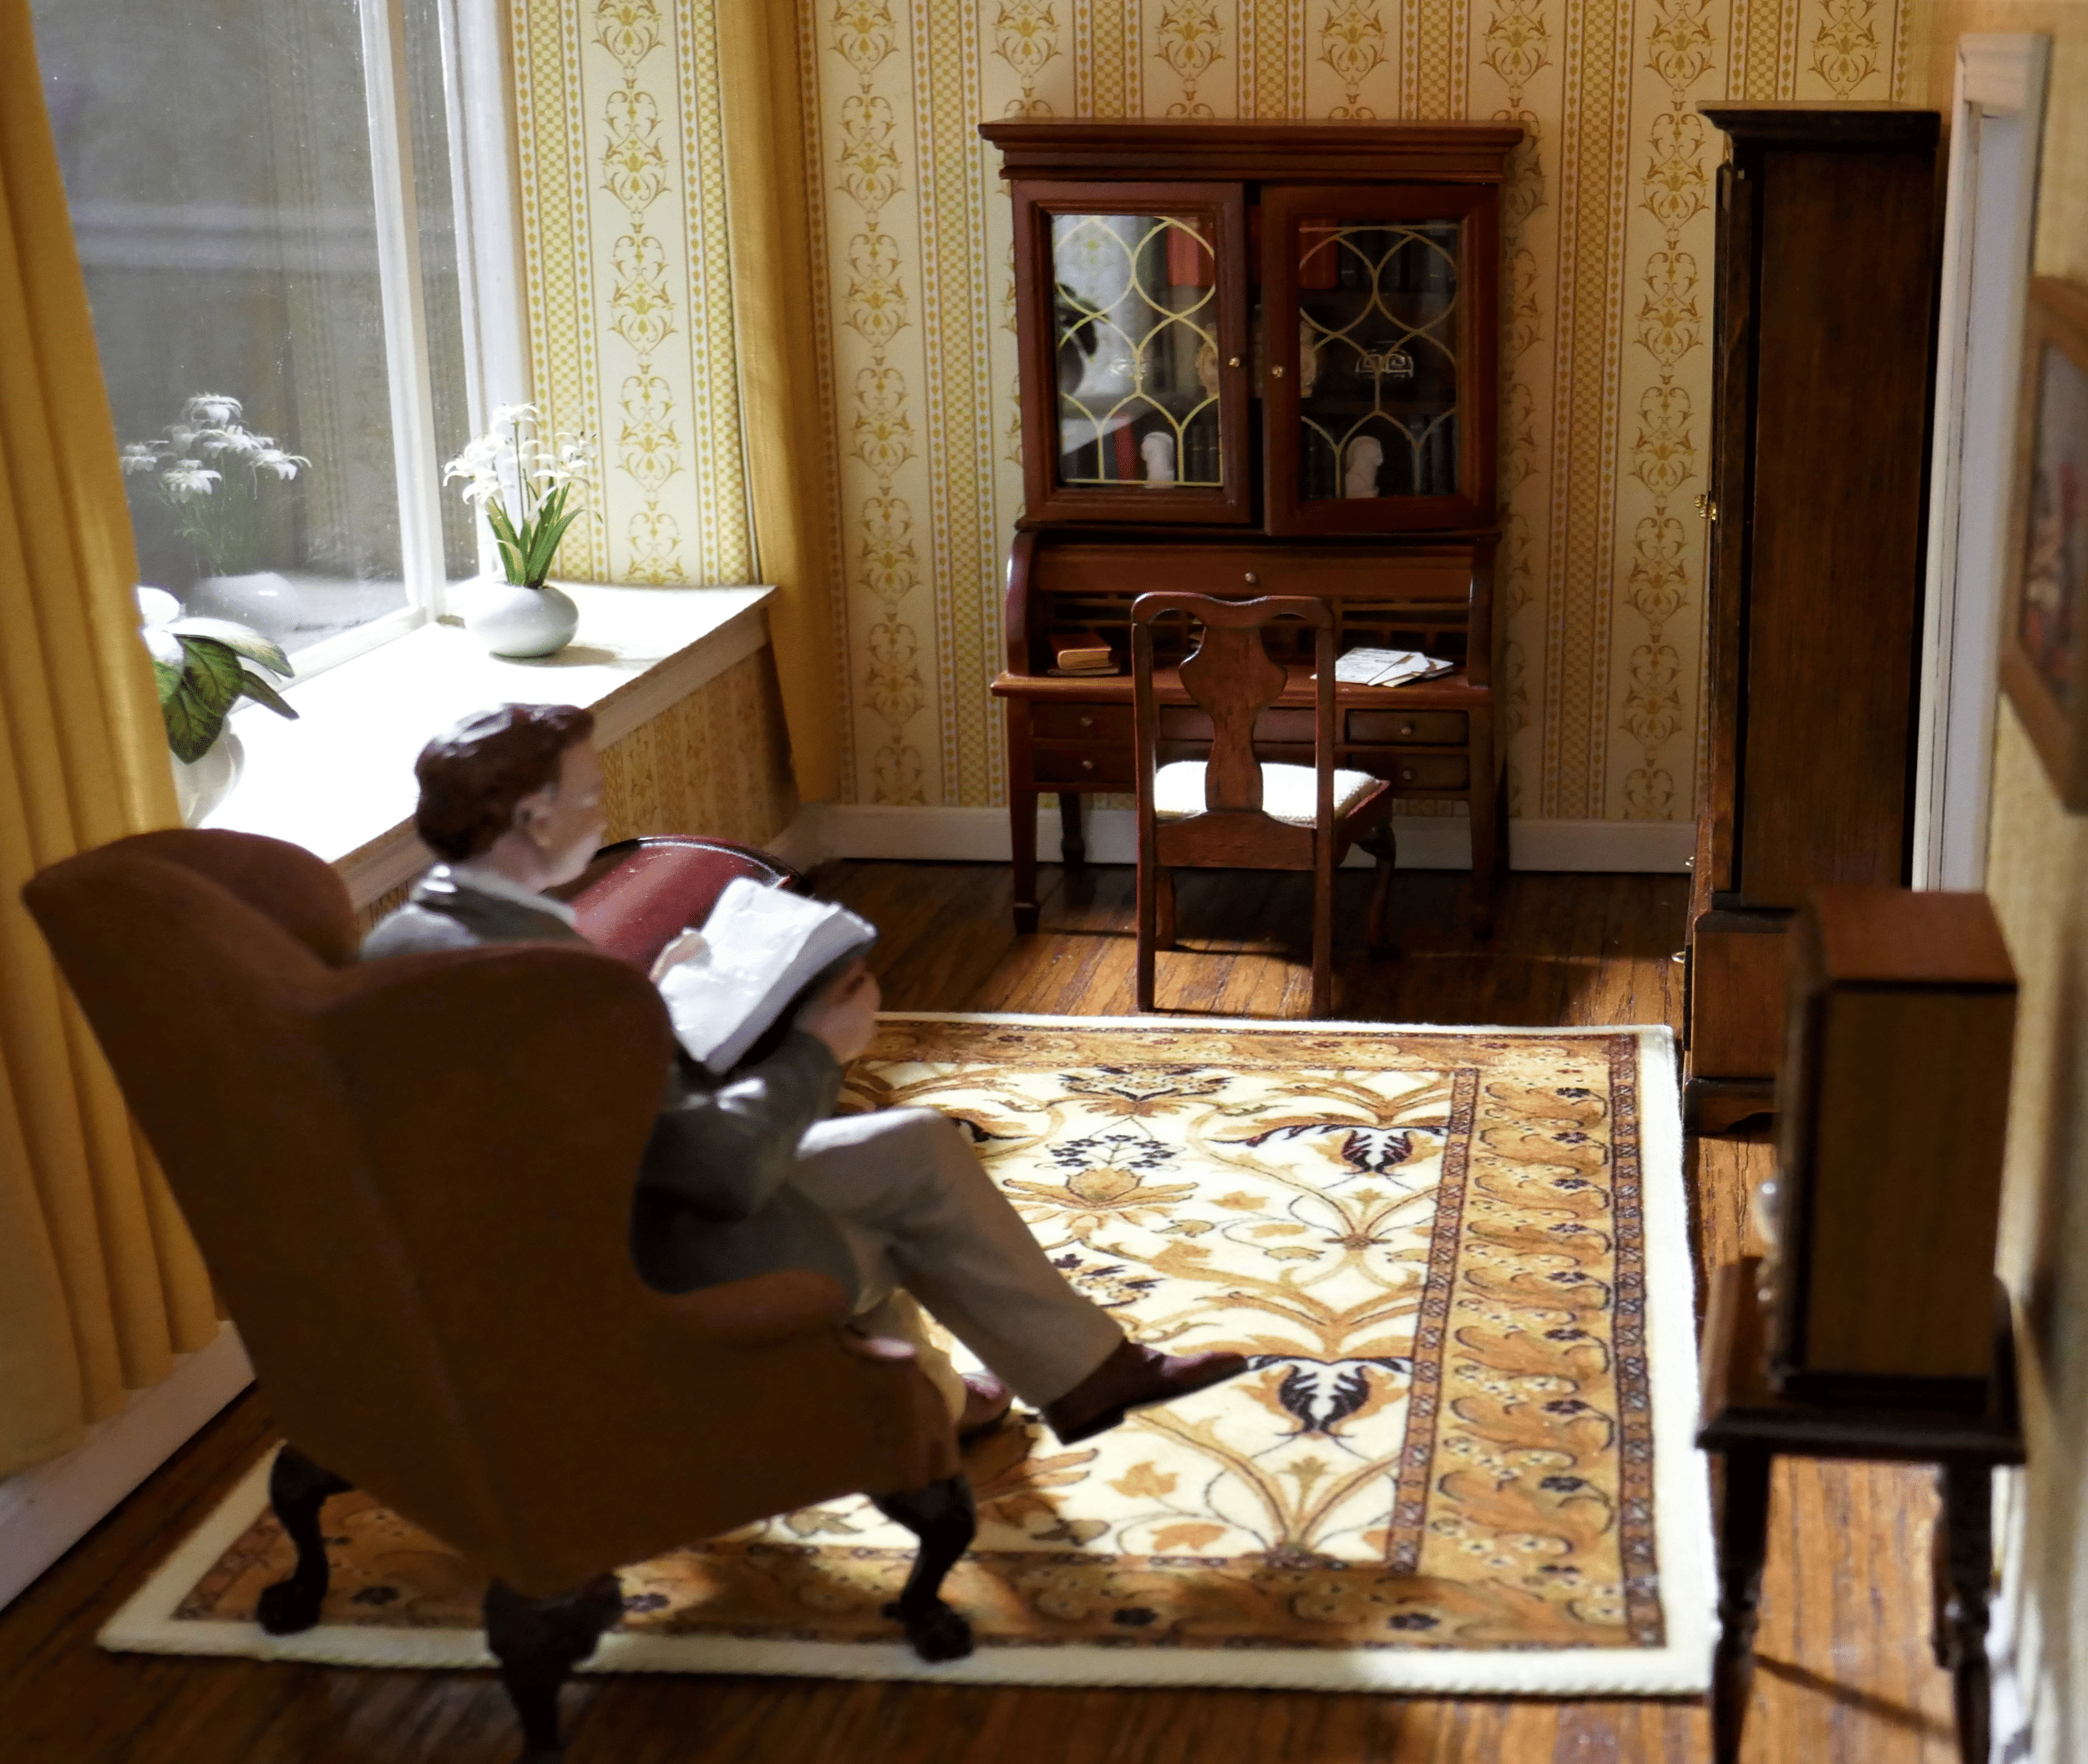
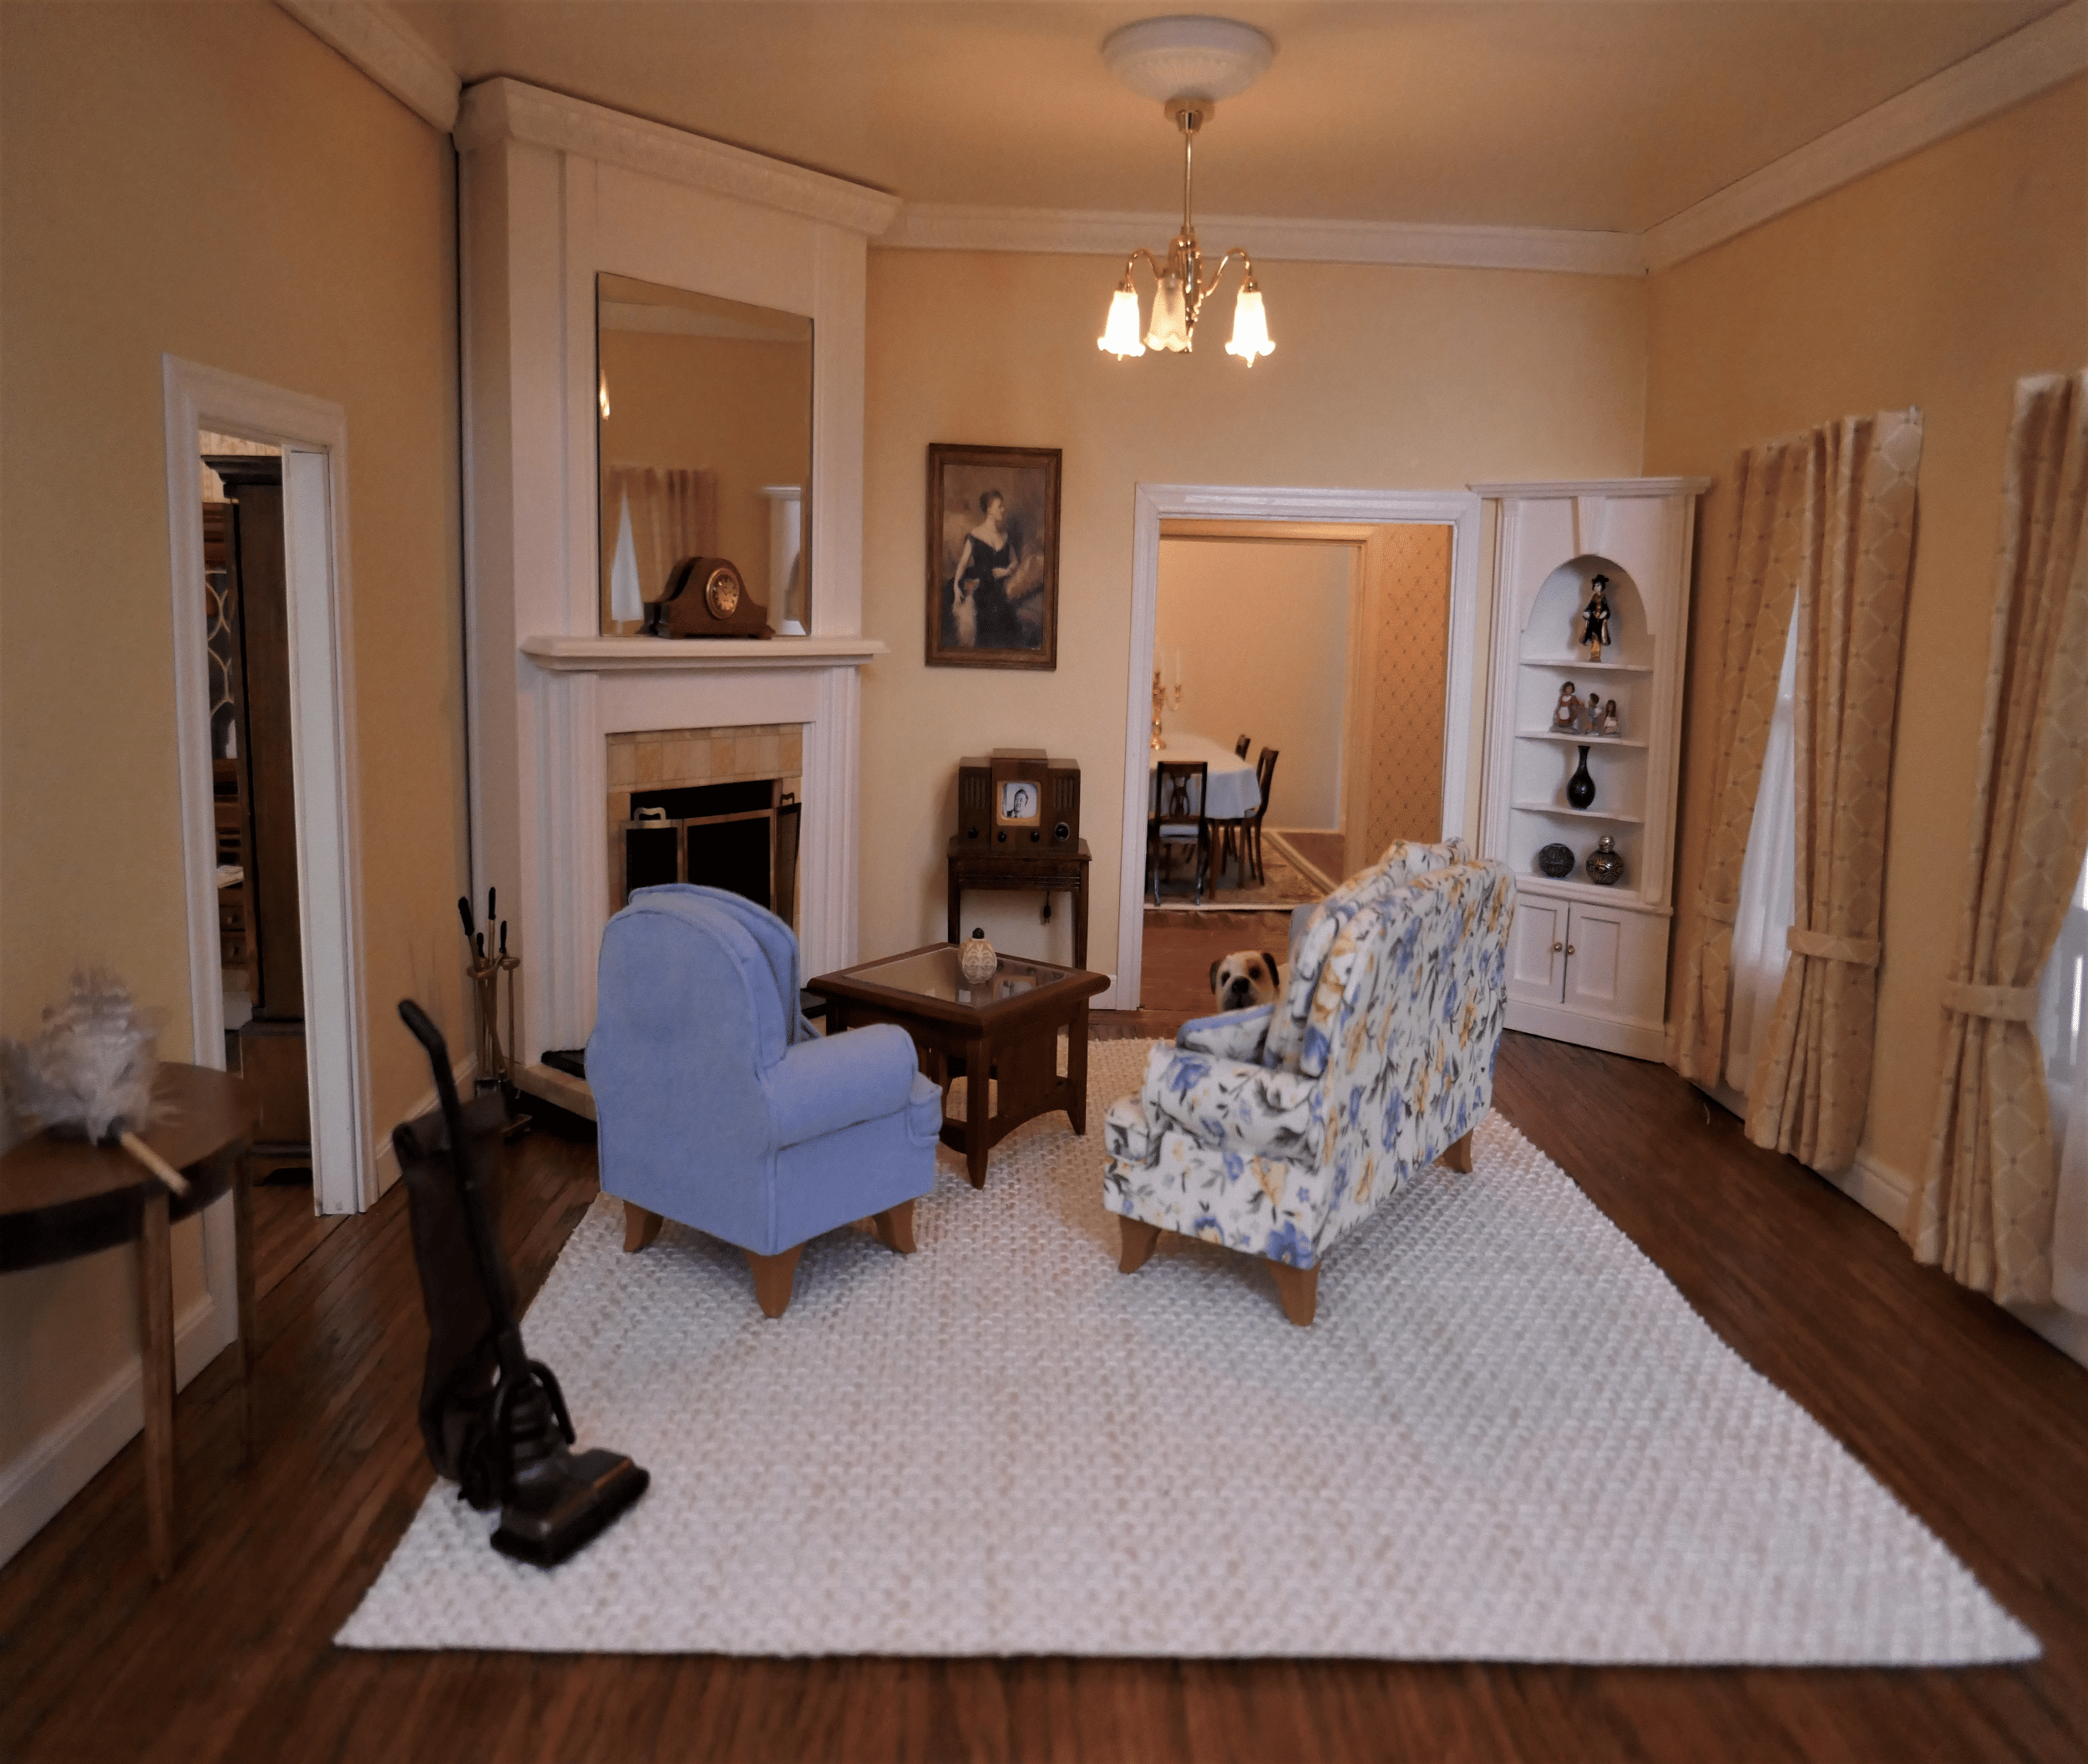
Georgian Style Mansion

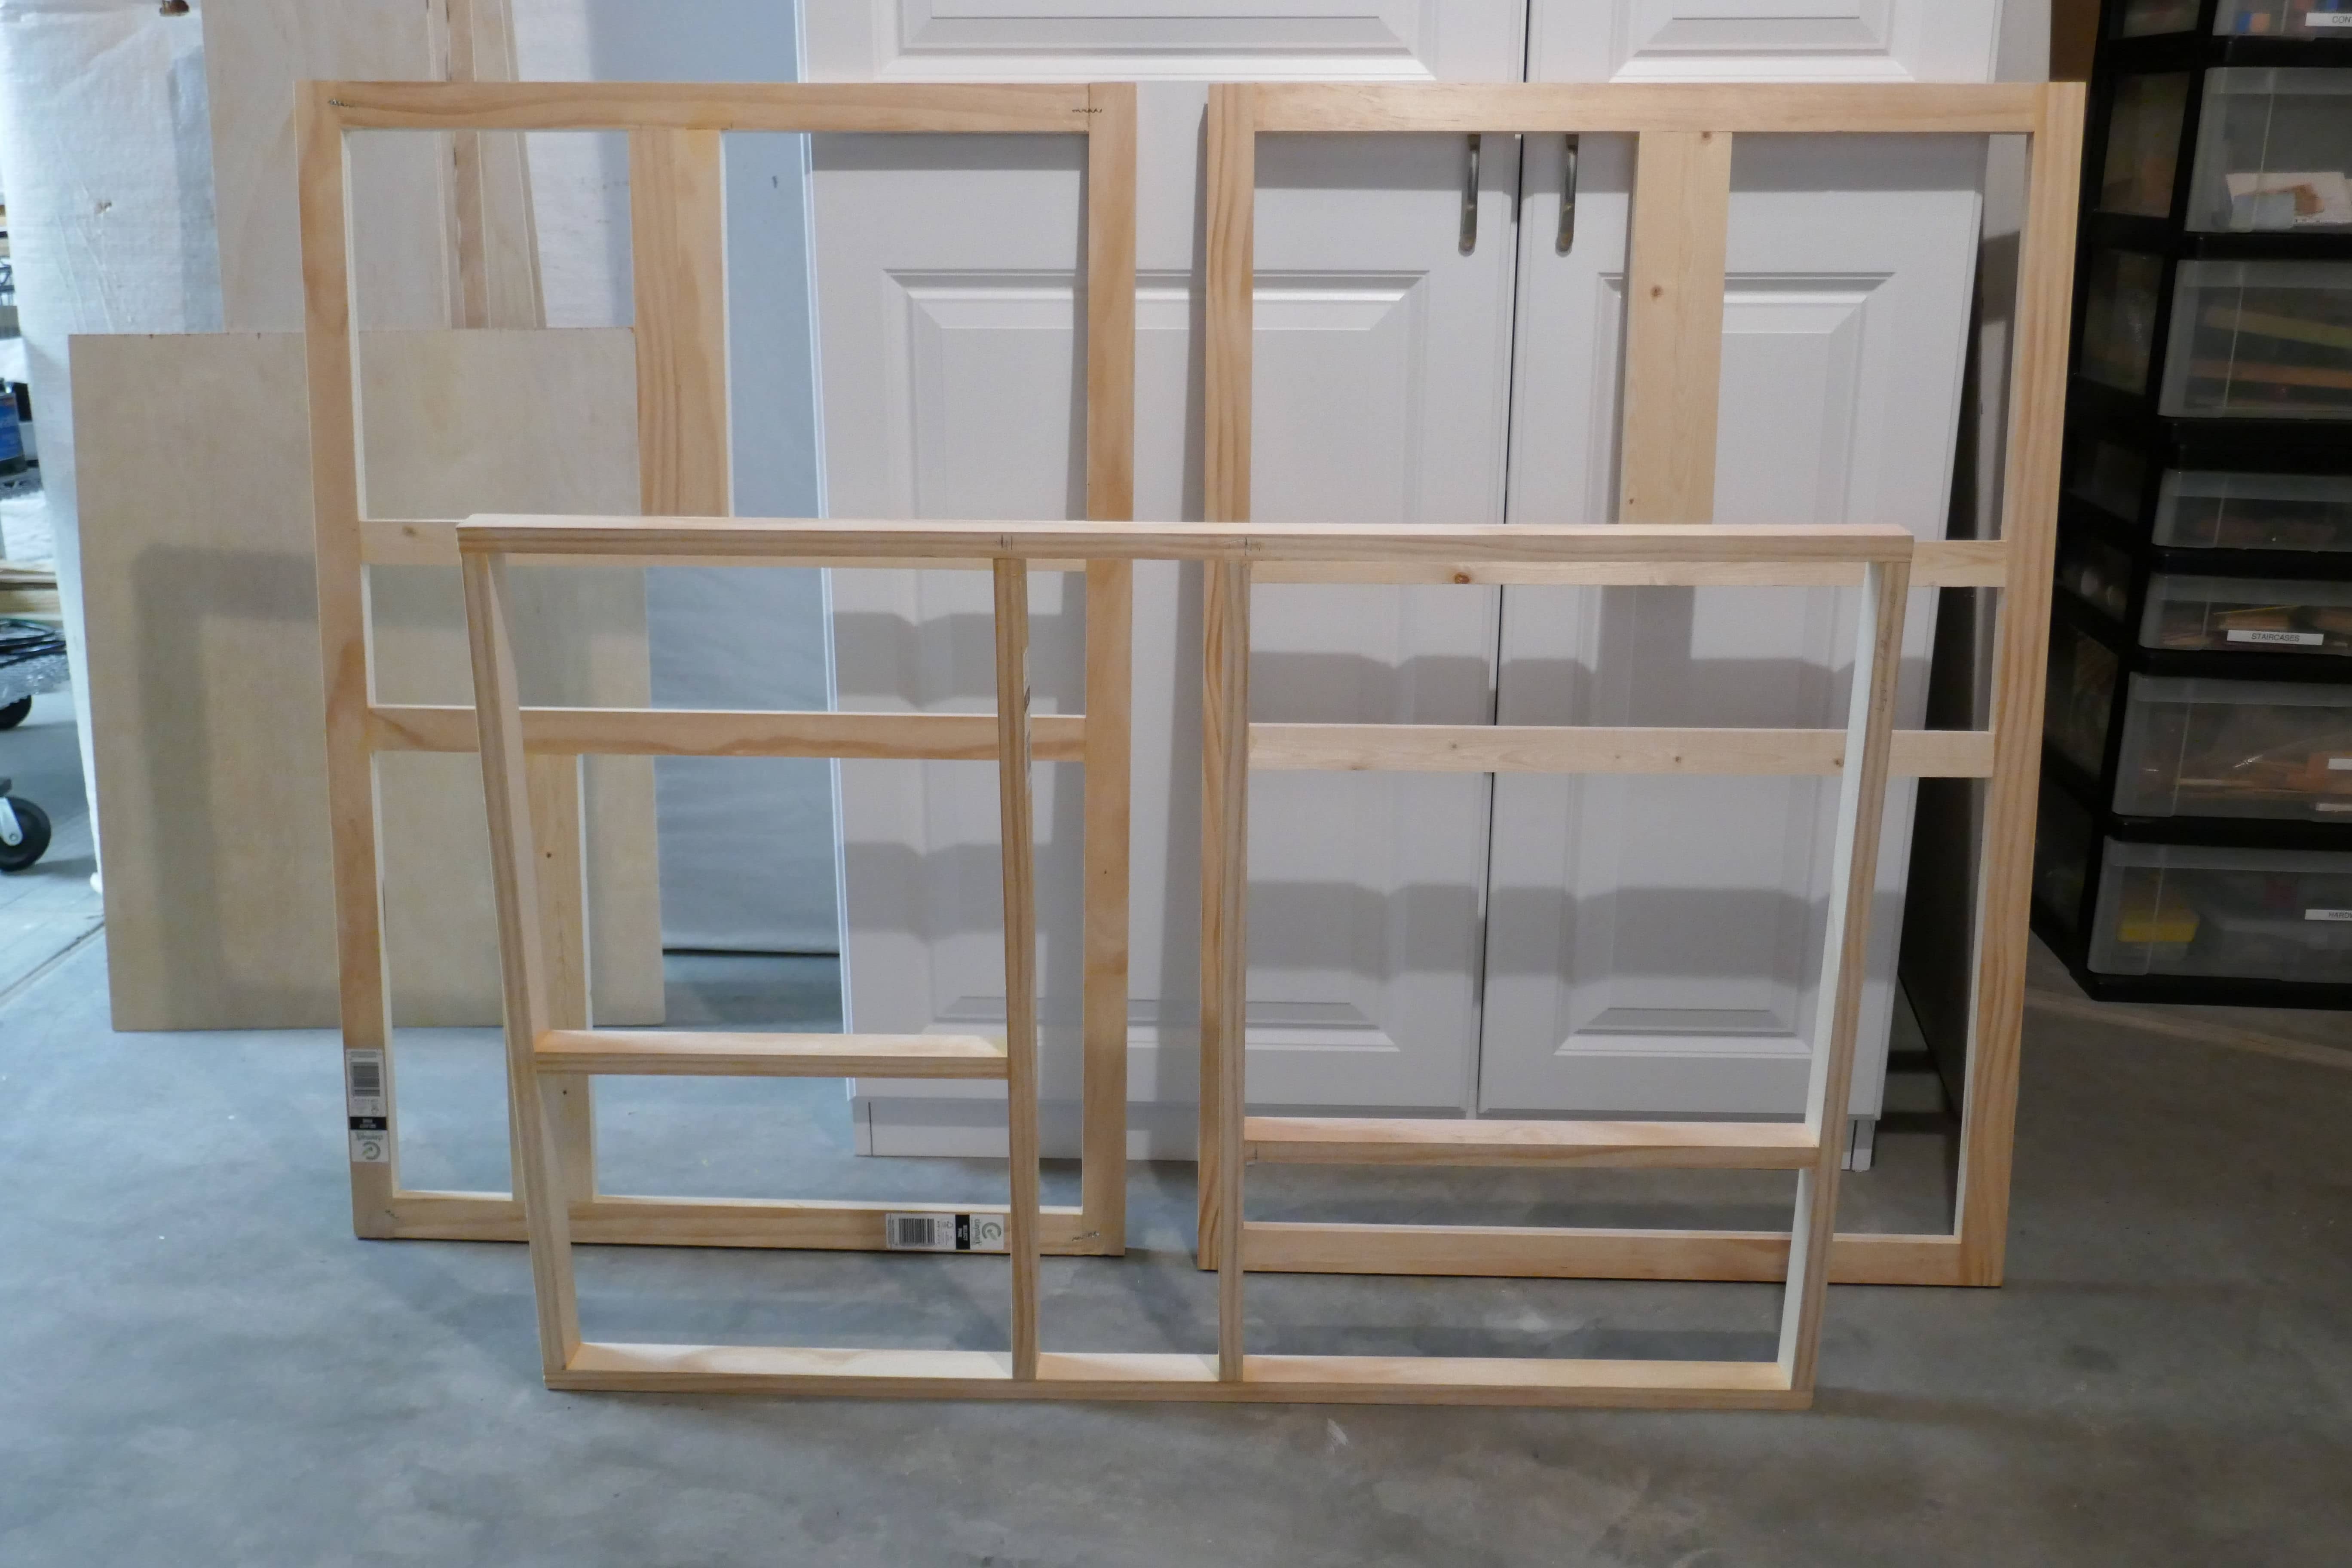
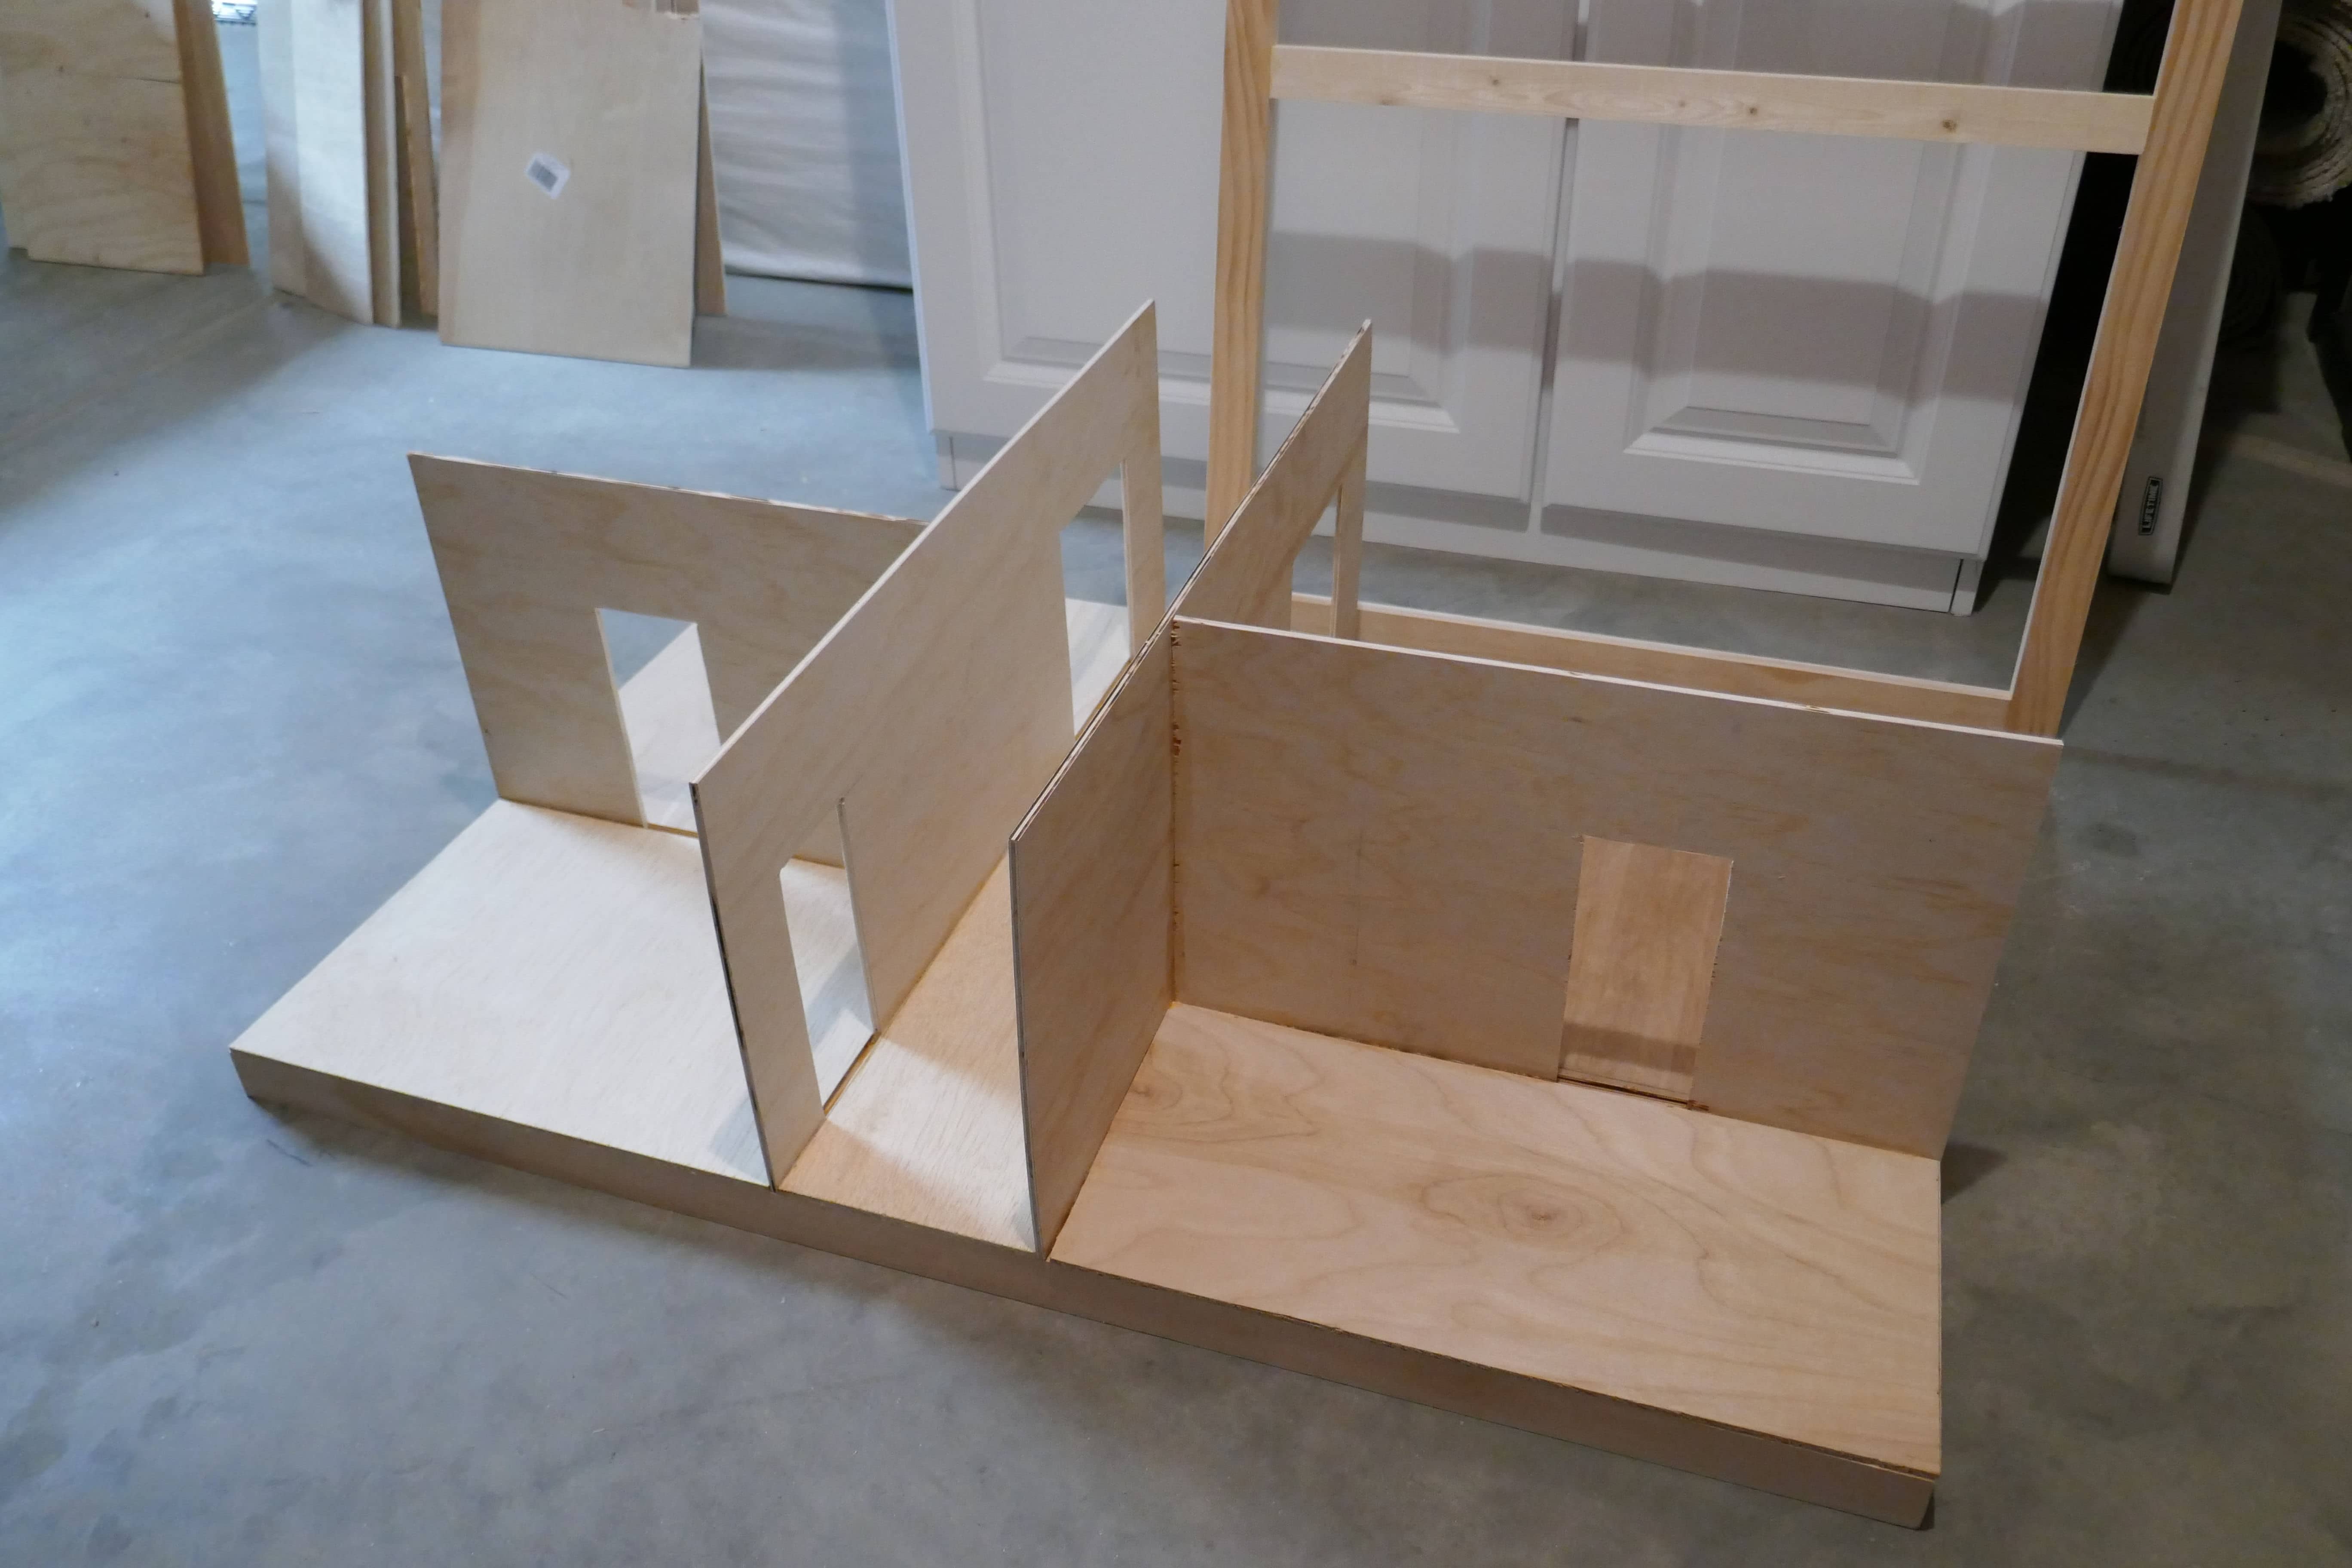
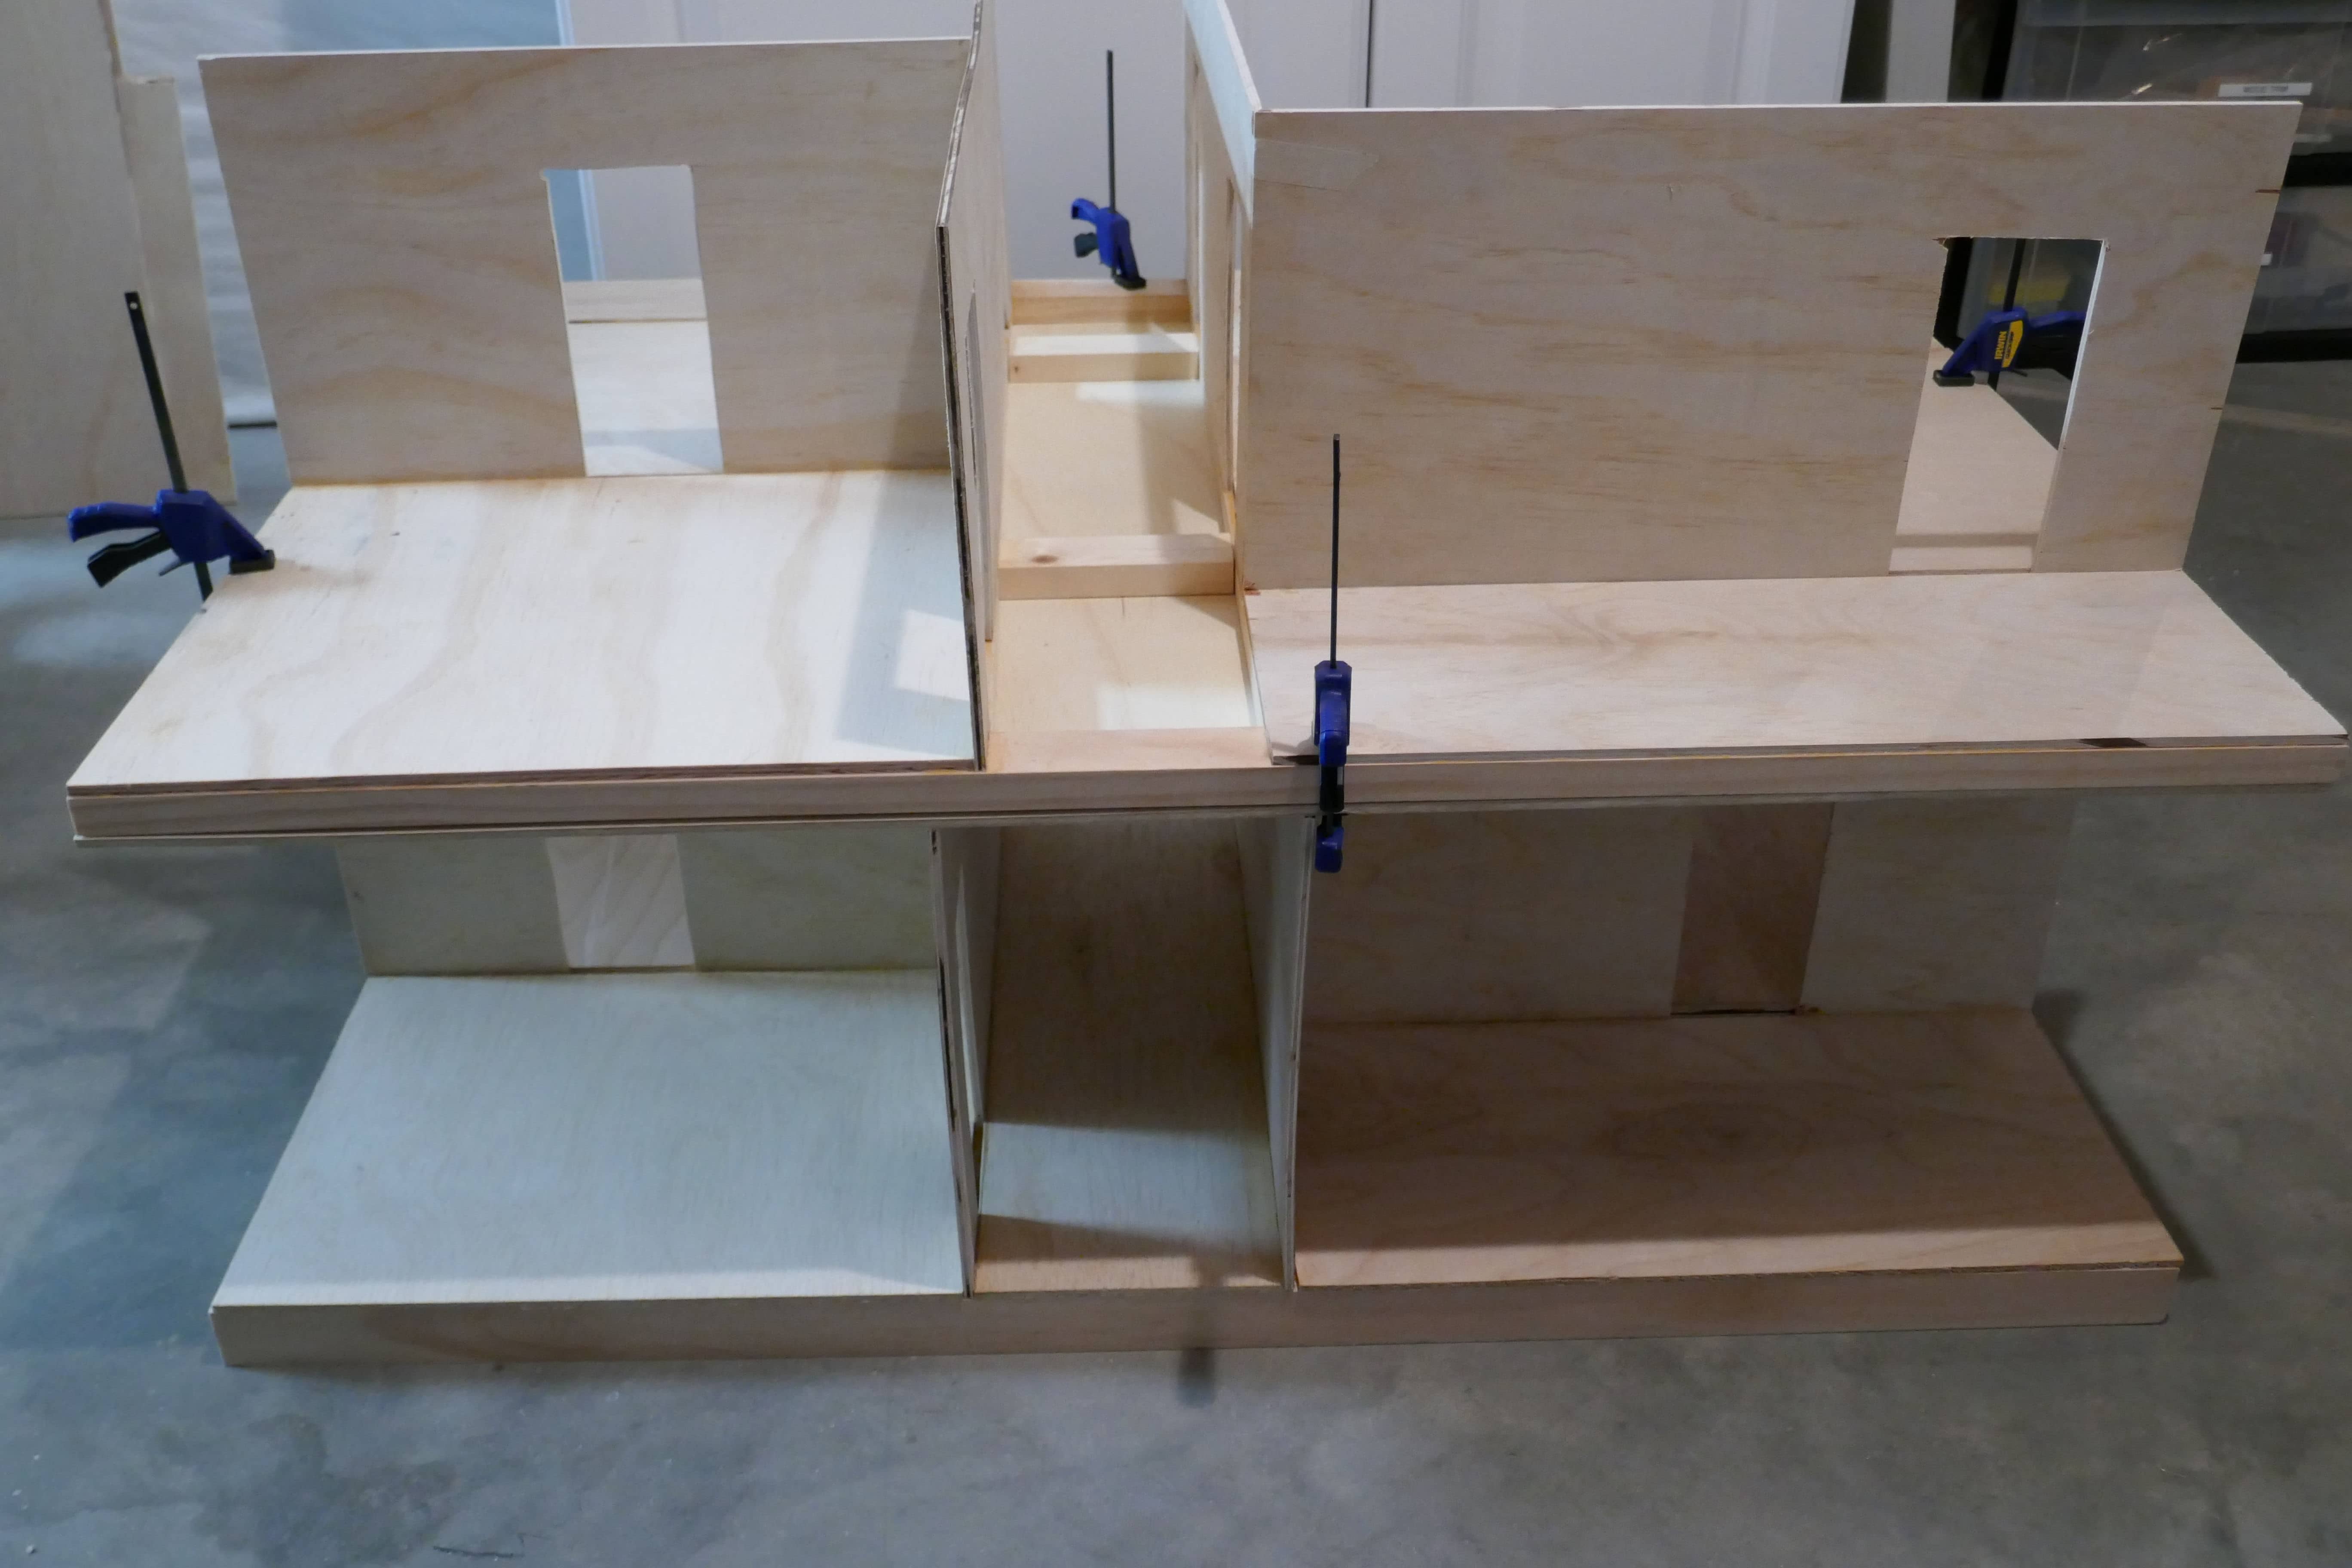
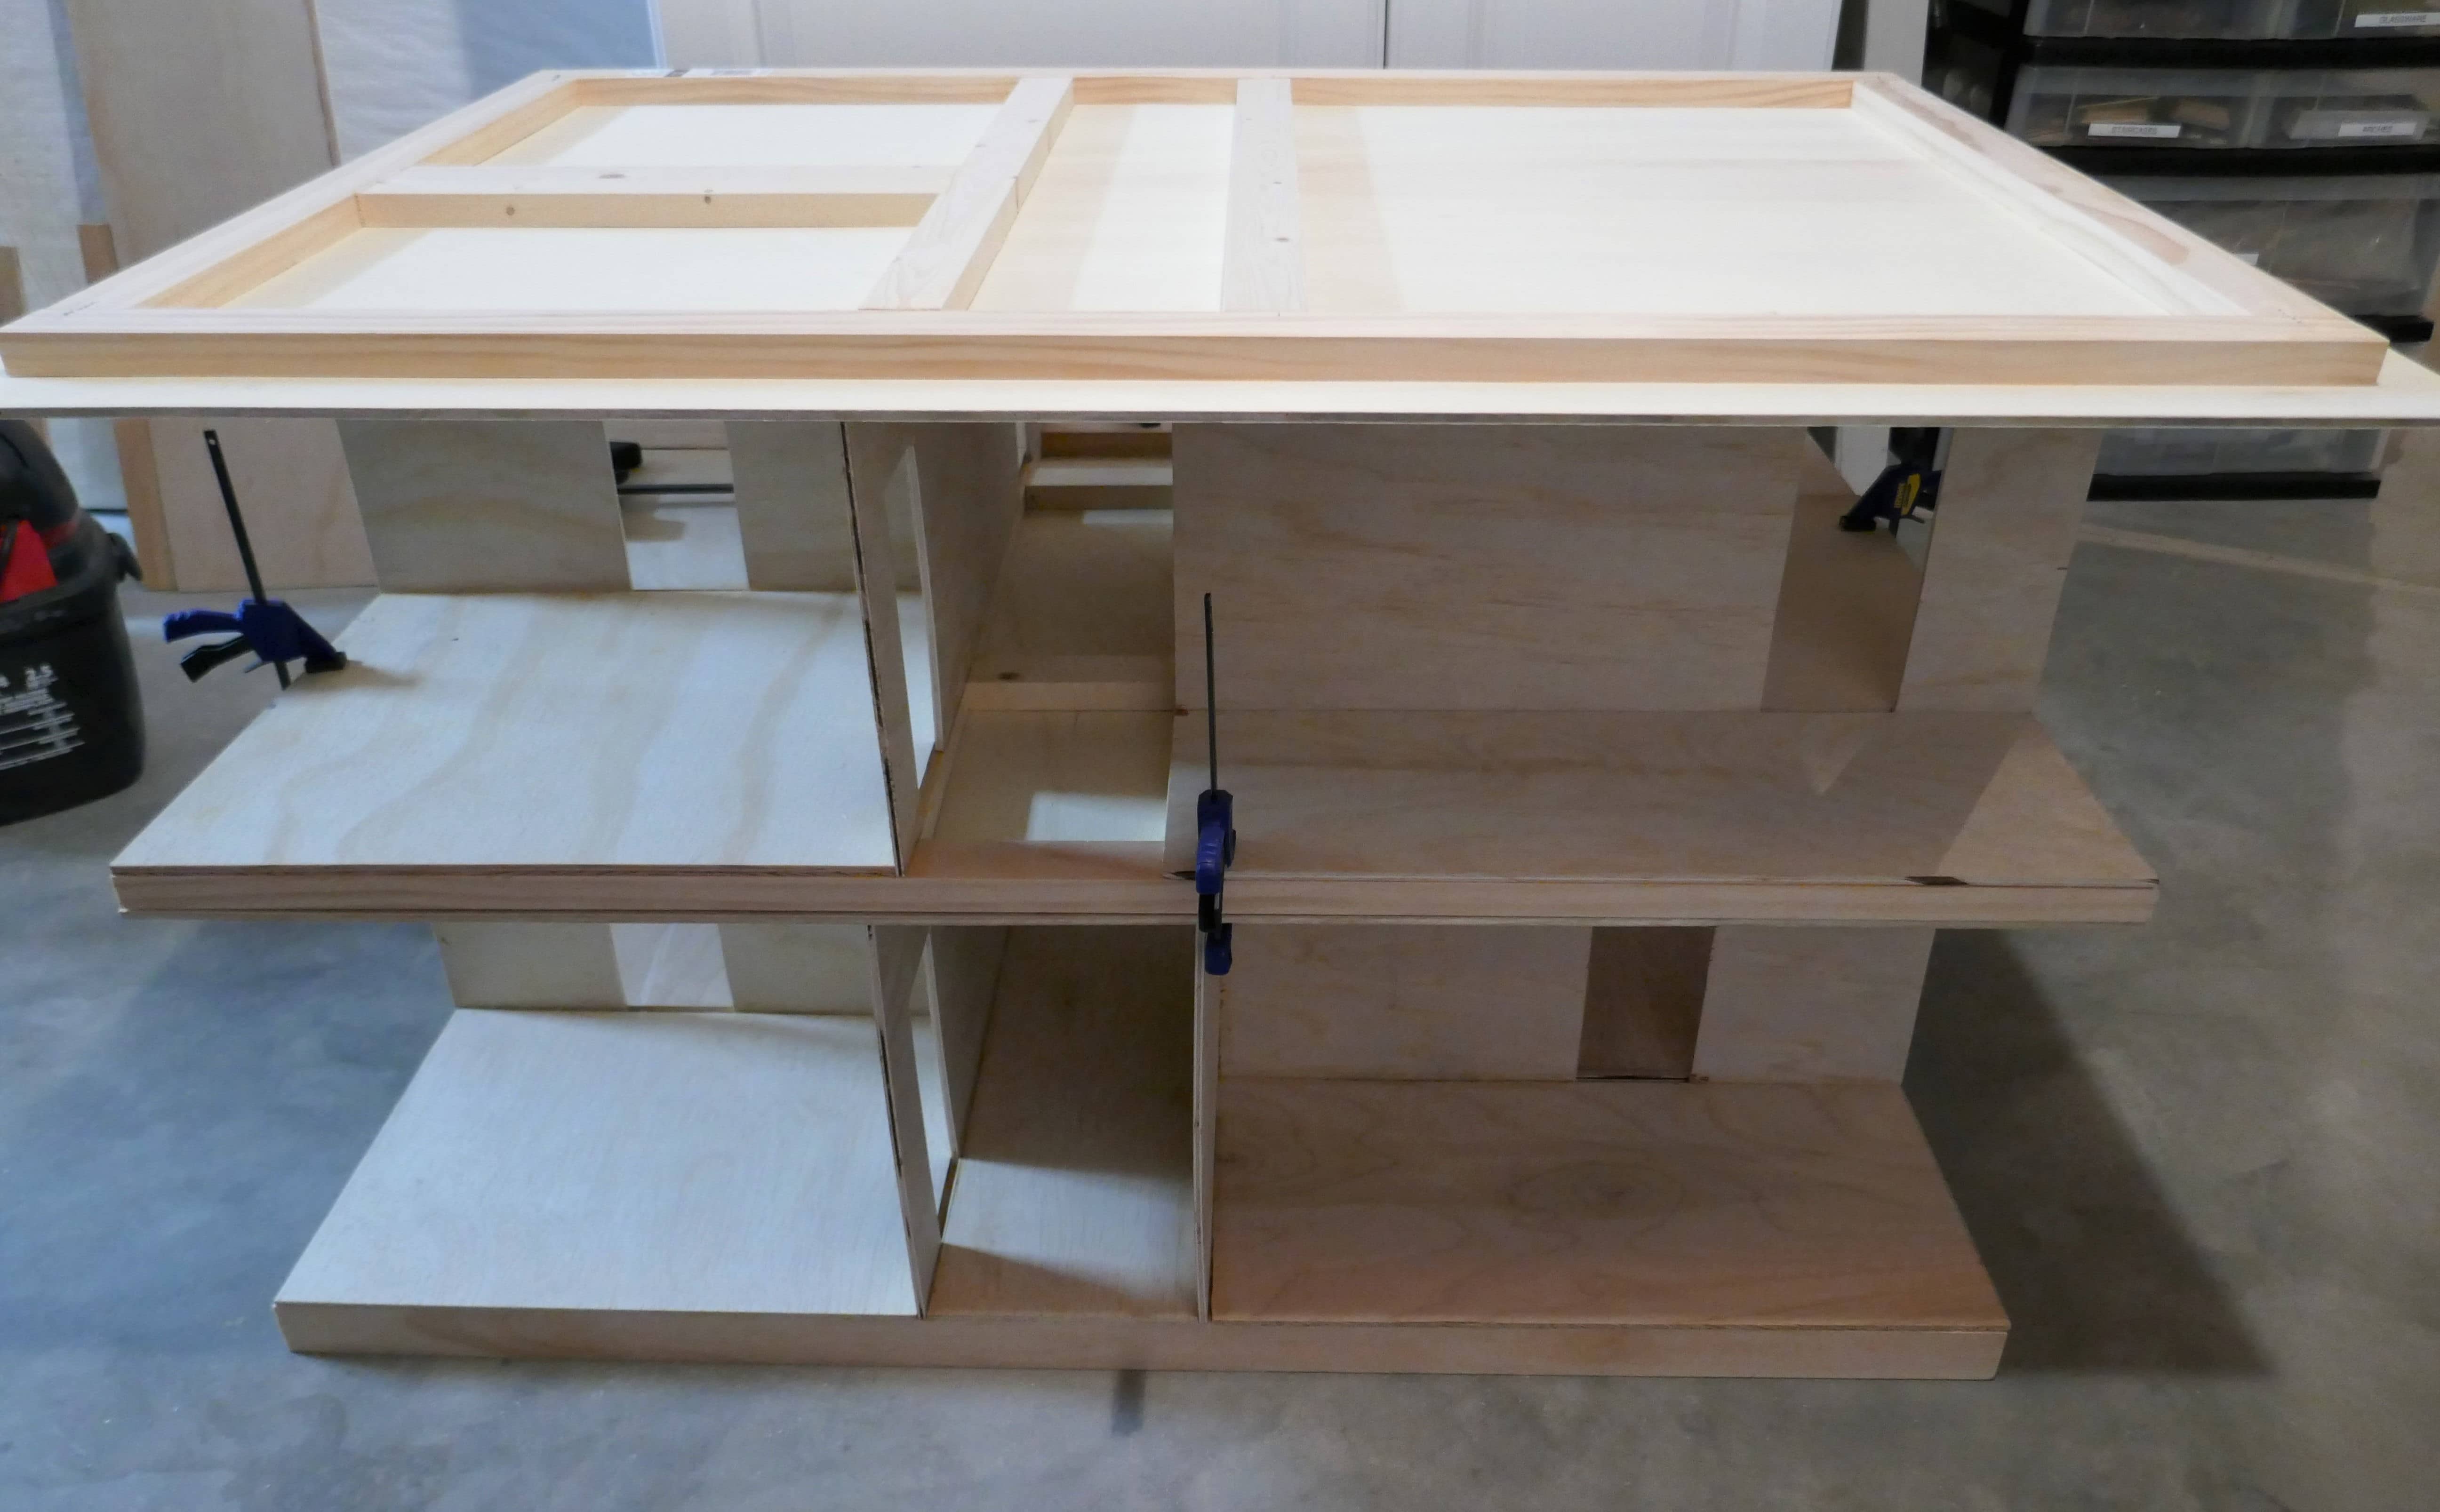
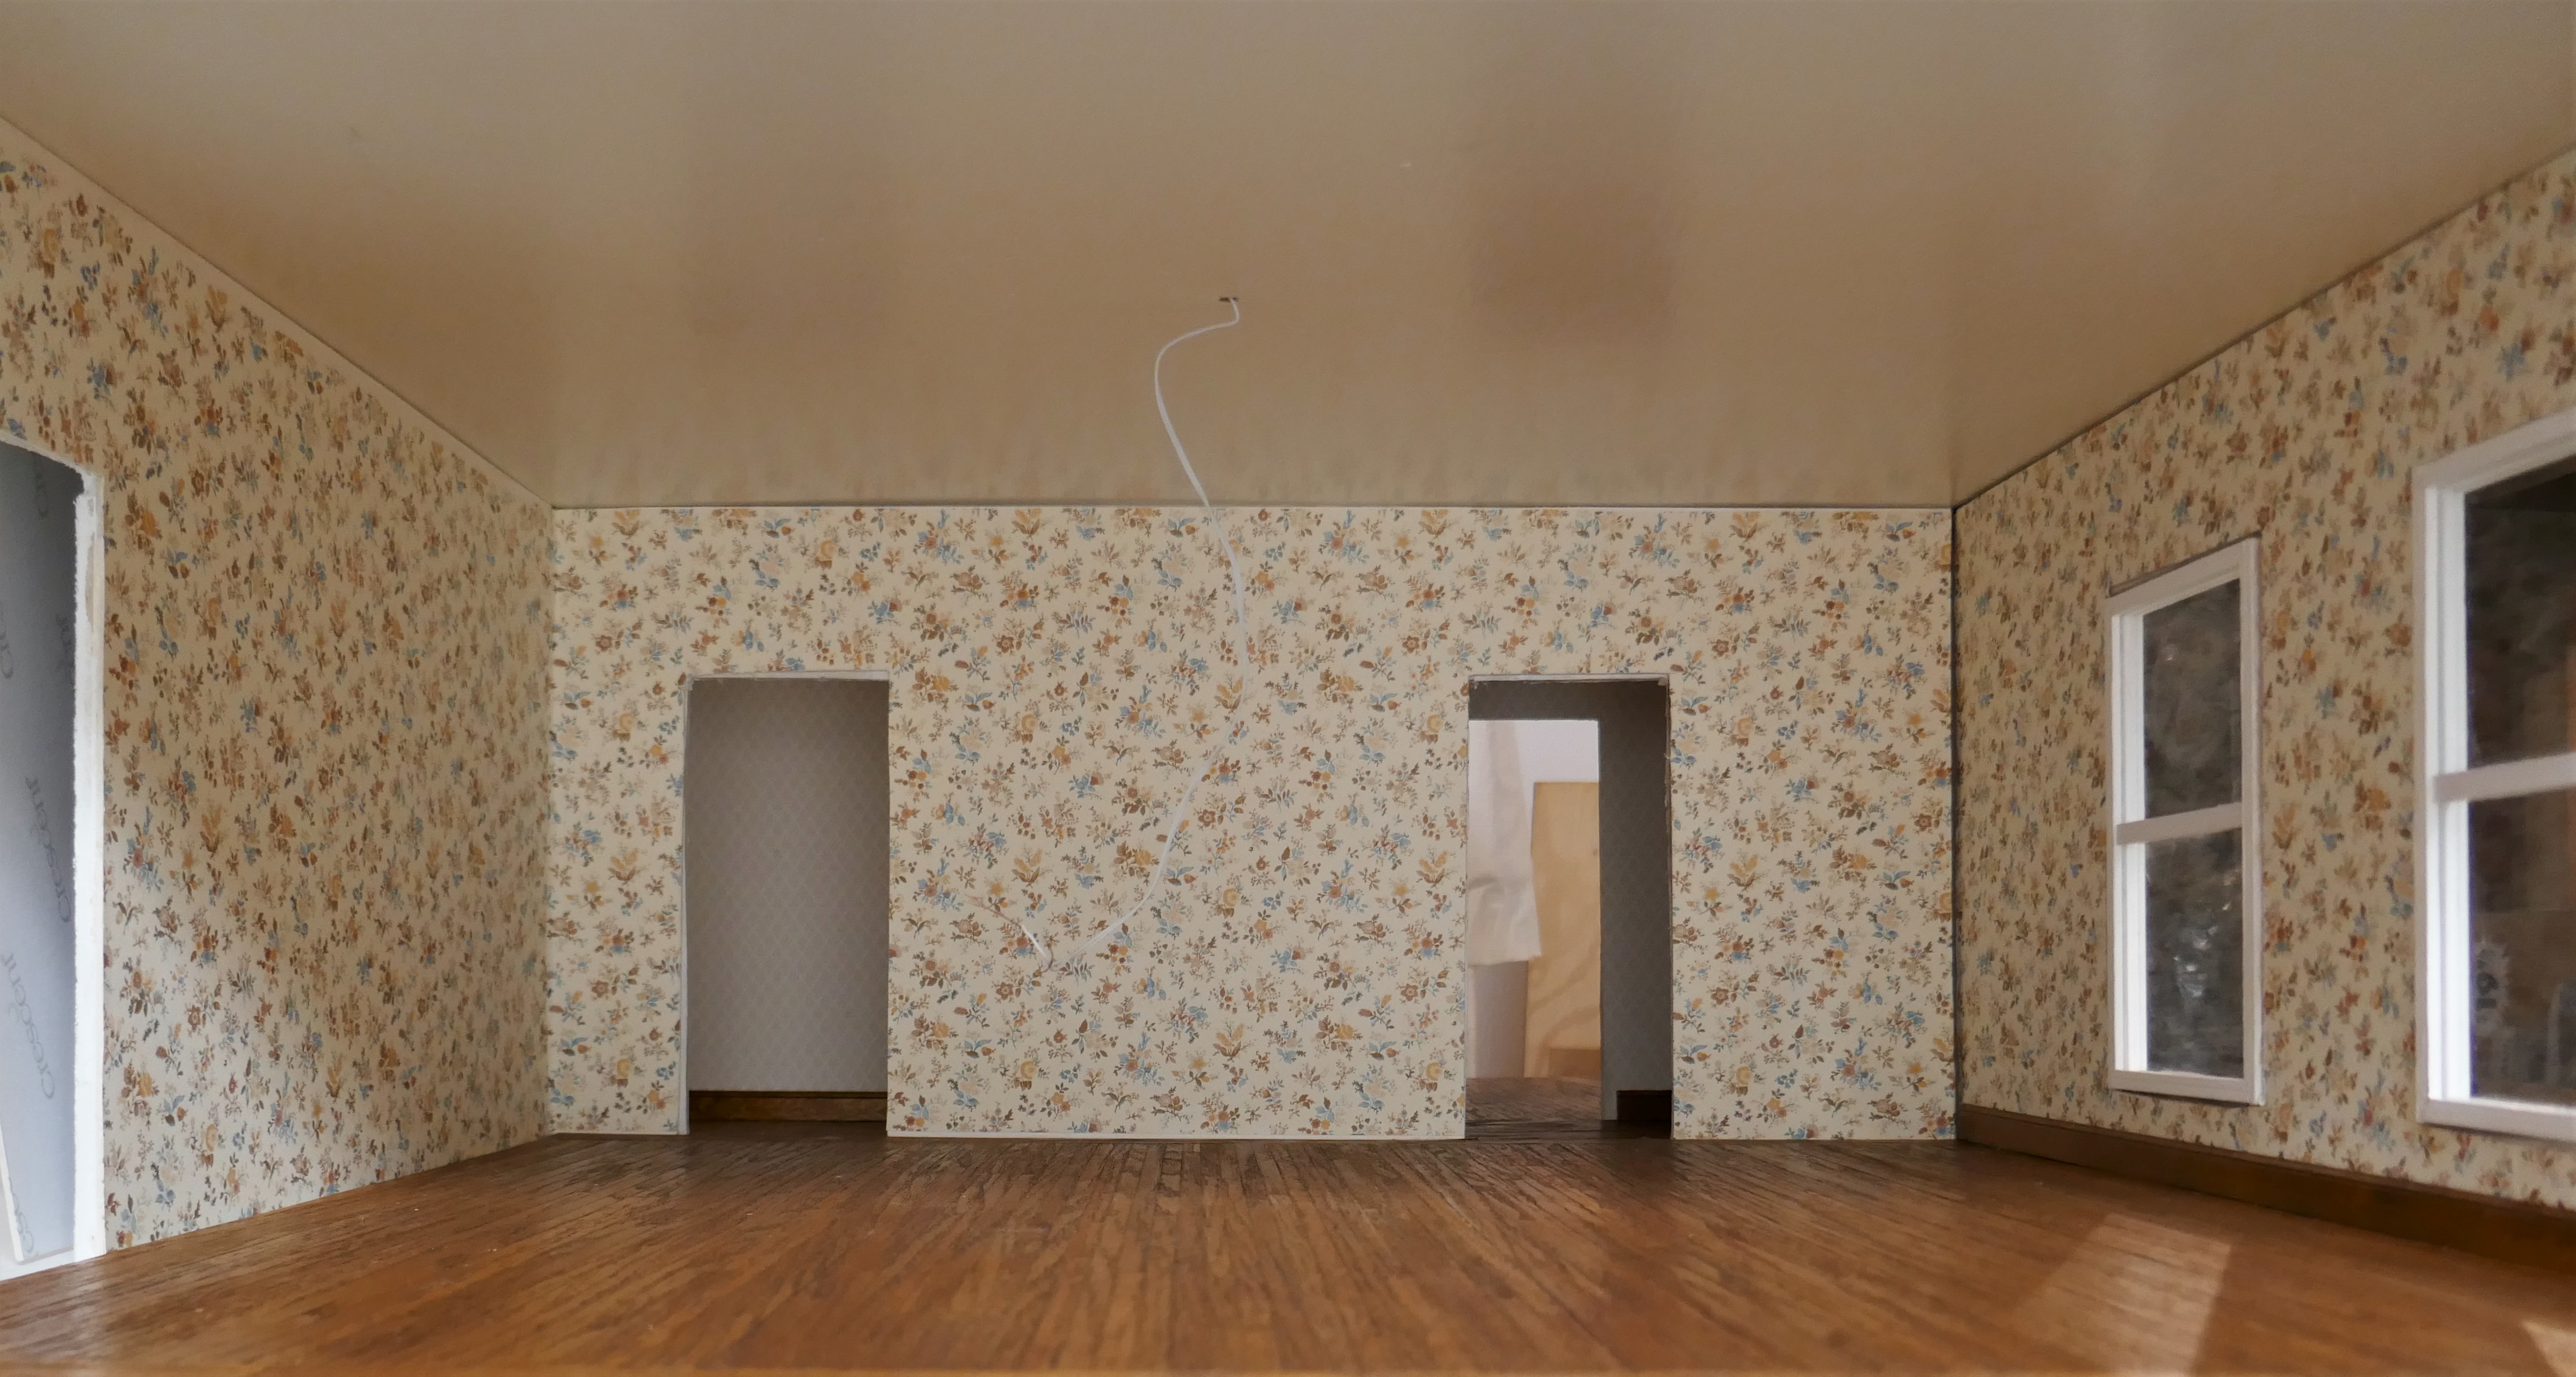
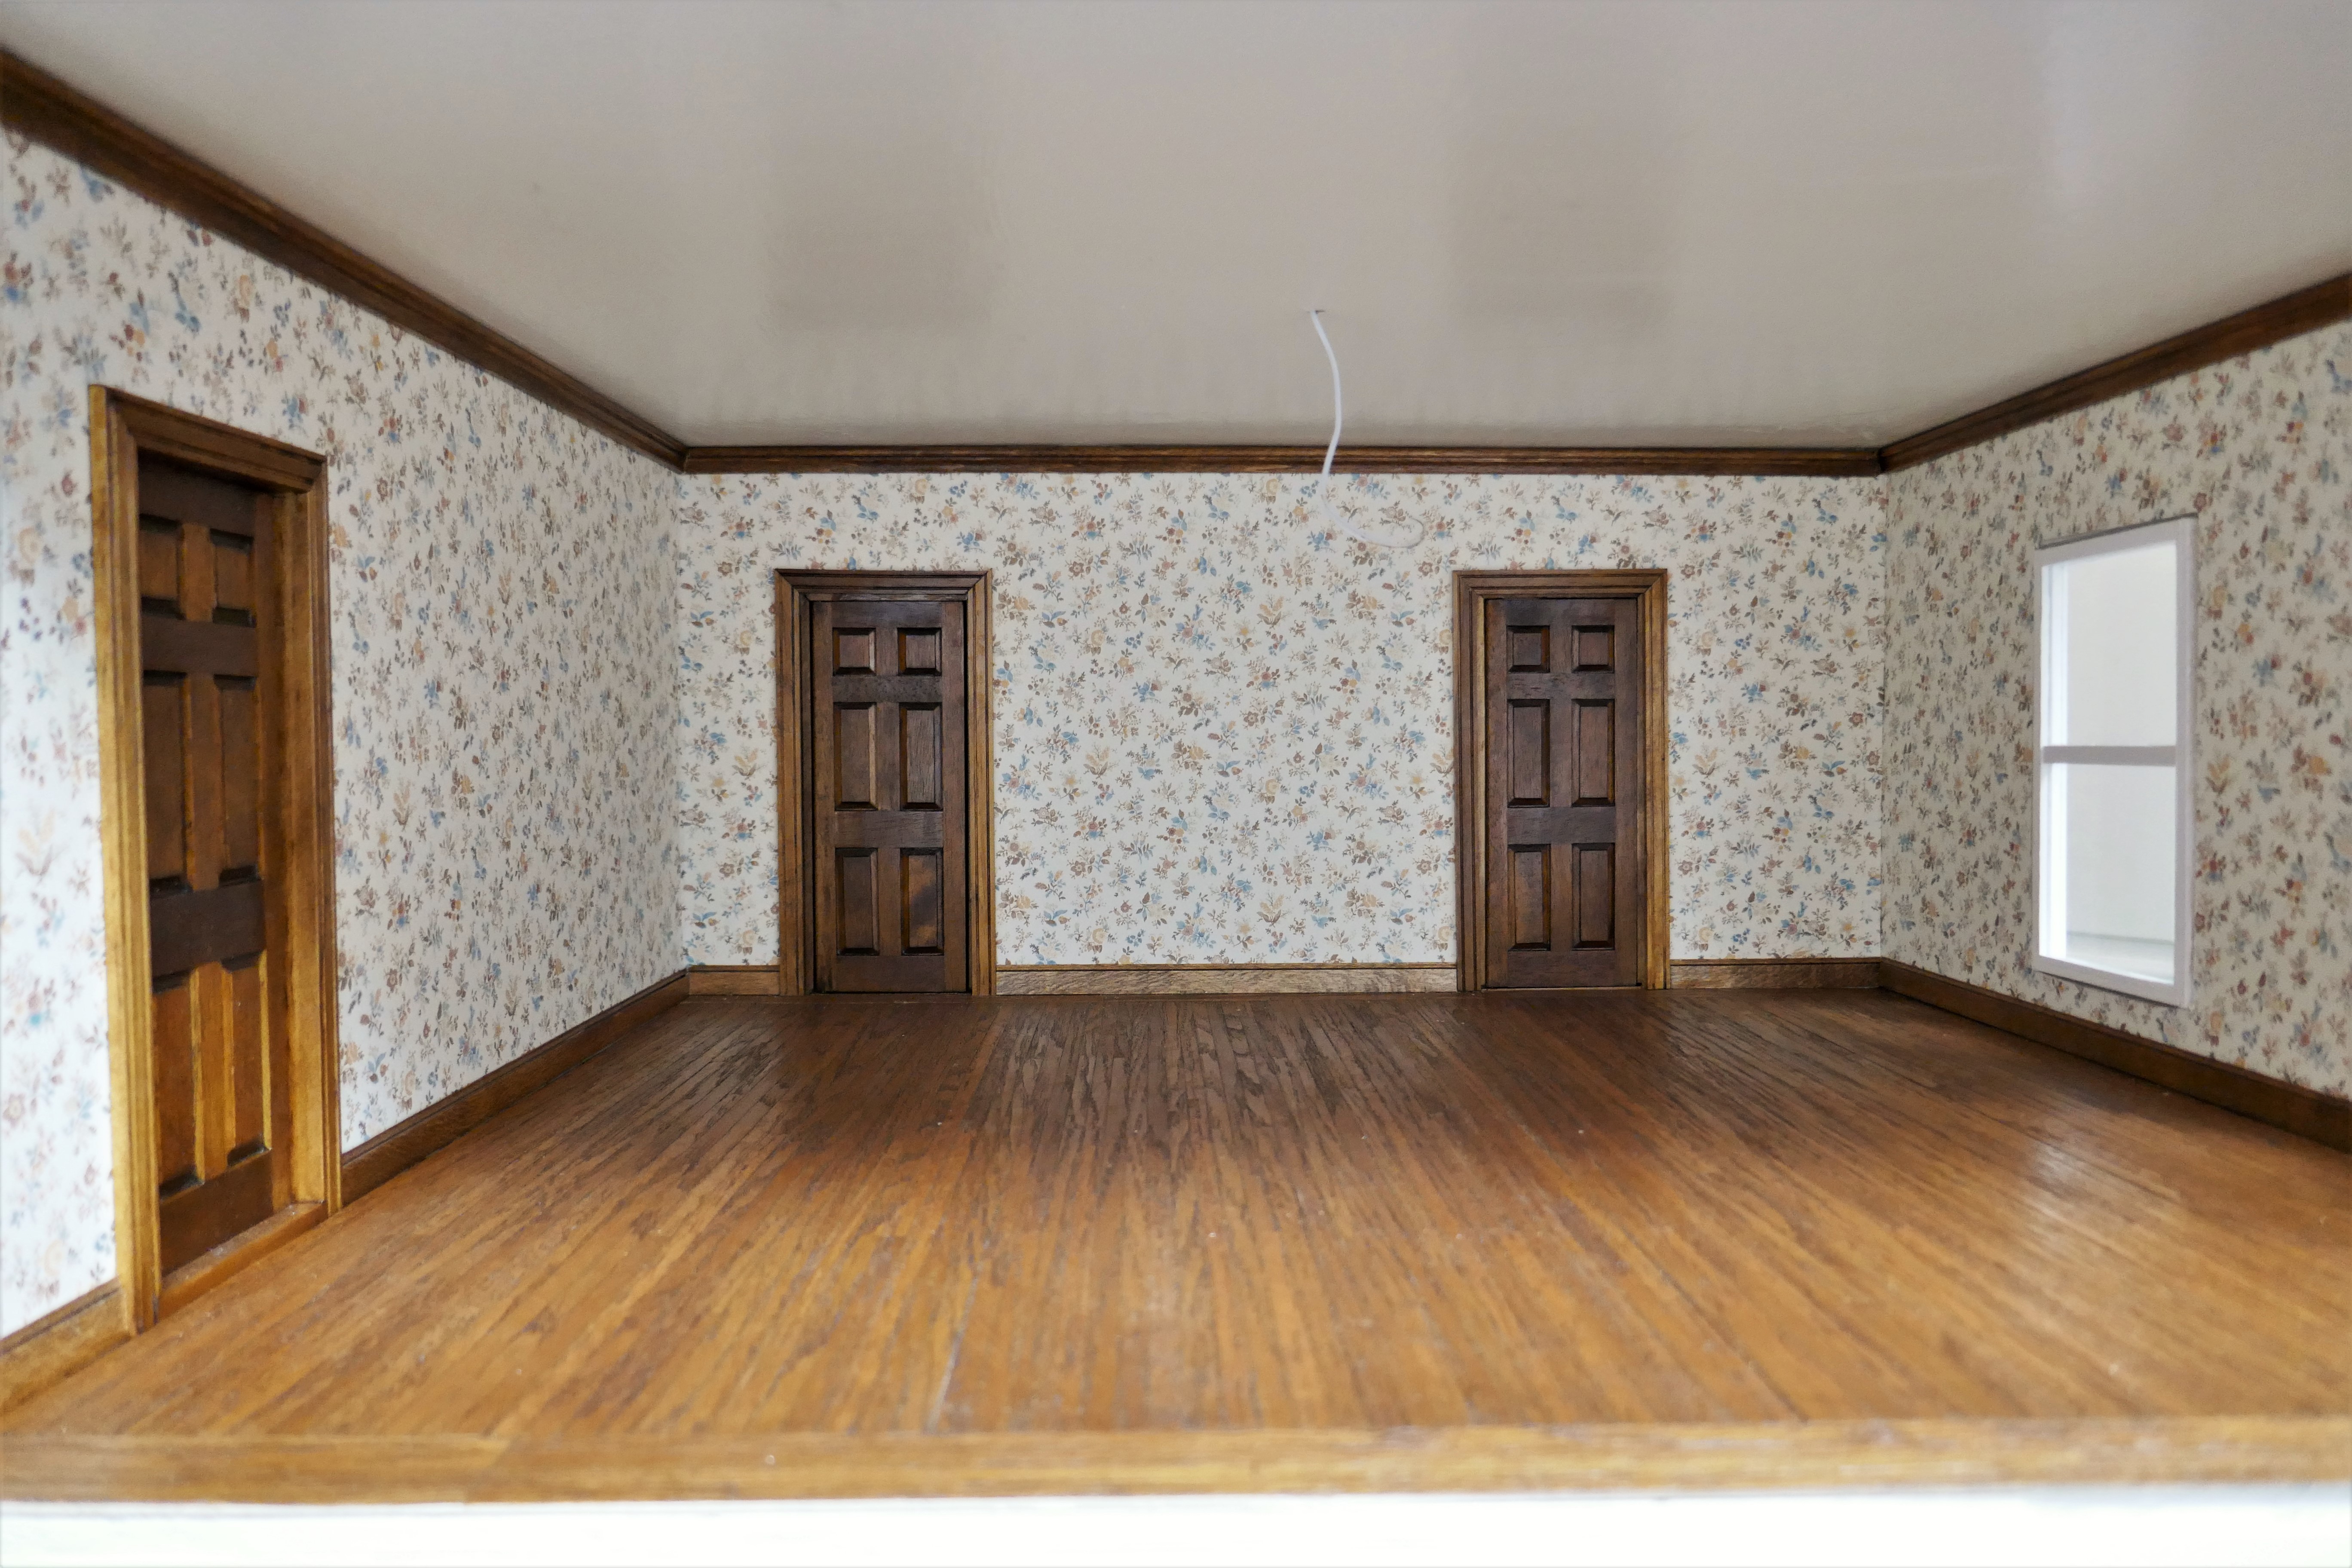
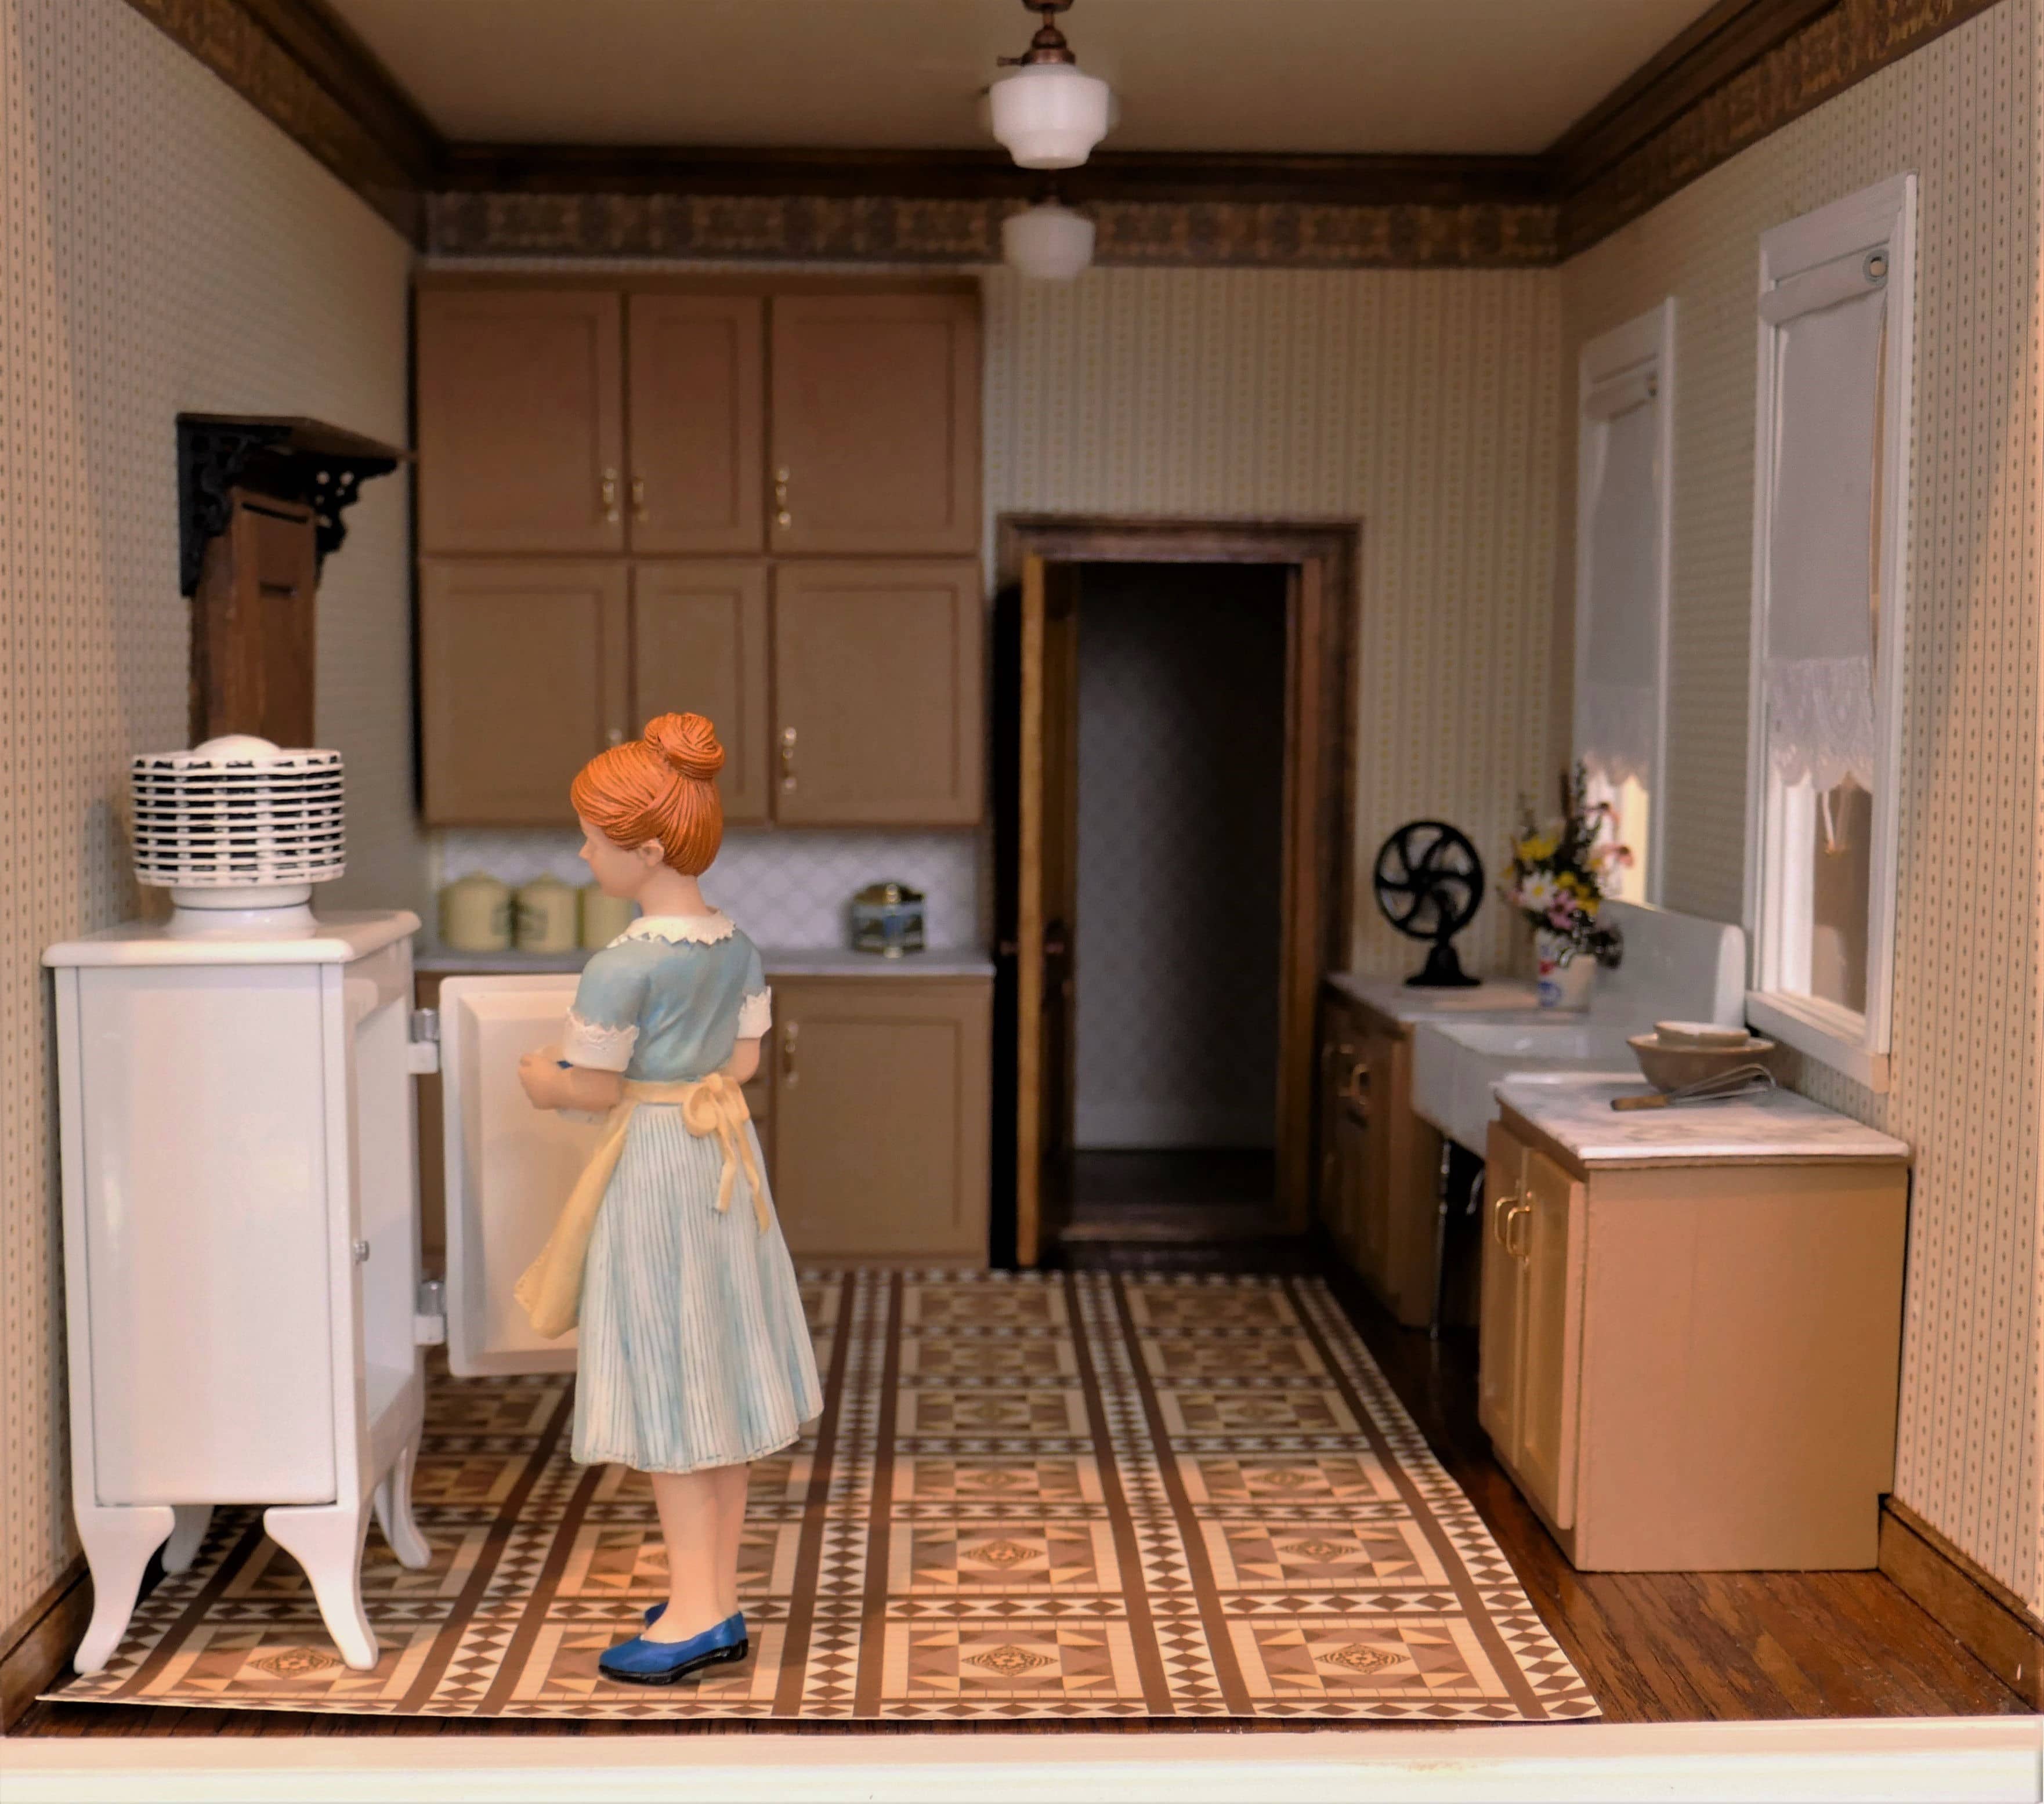
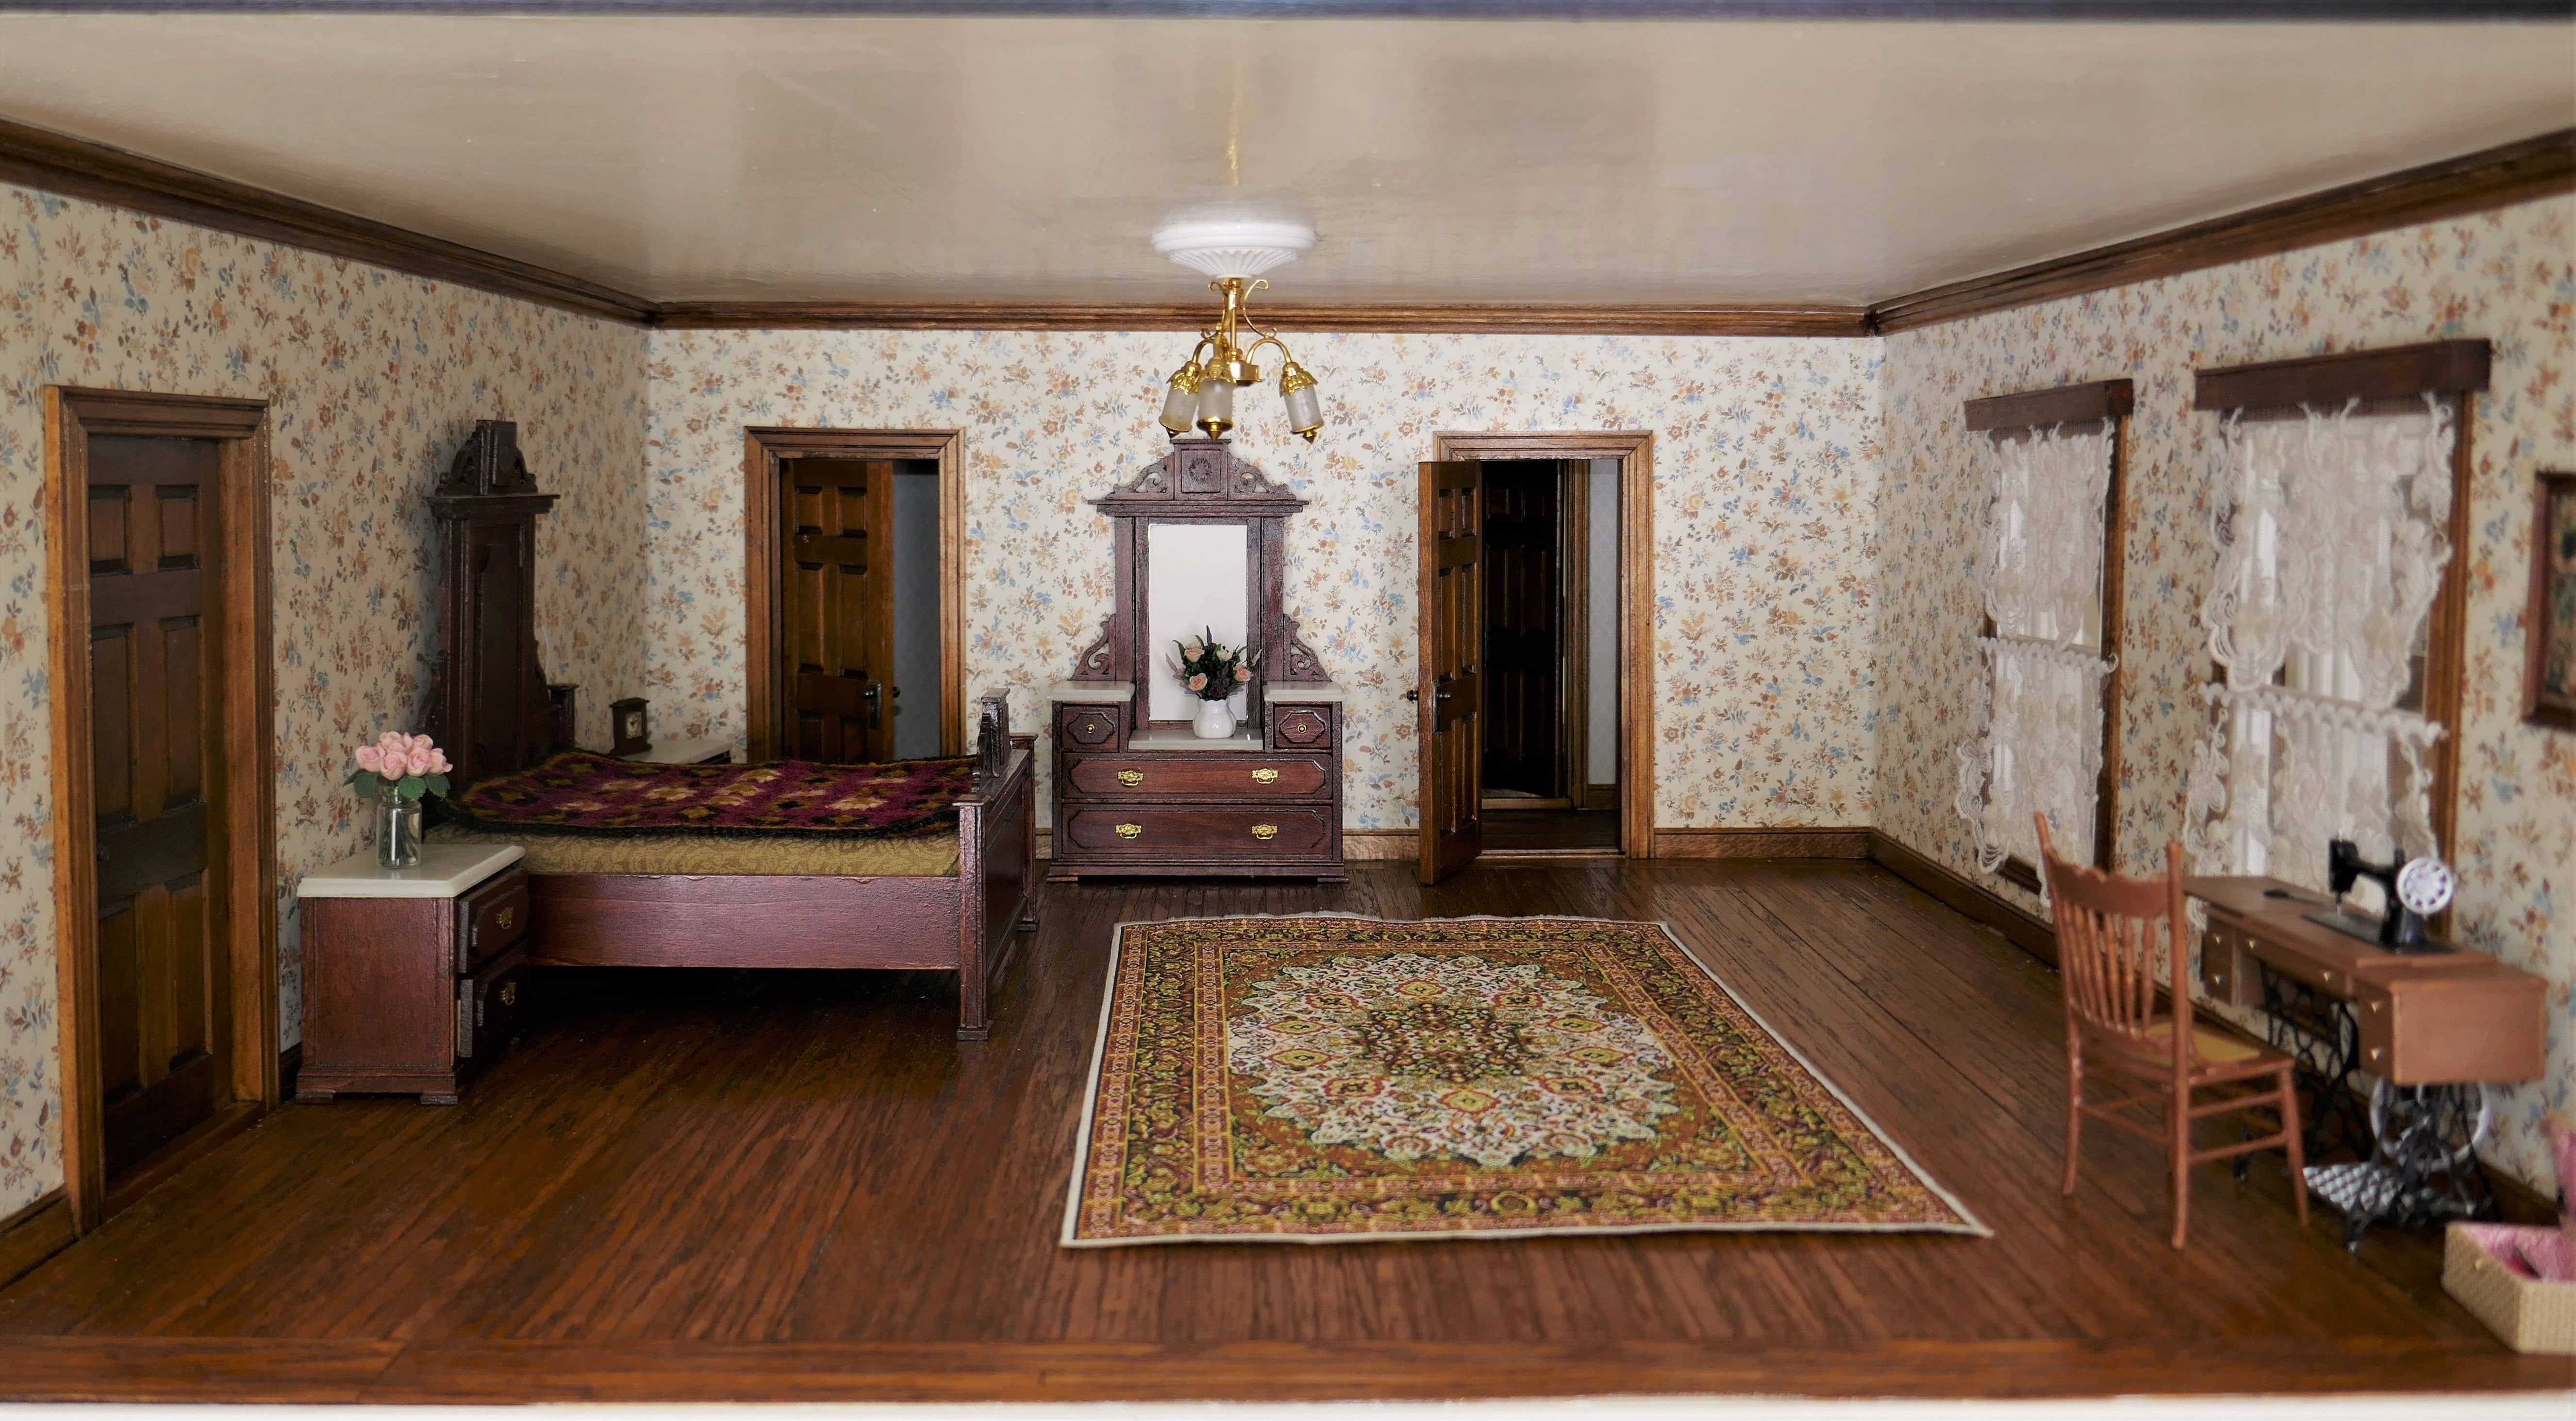
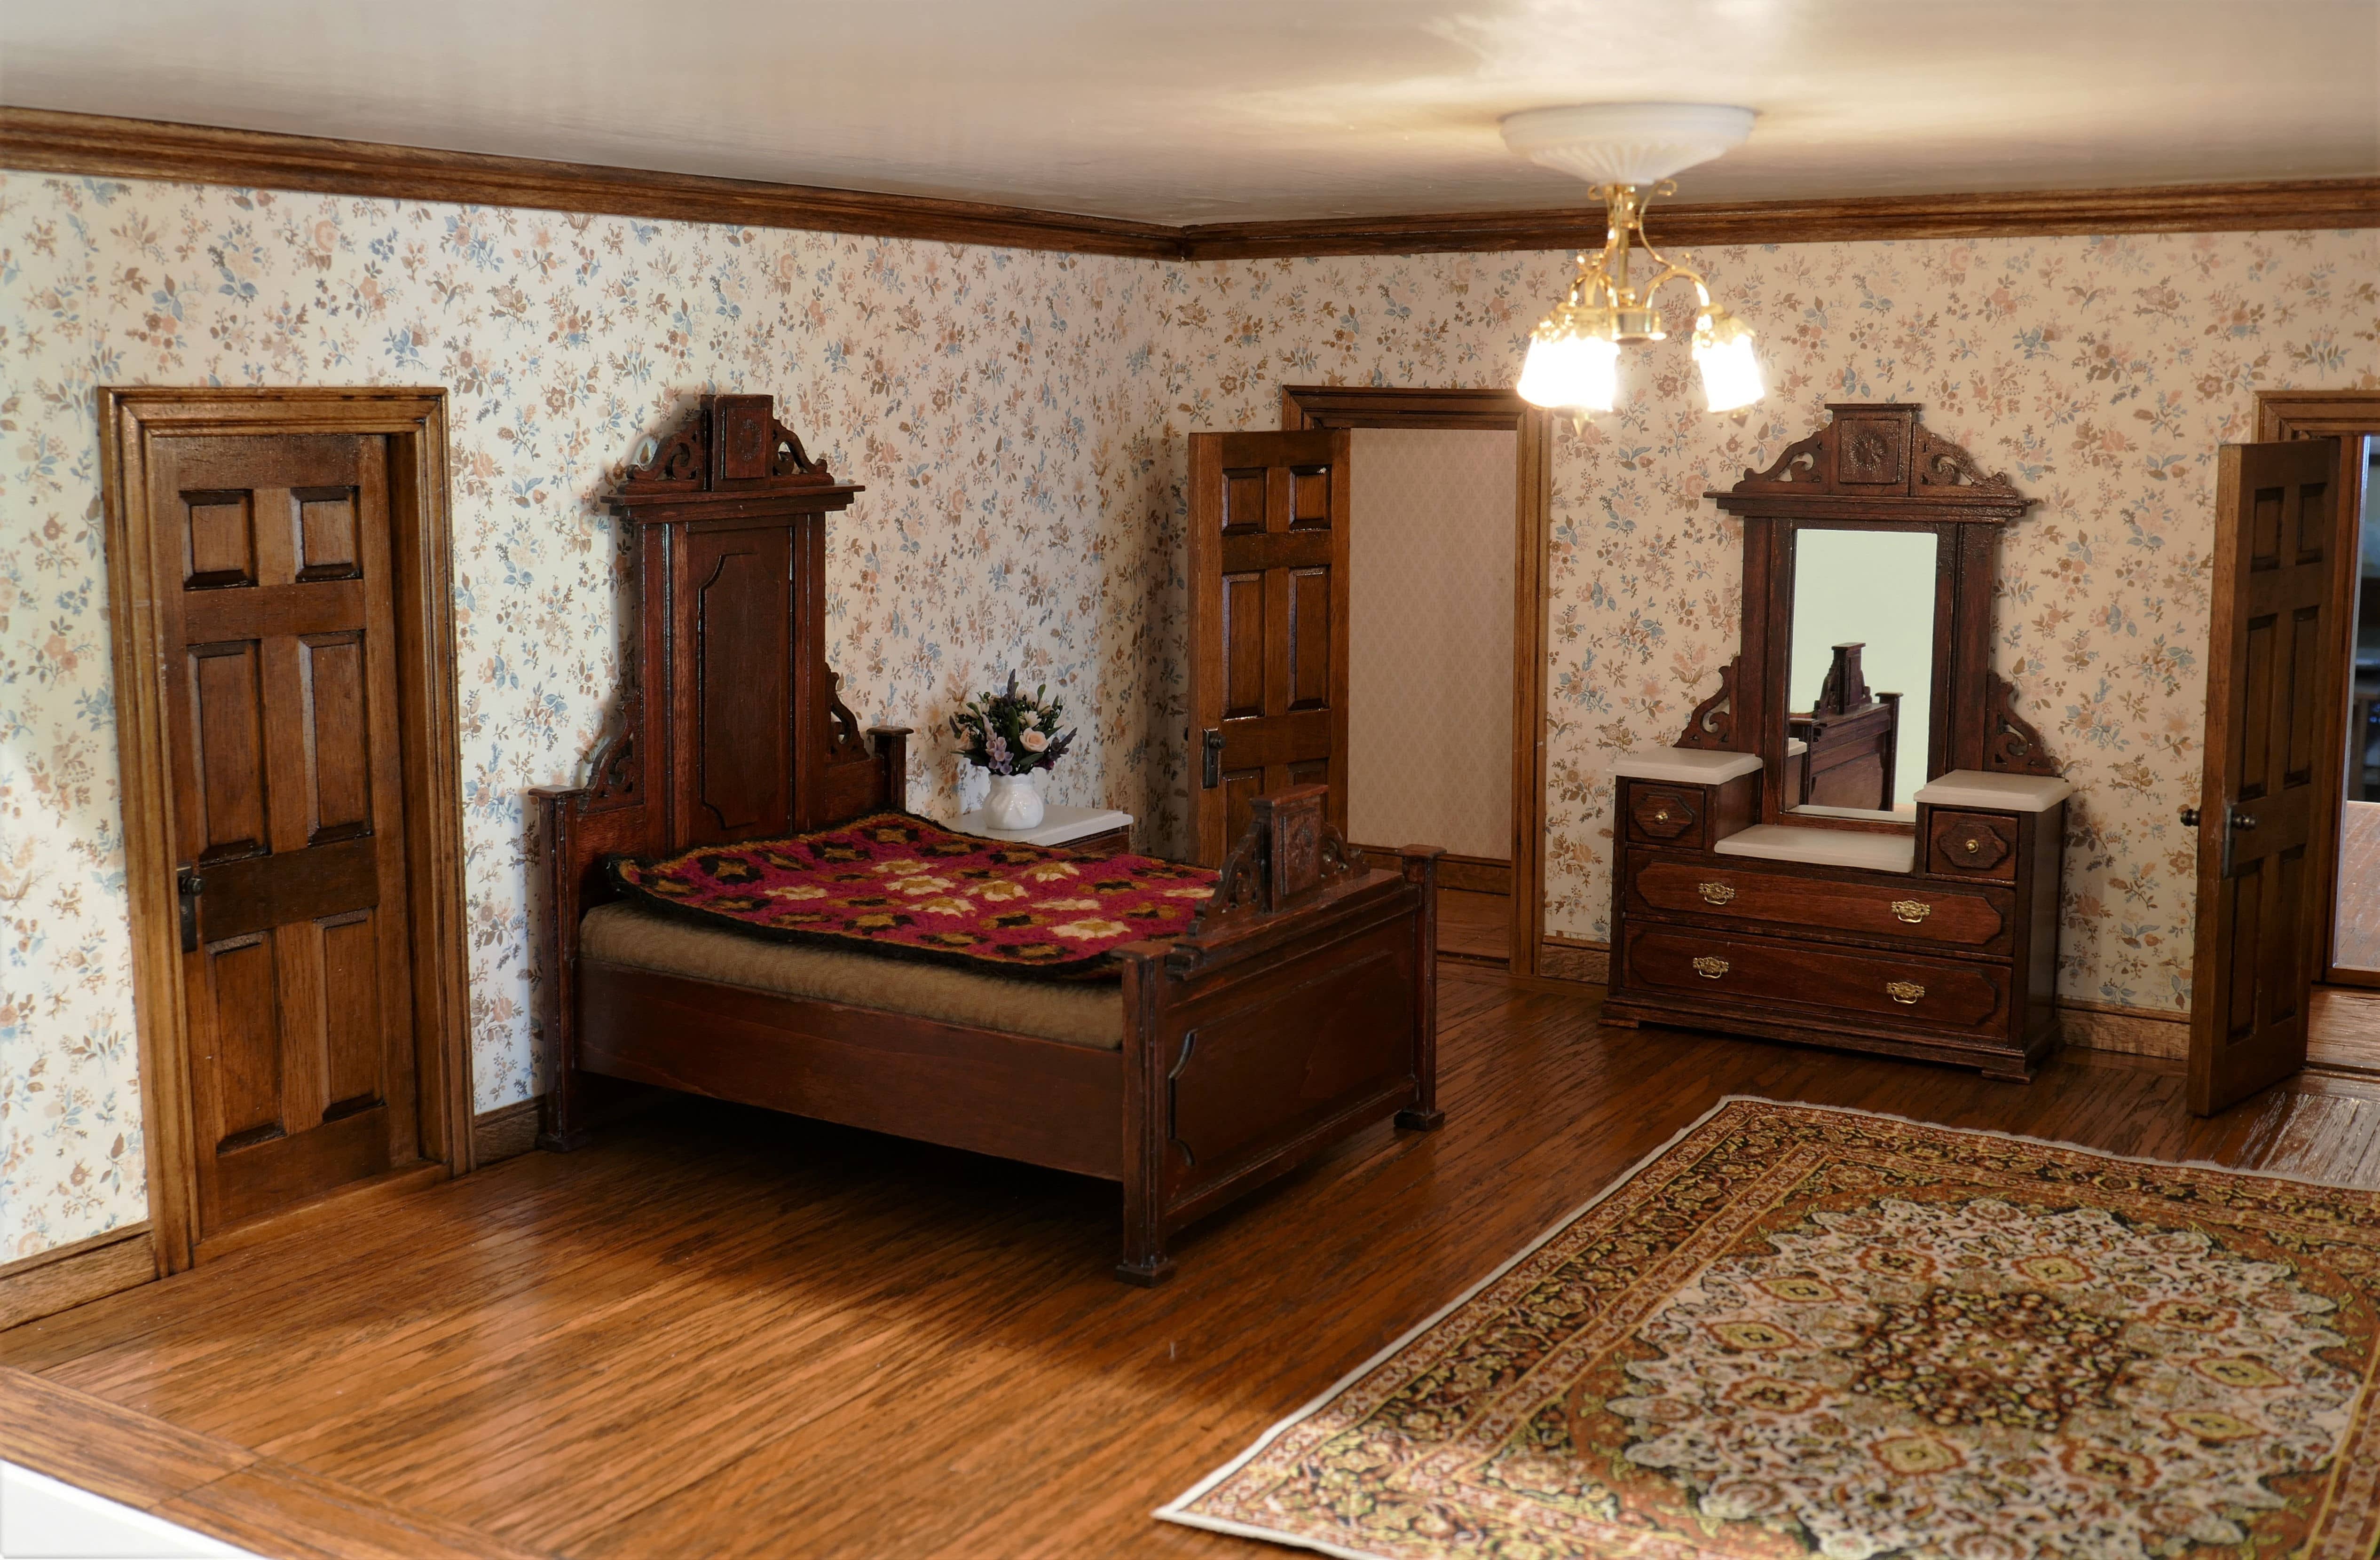
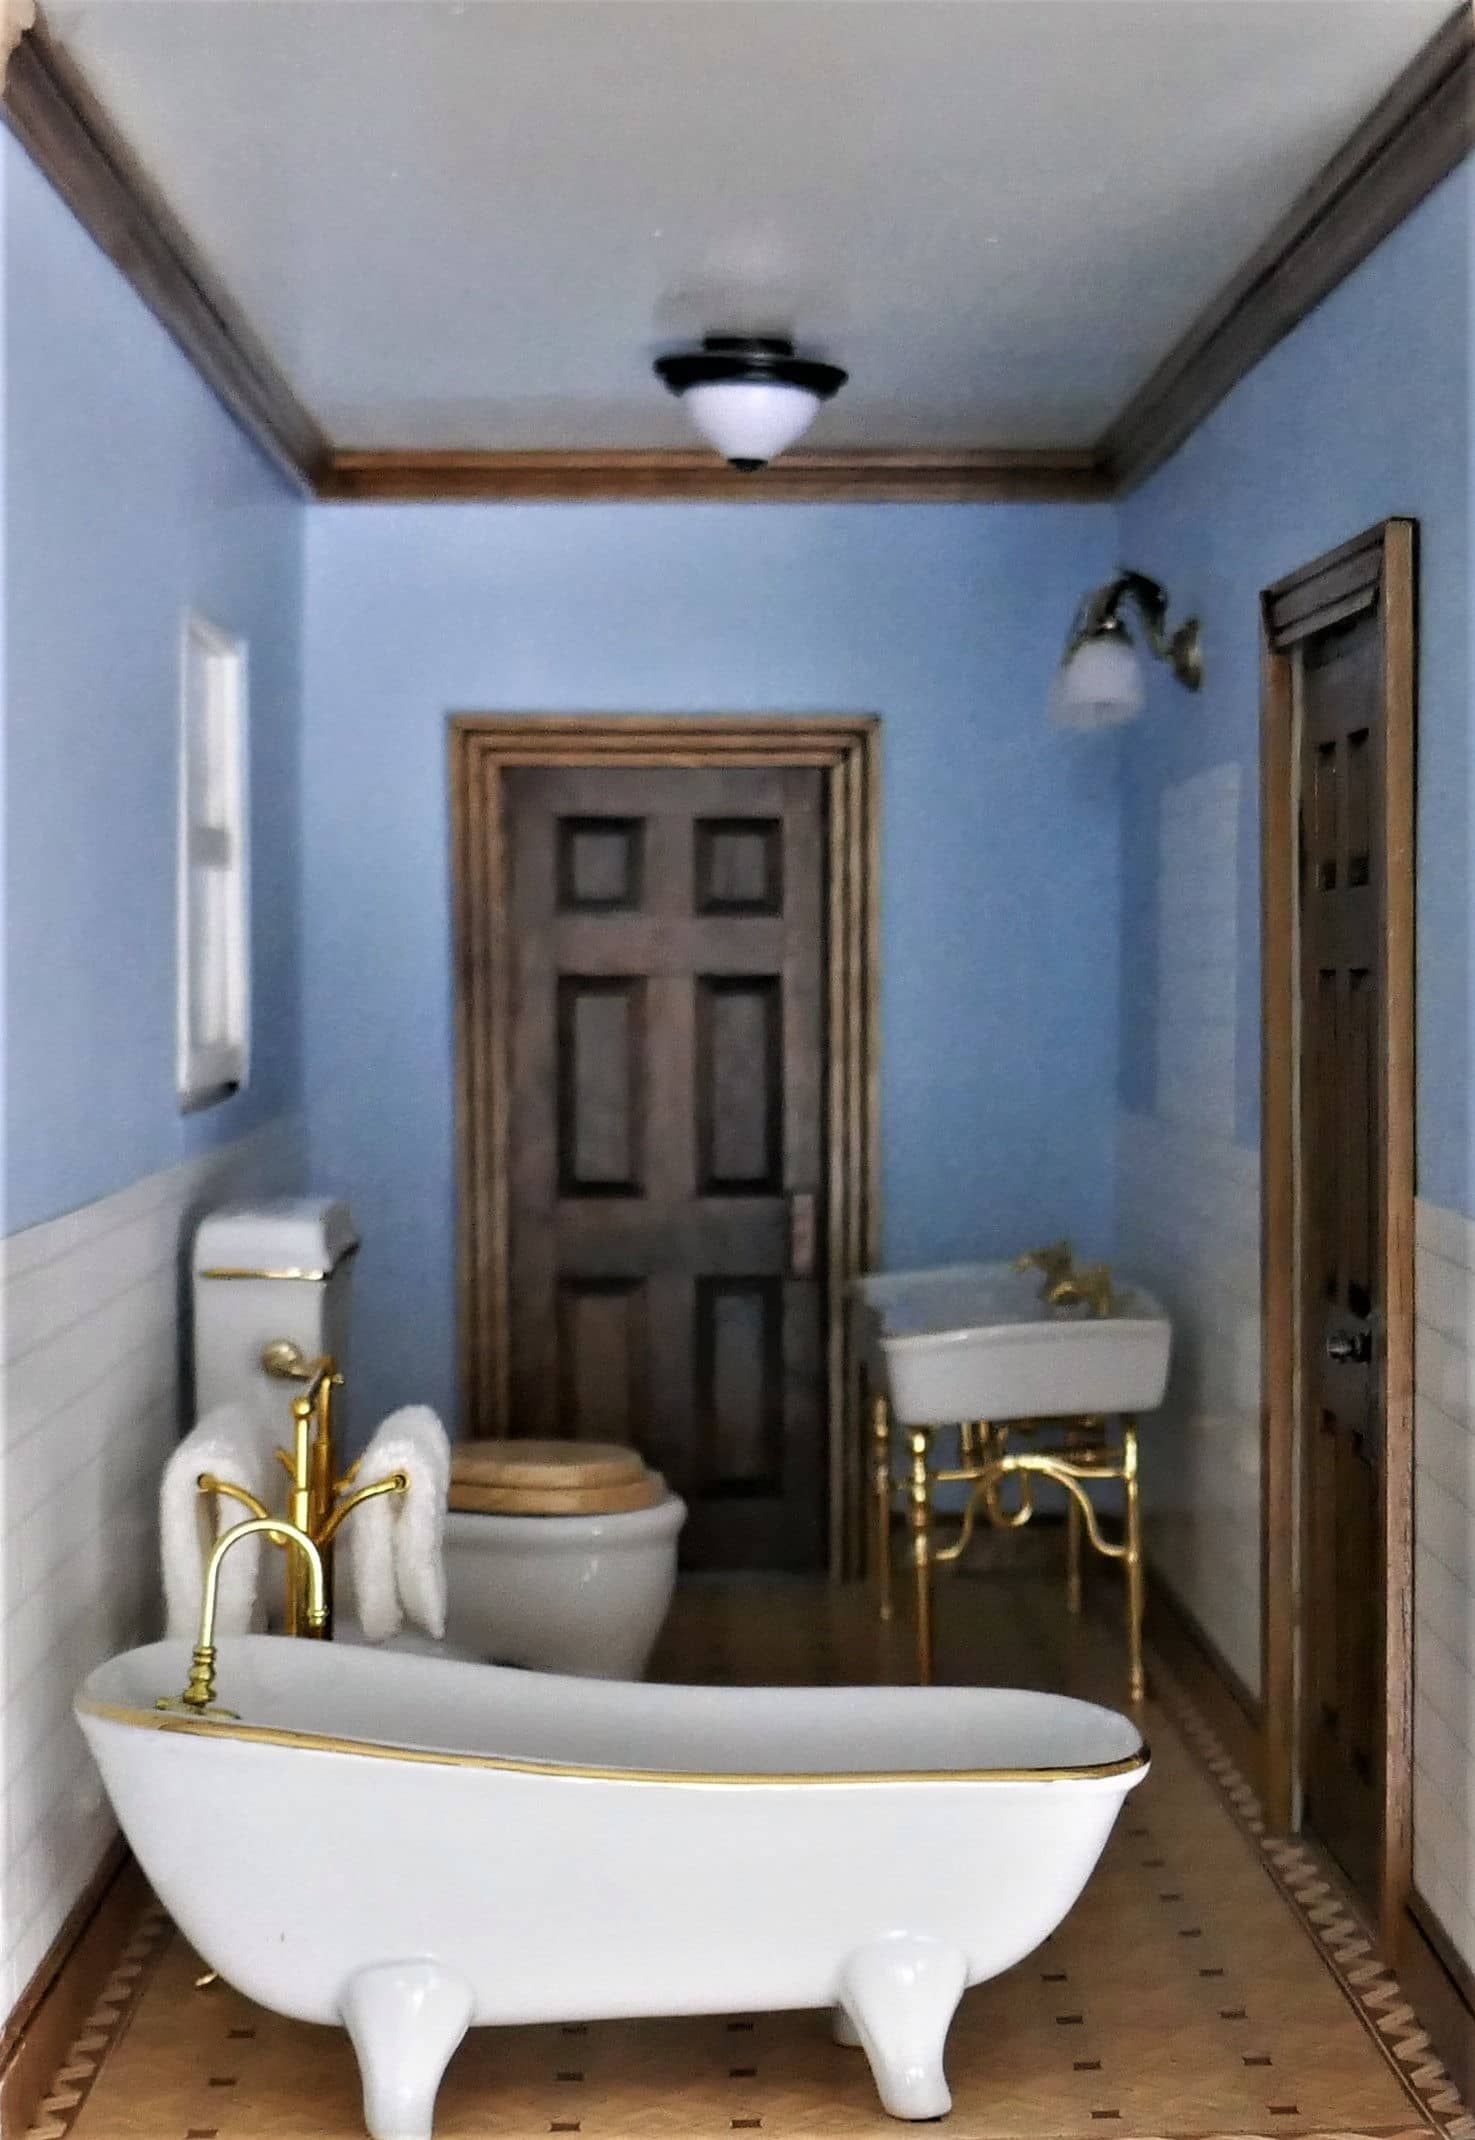
I’ve worked on this Georgian style mansion for the better part of the year 2020. 
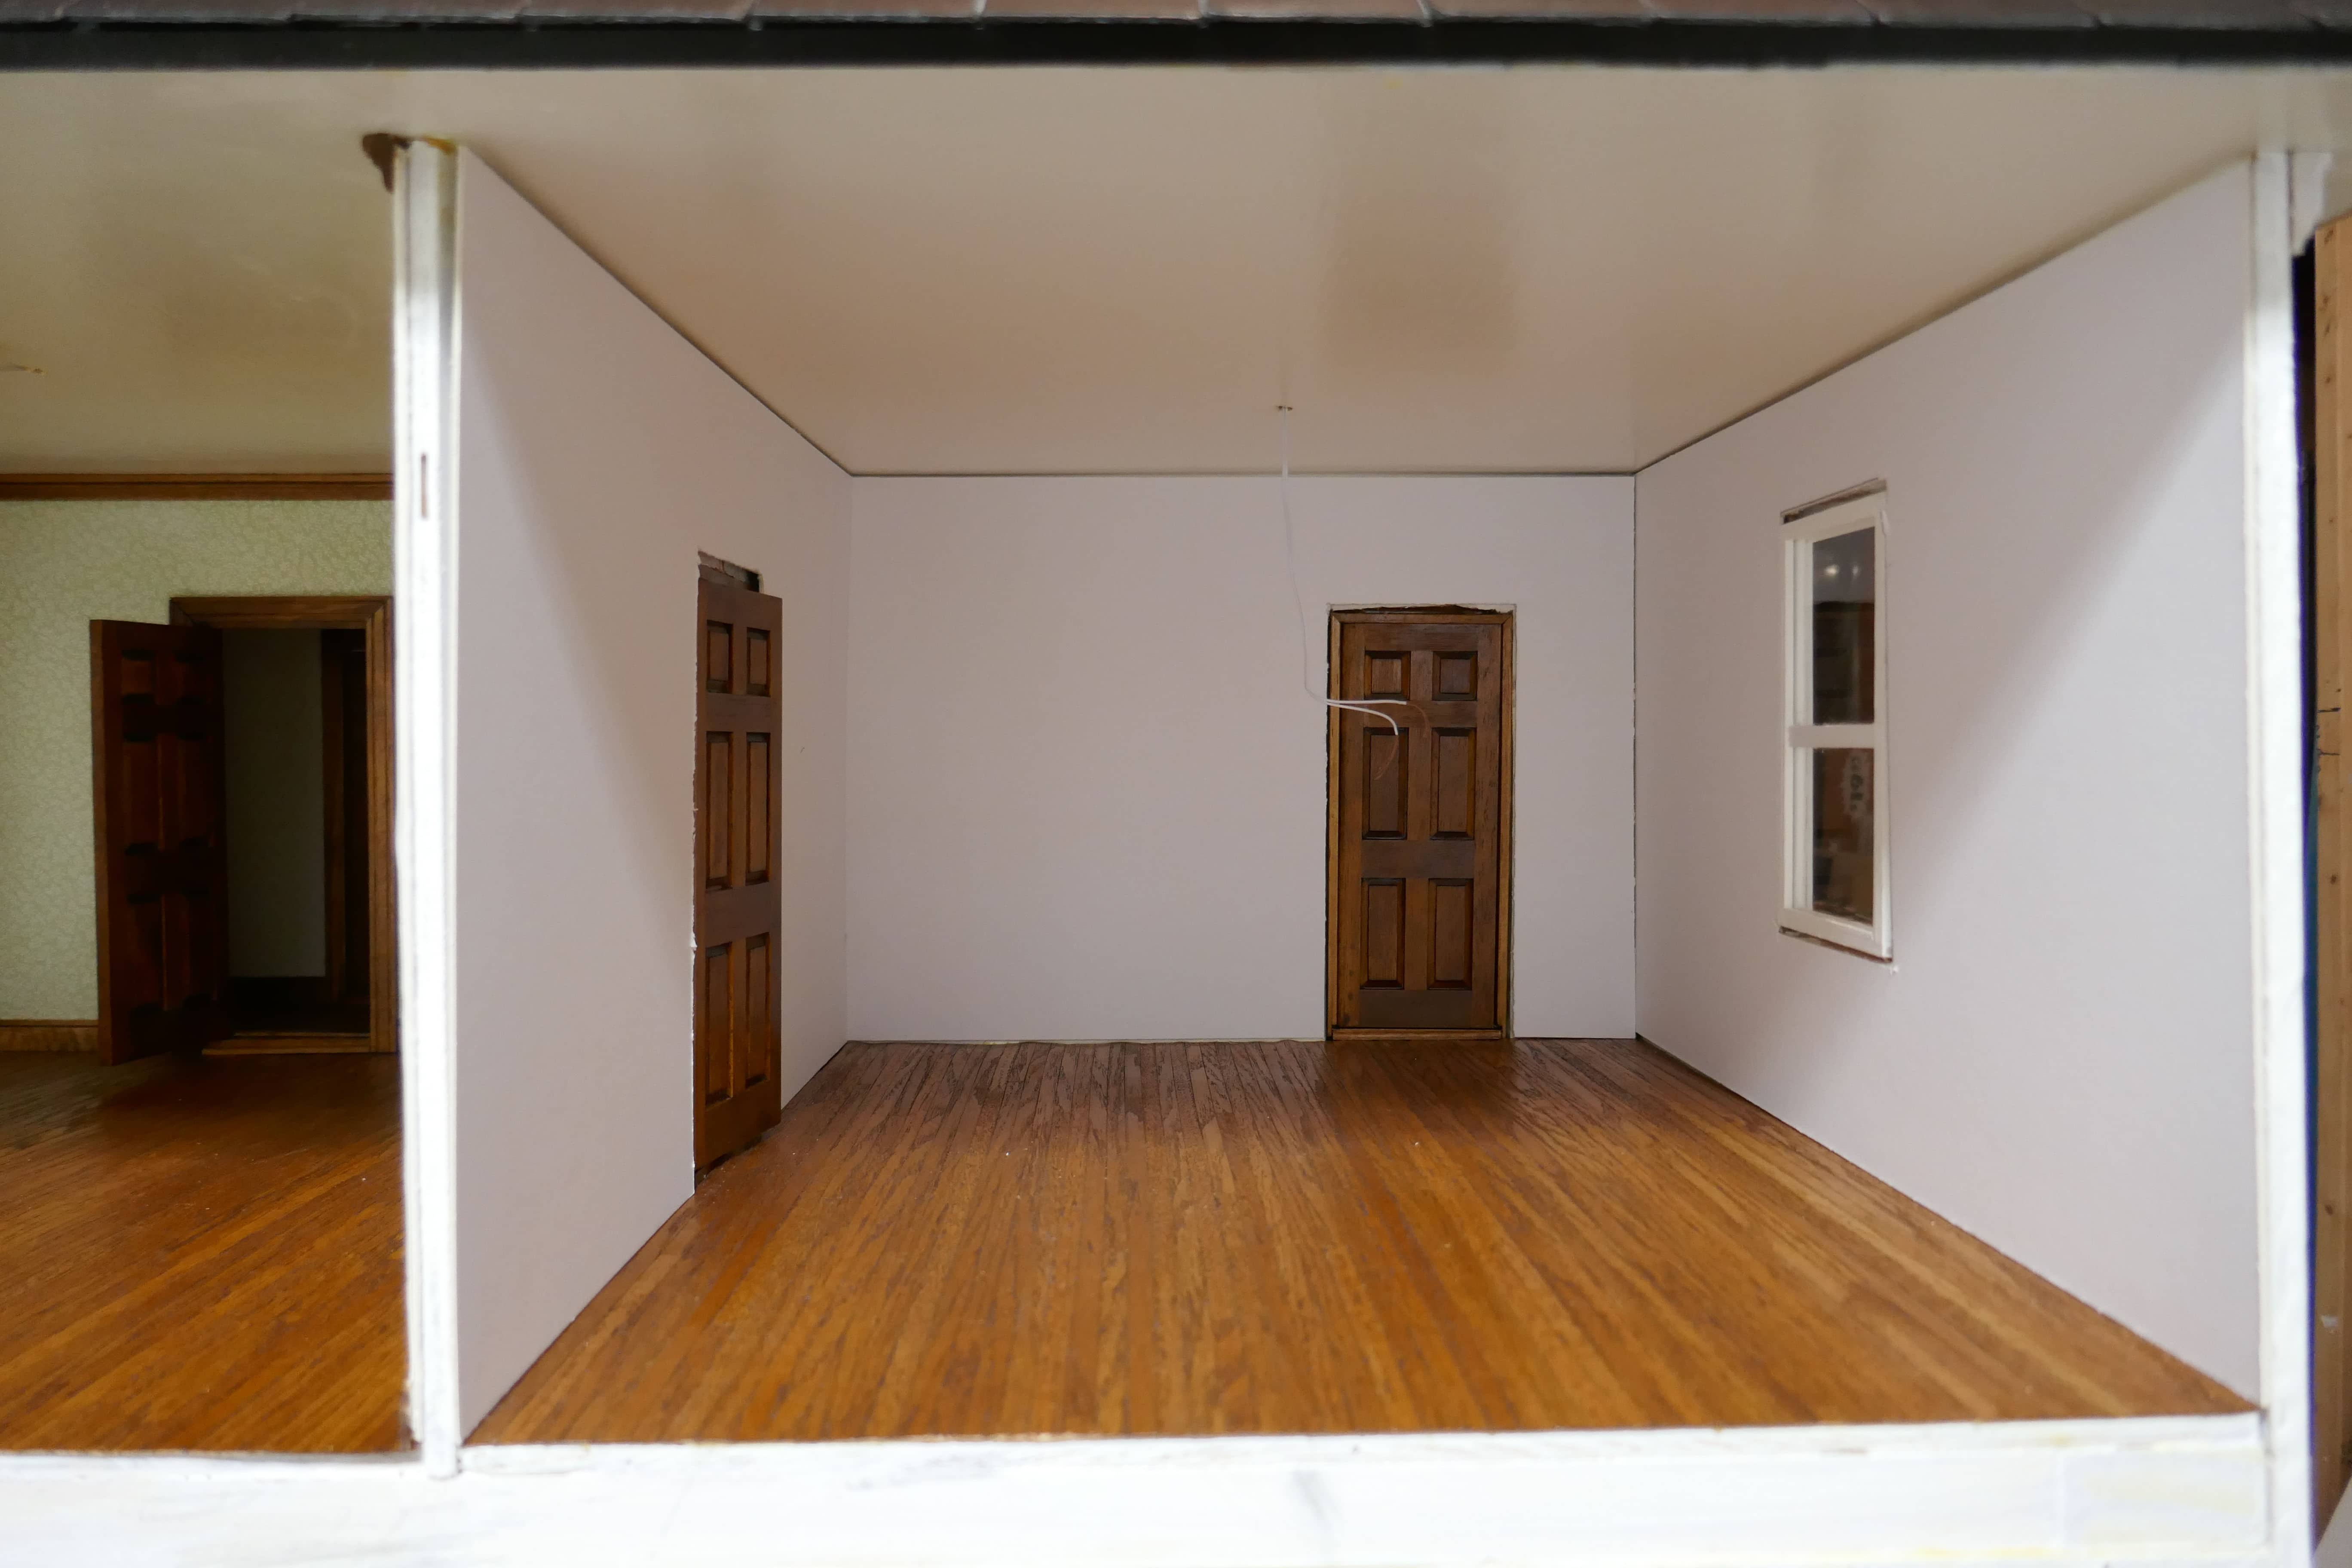
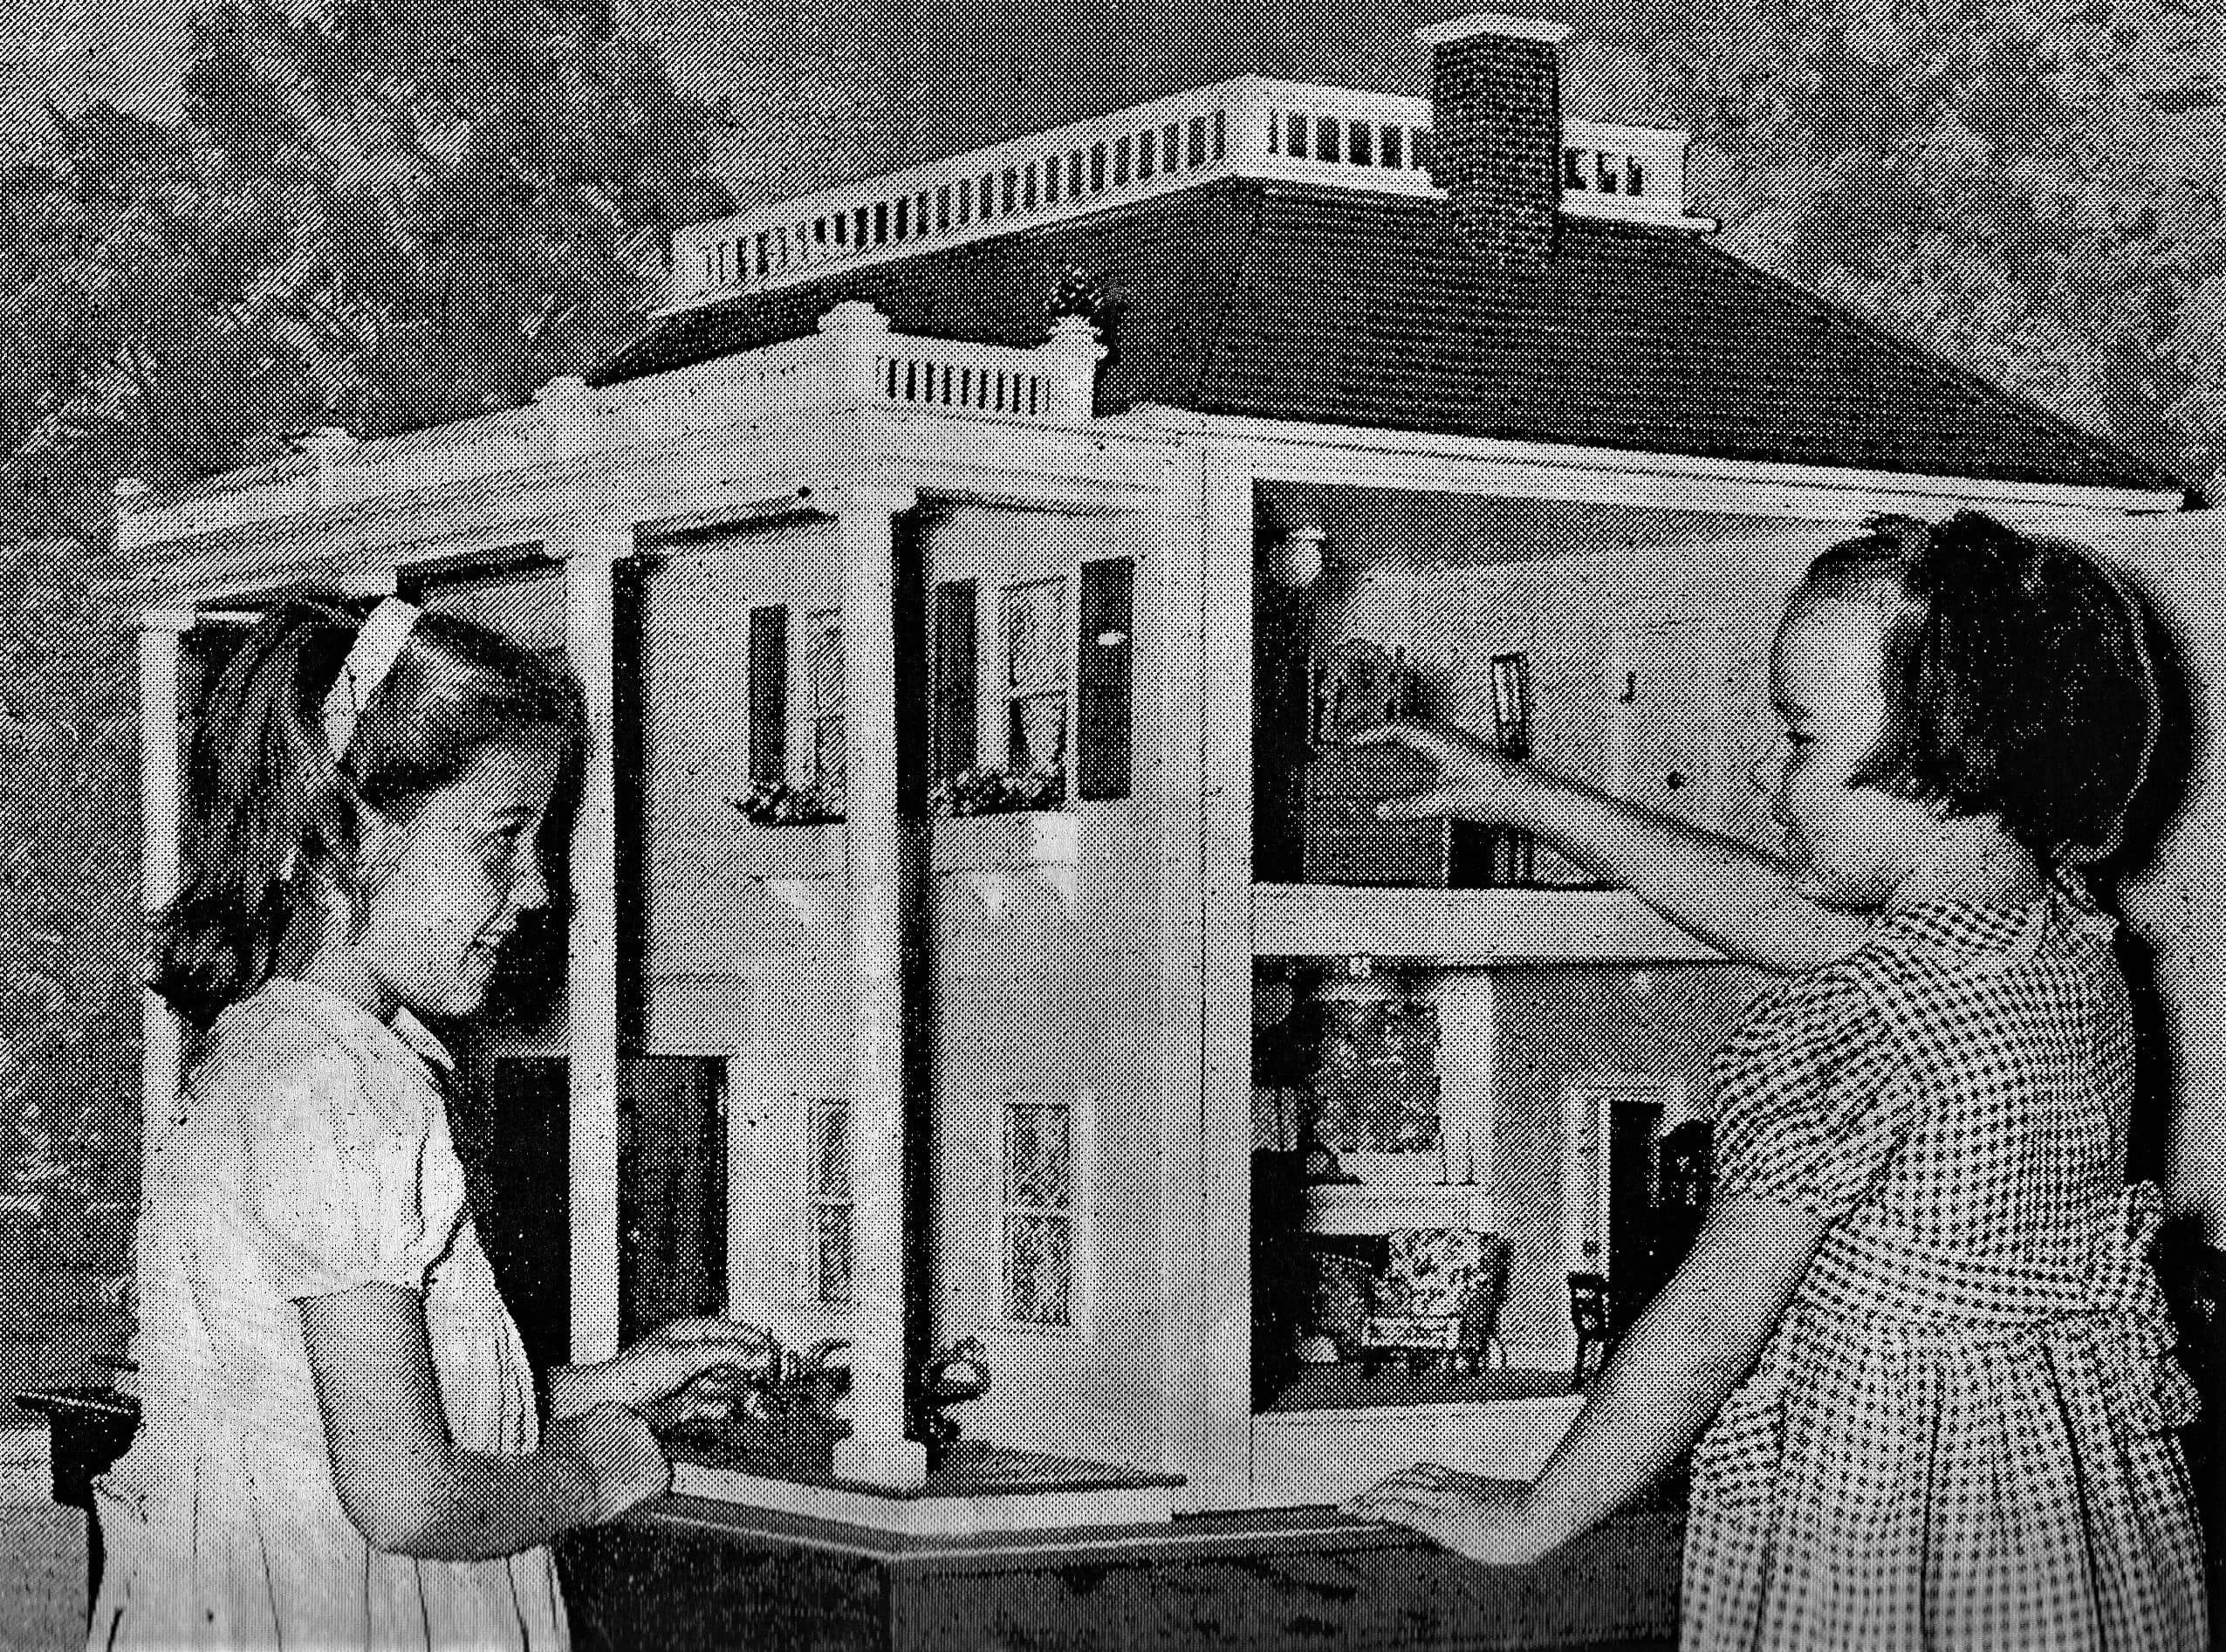
When I found the plans for it, printed in 1950, I loved the idea of an open sided house. 
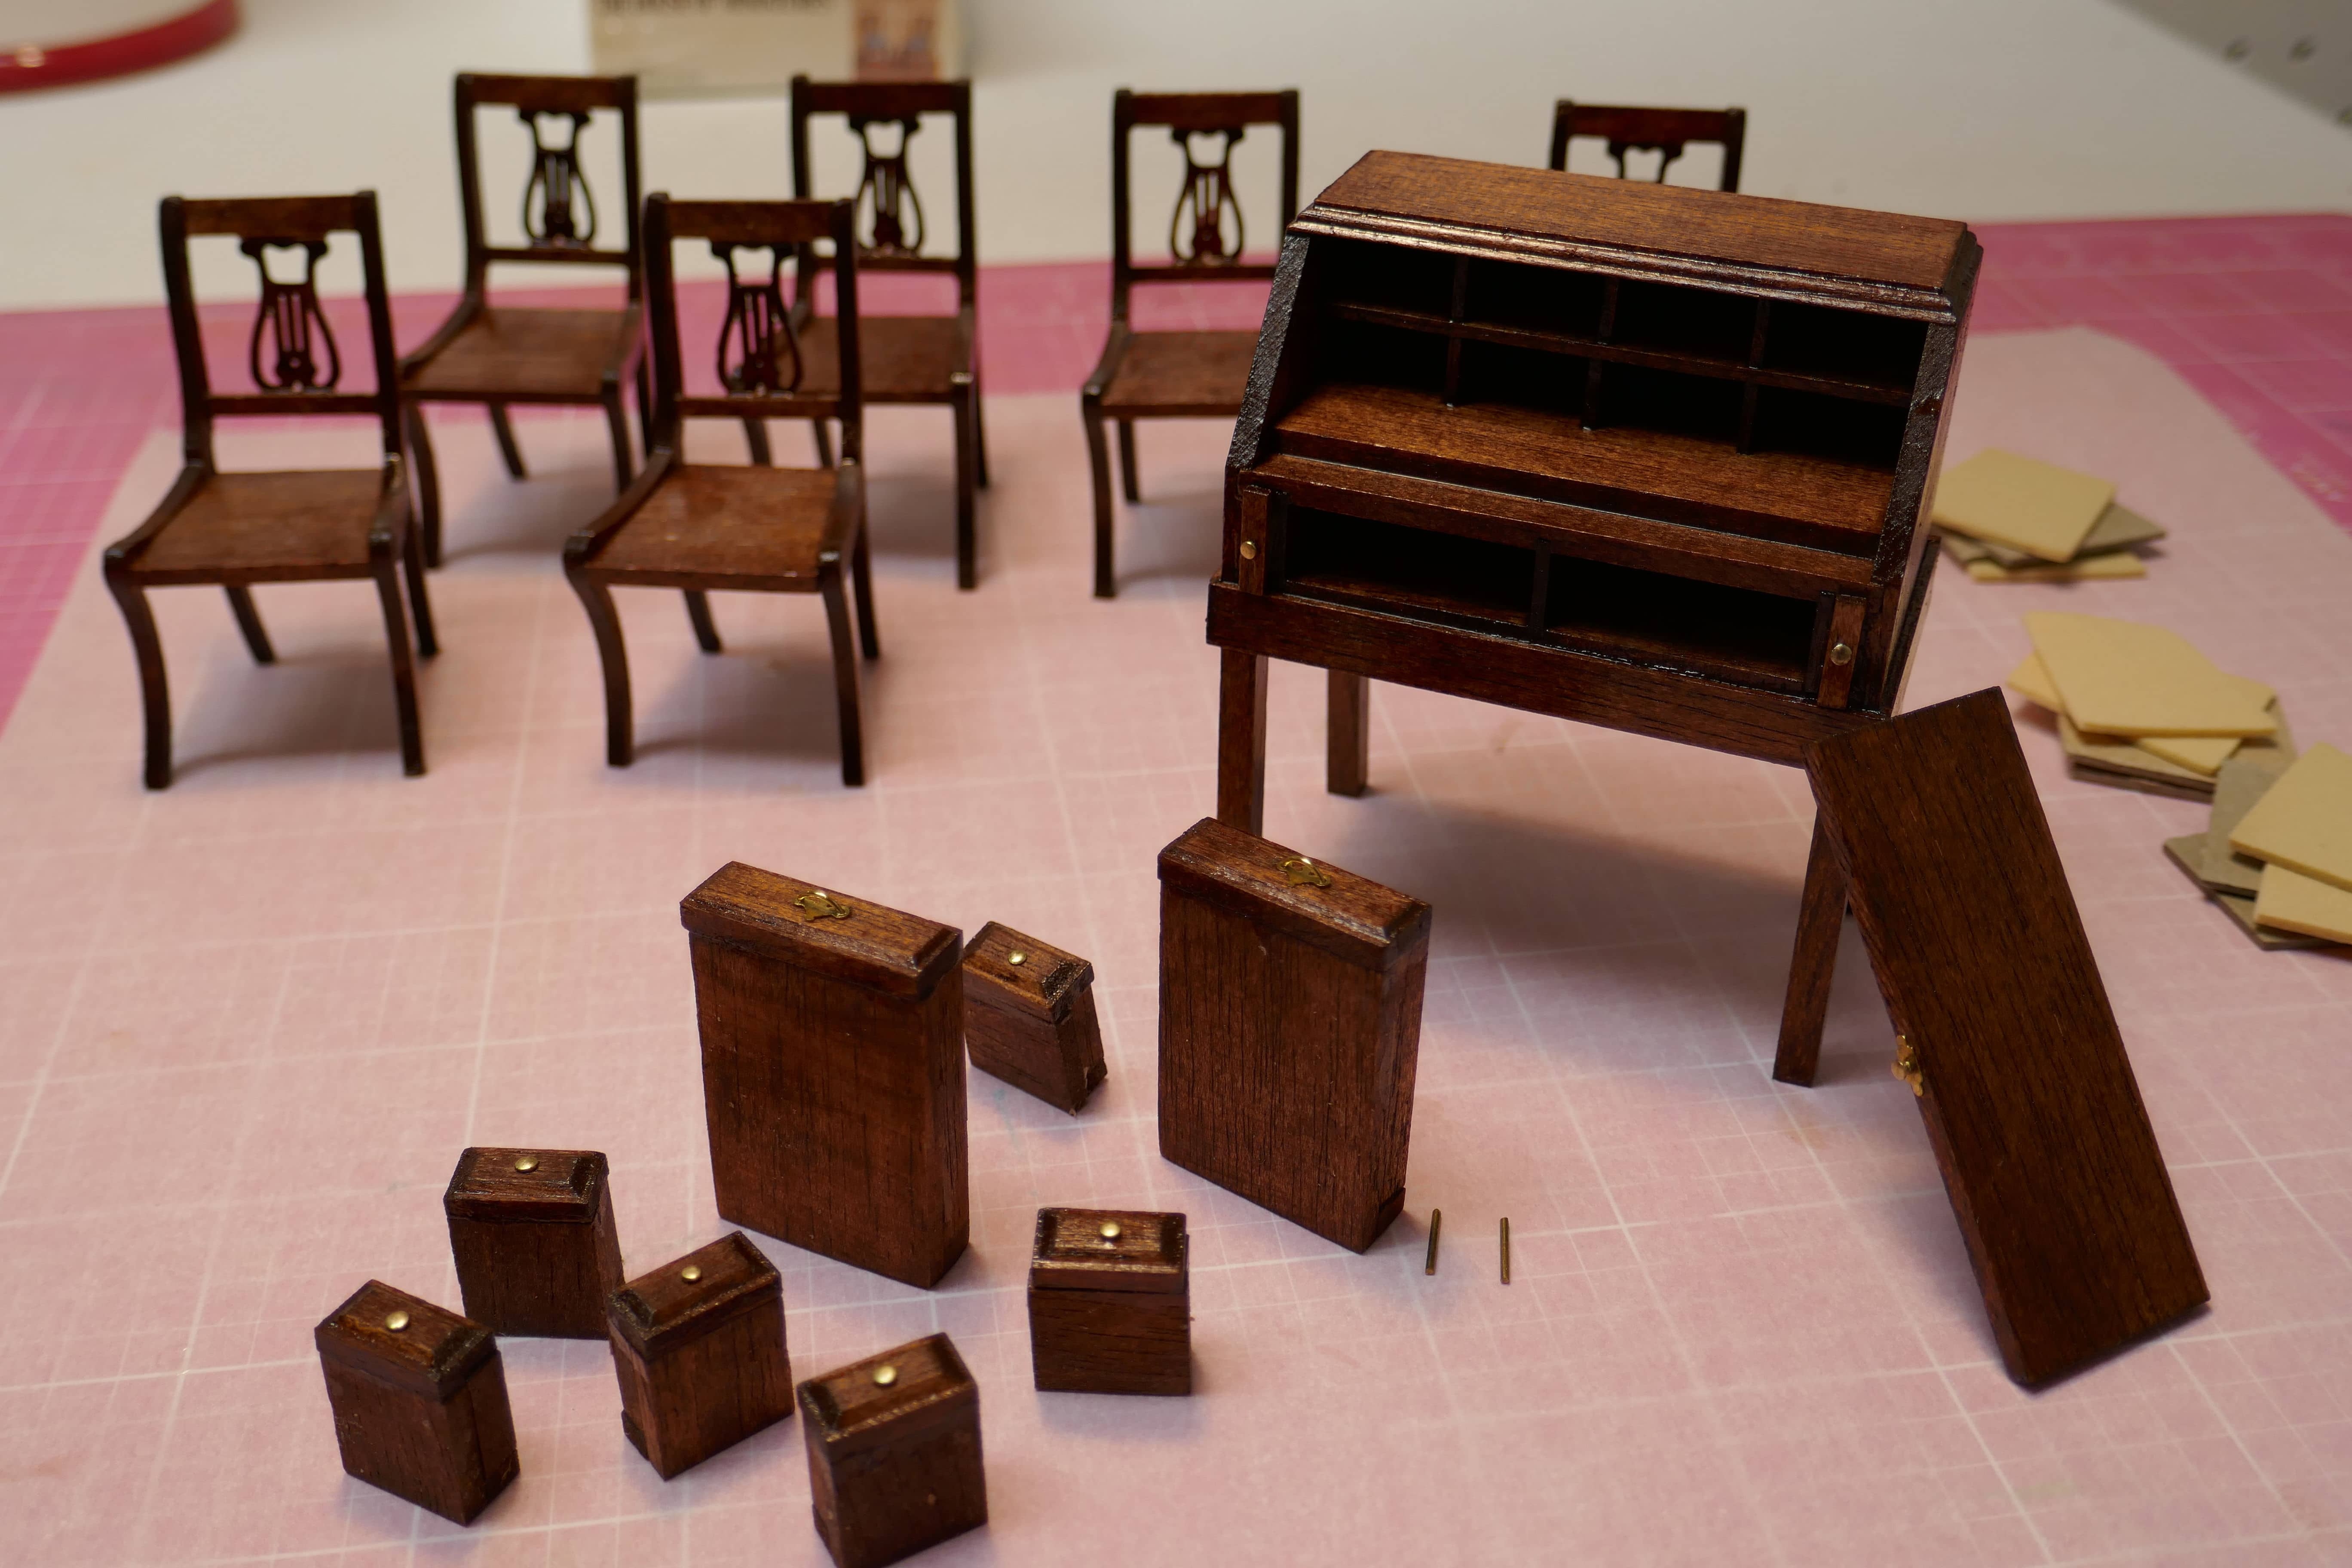
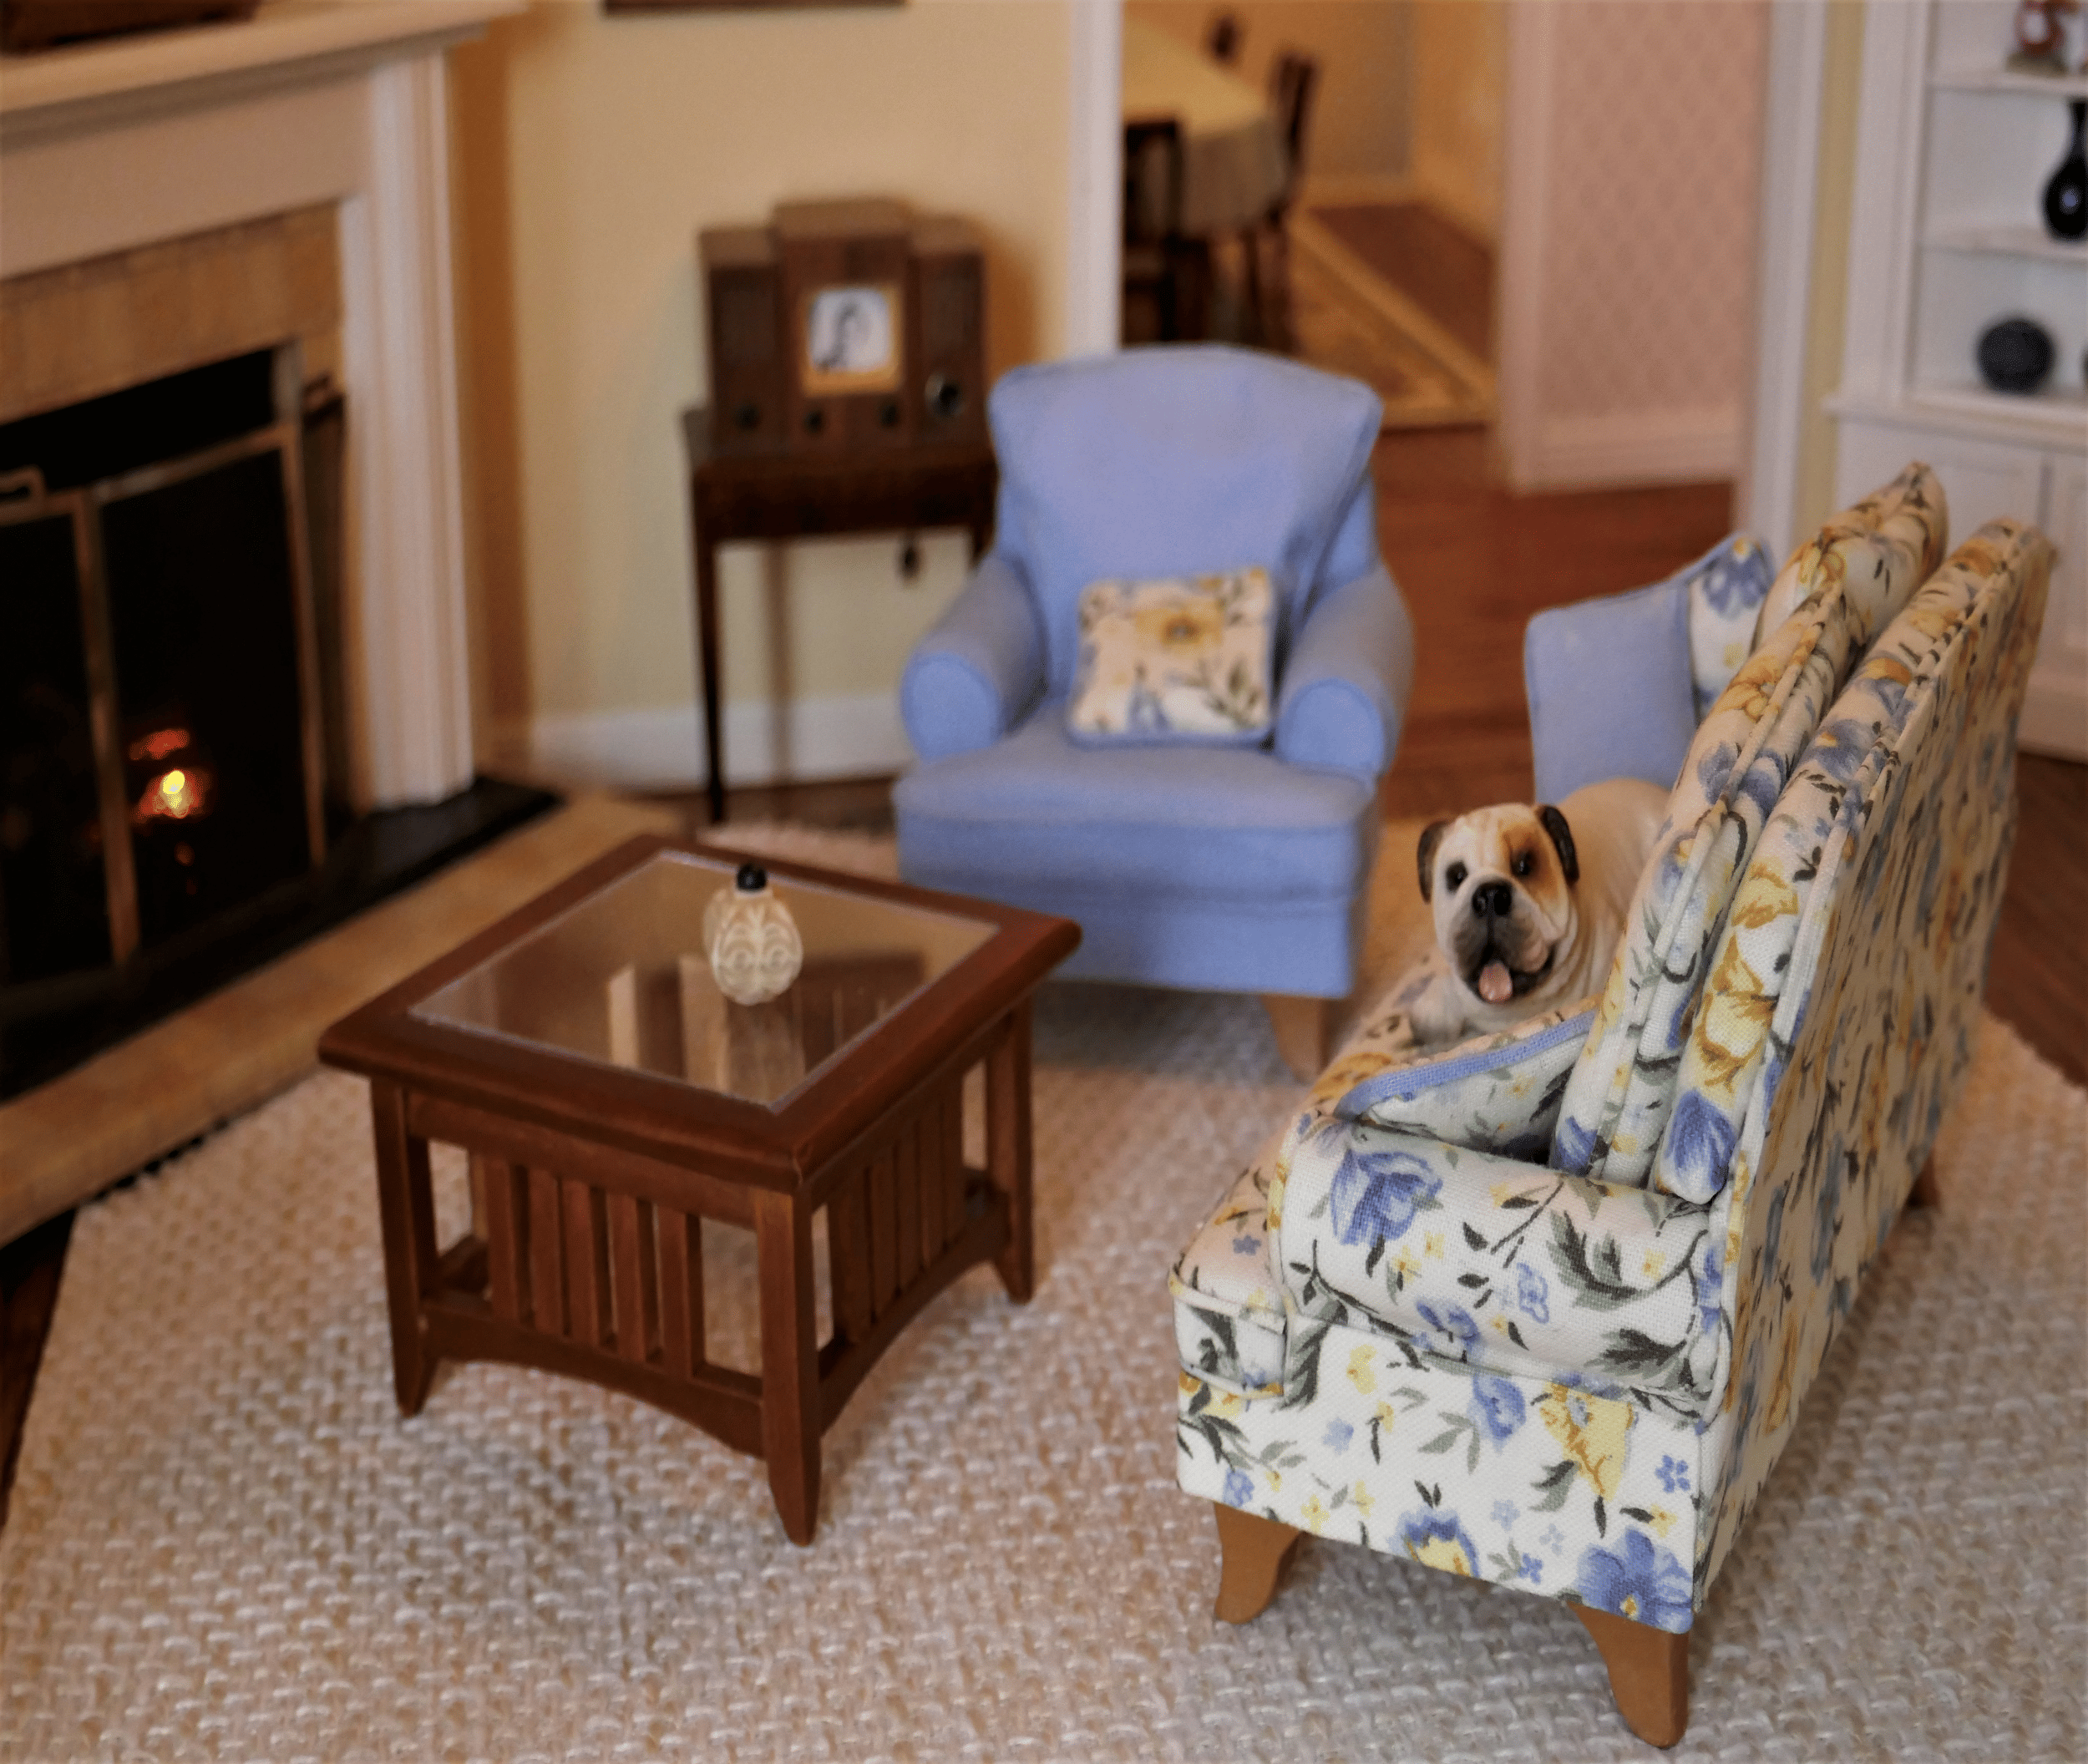
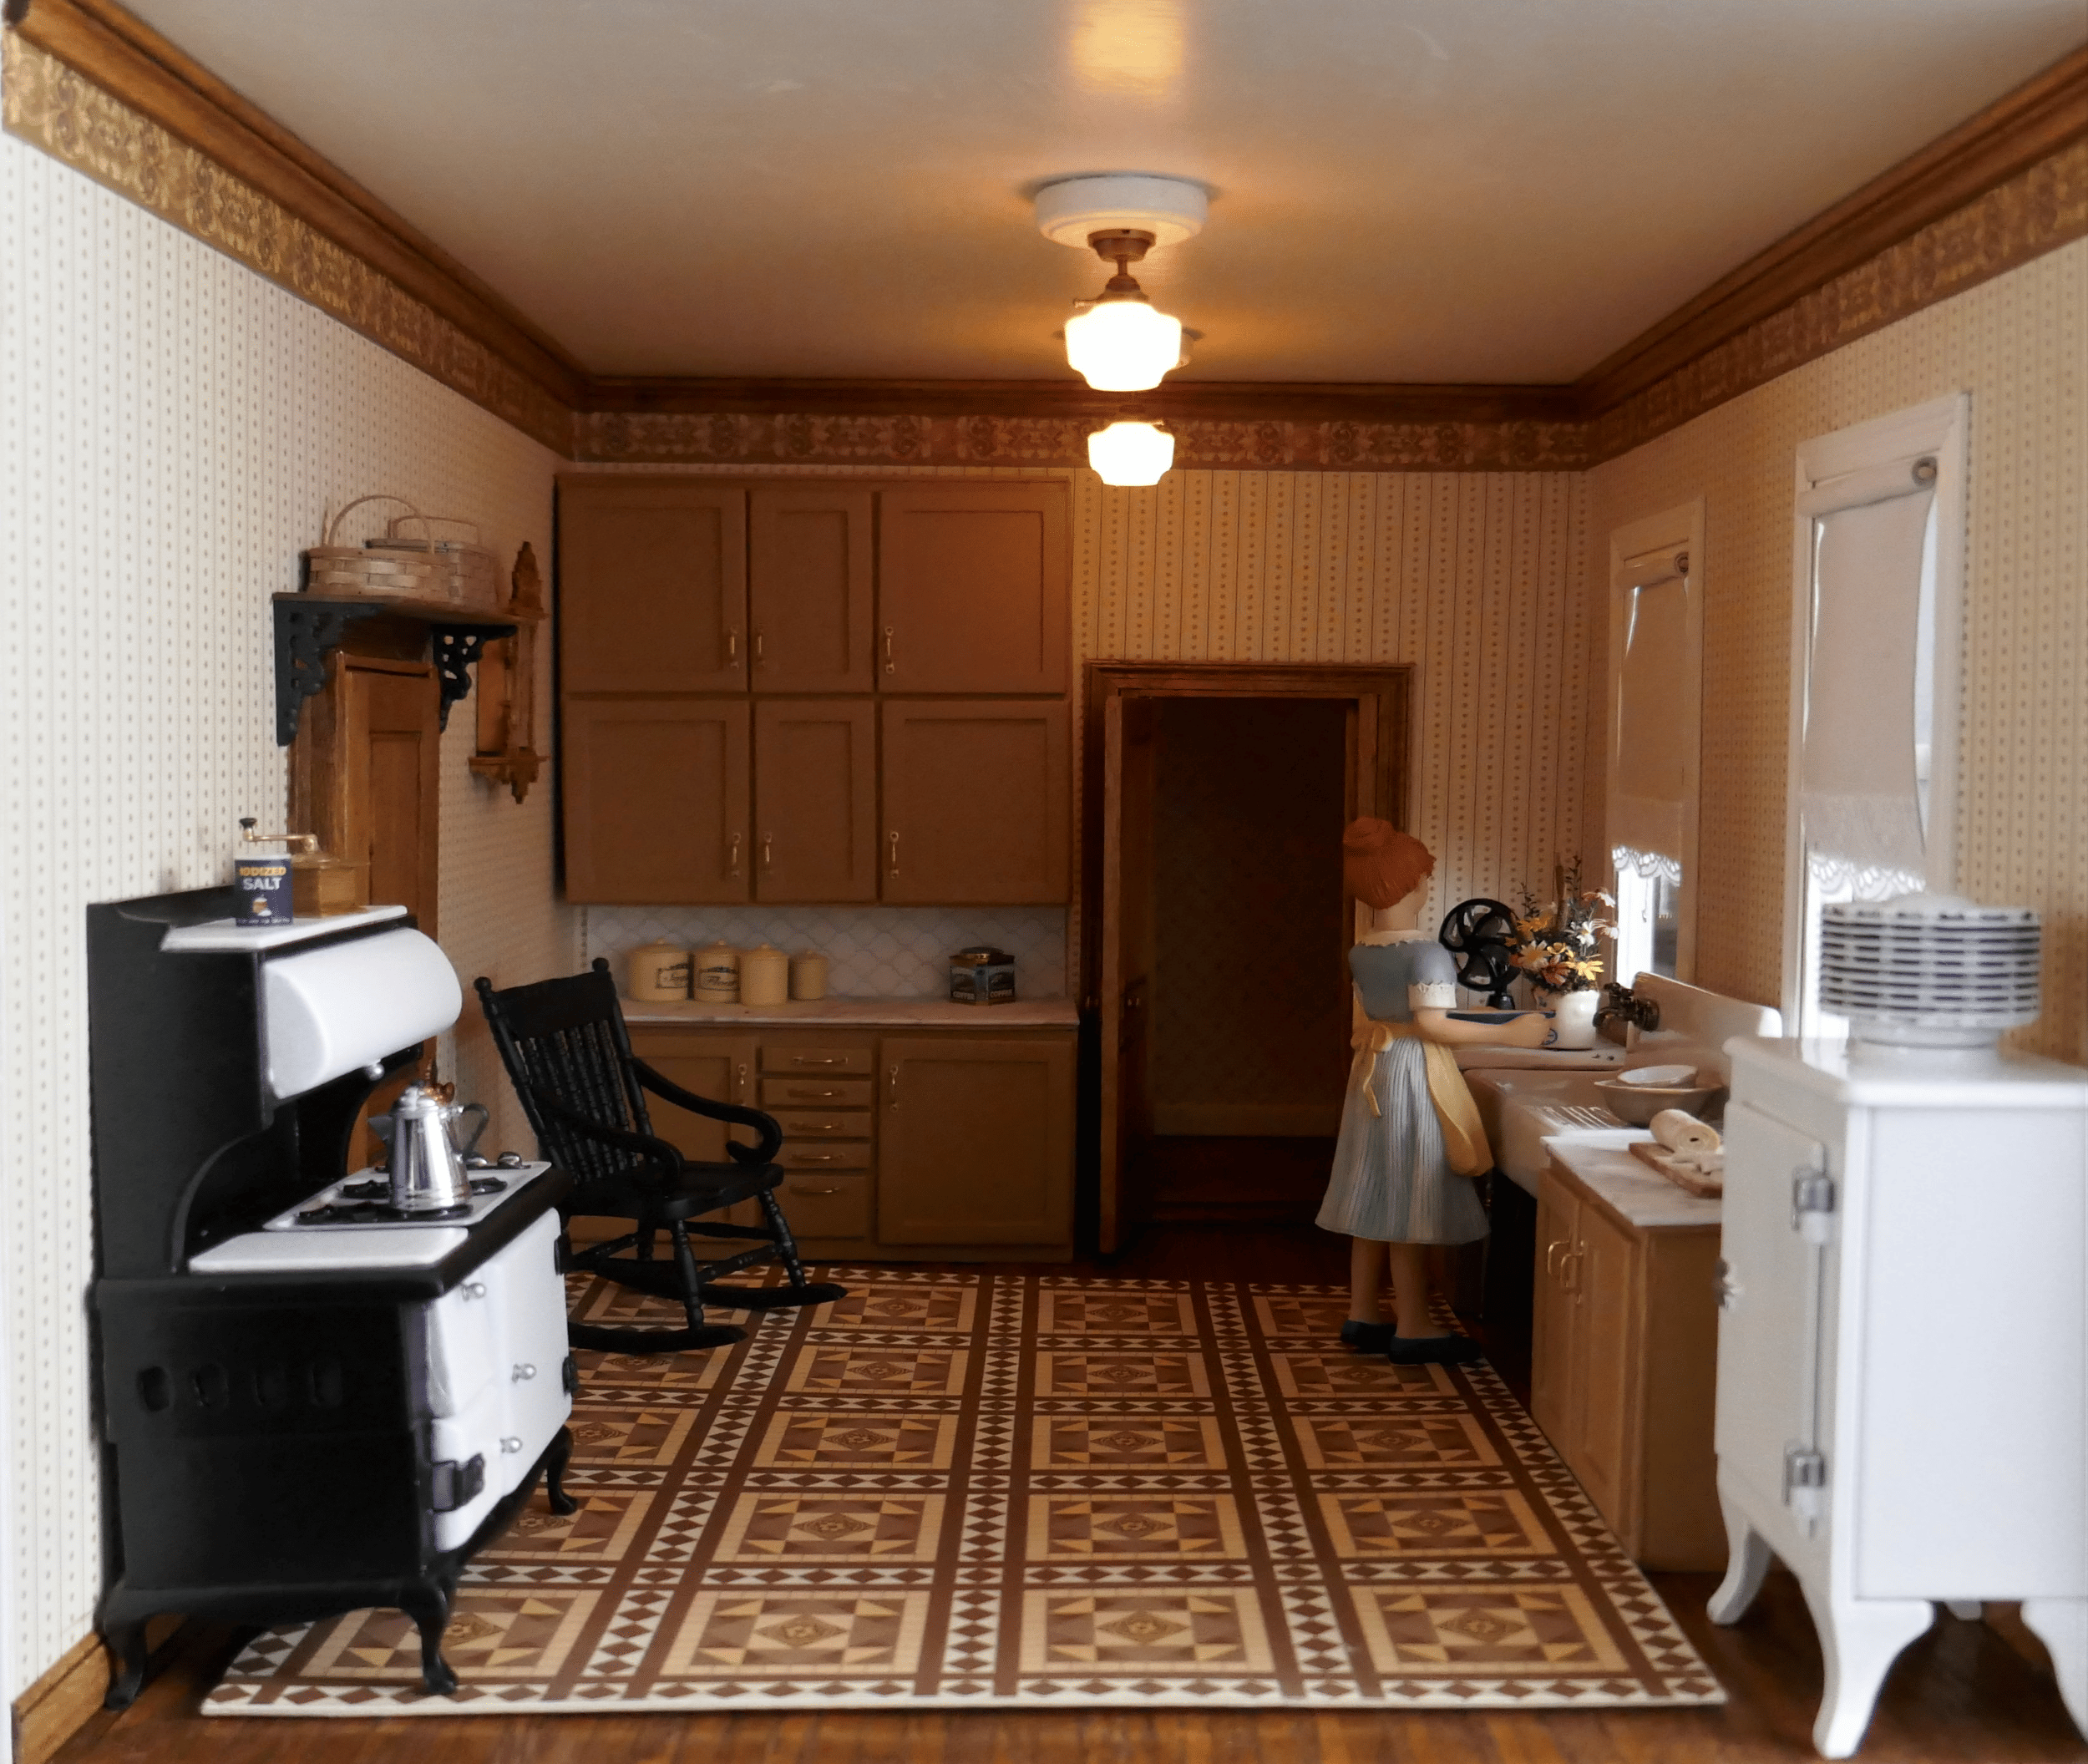
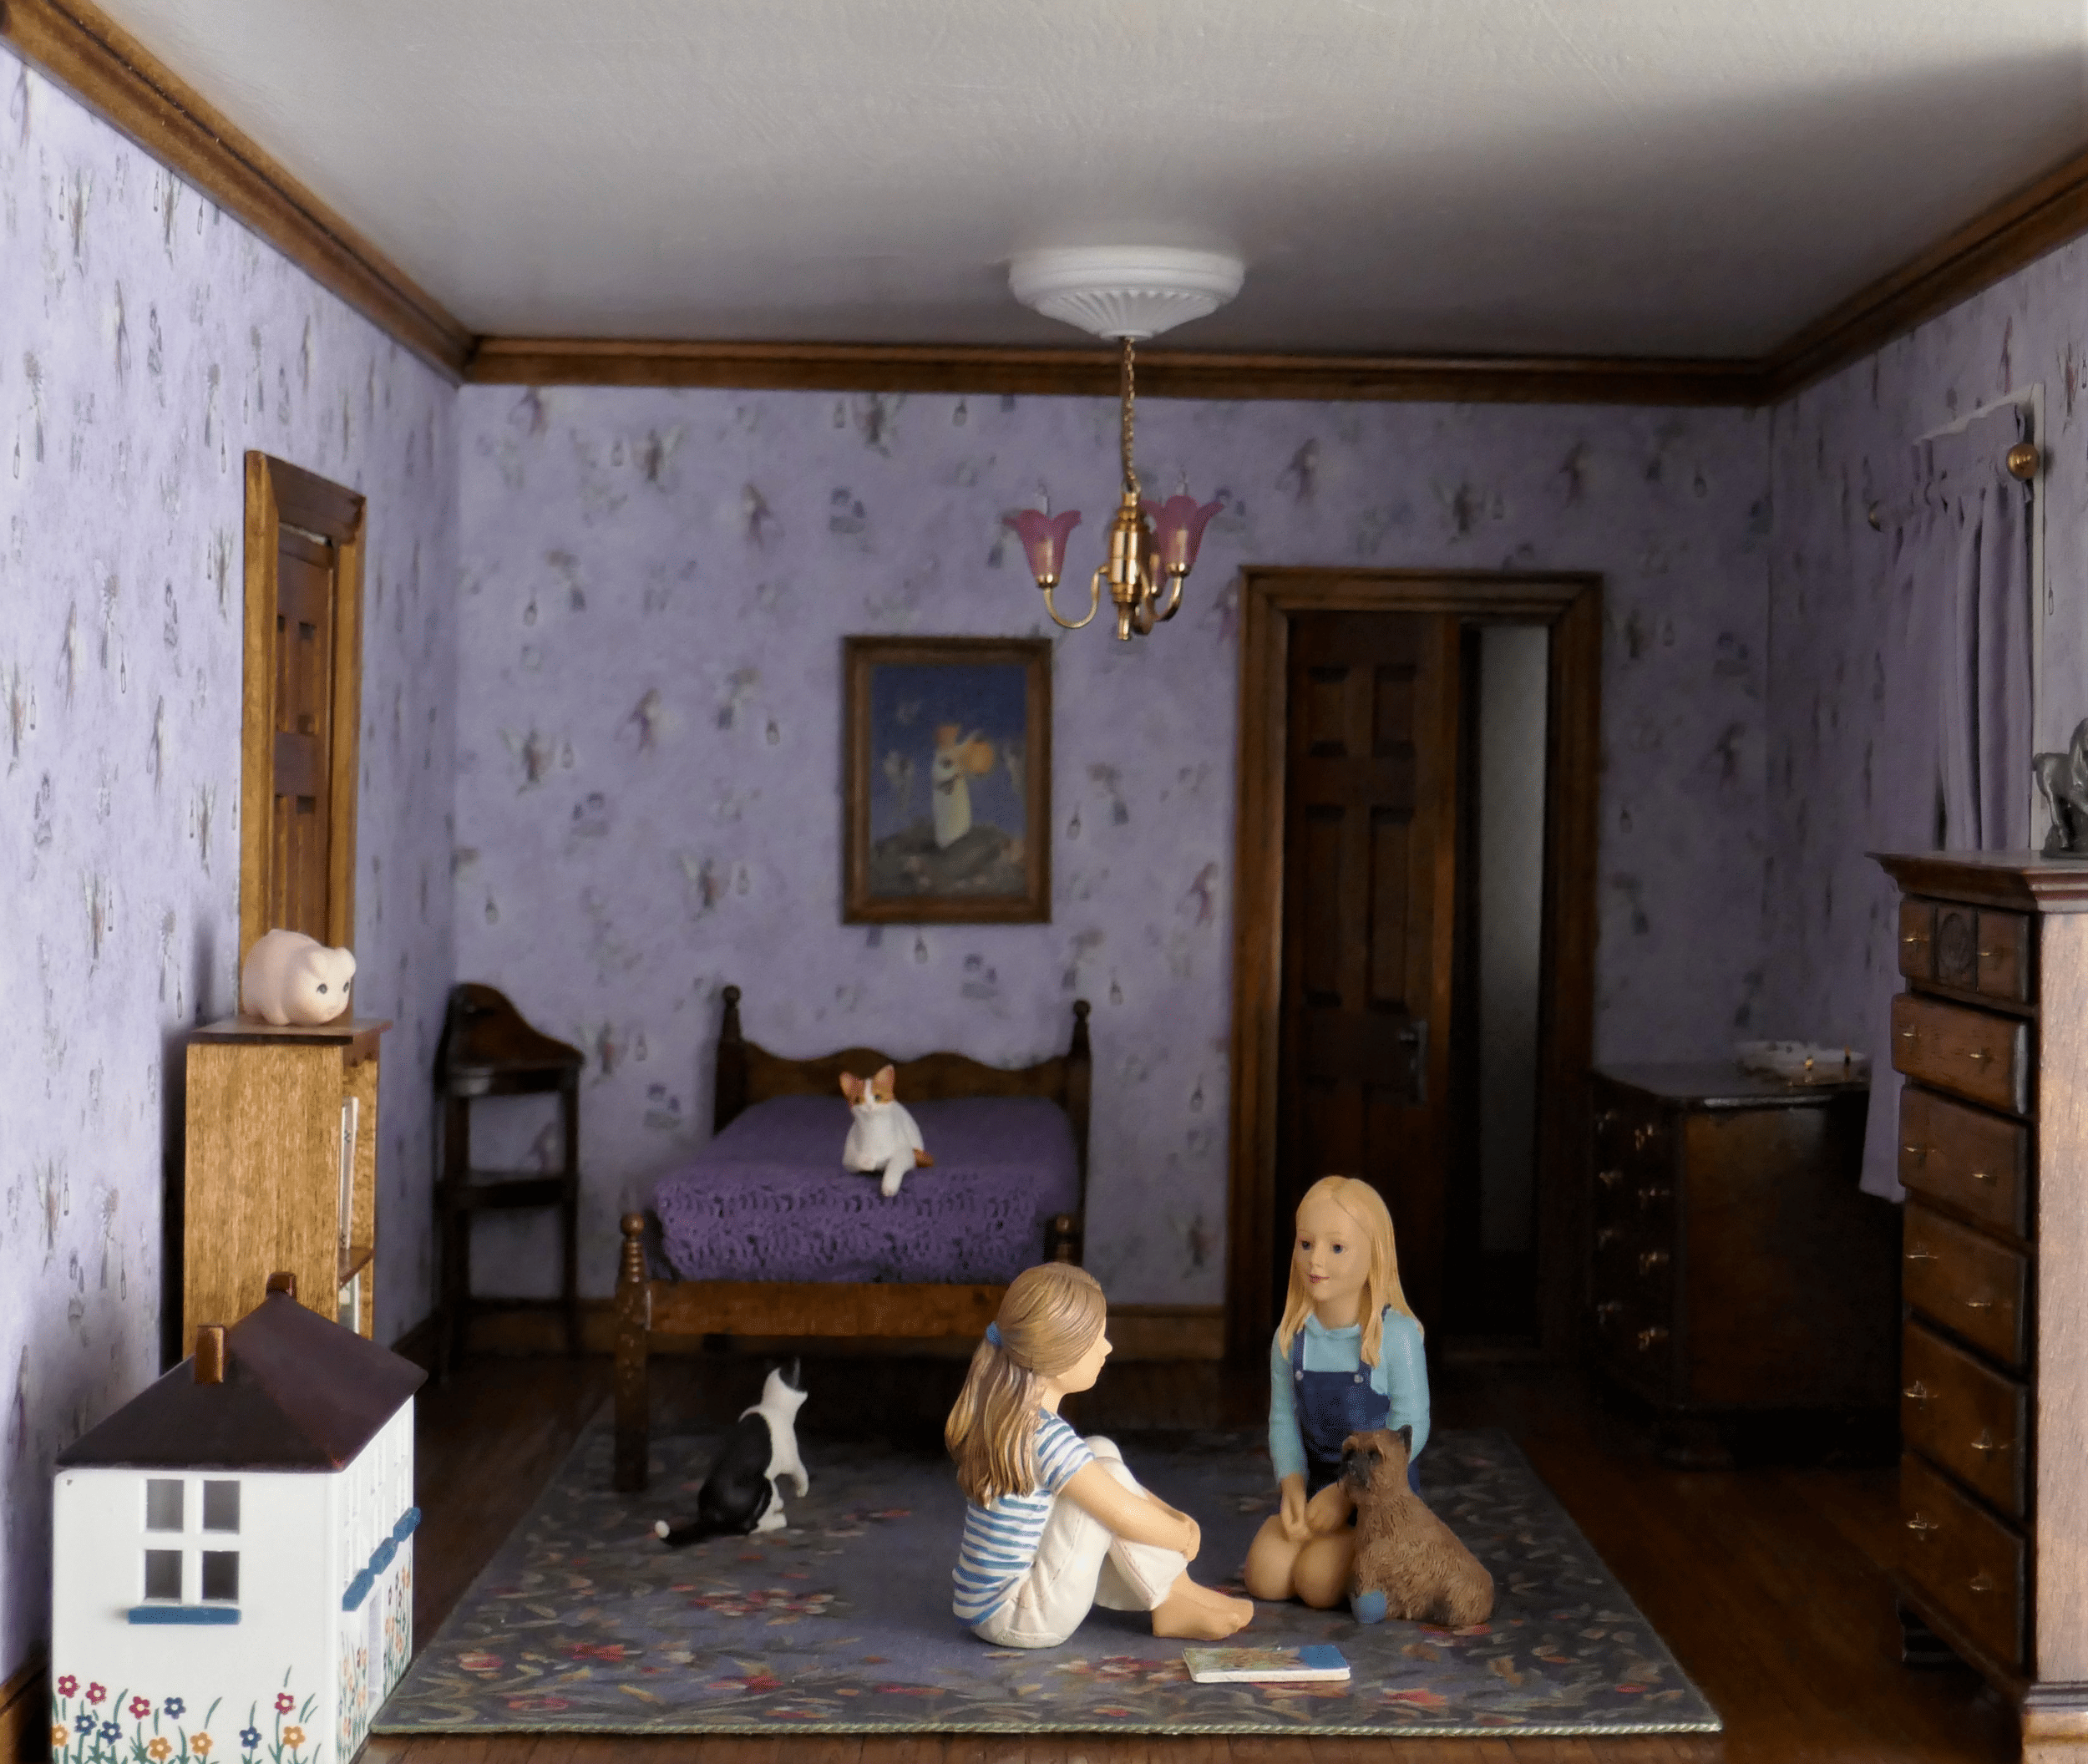
The plans called for large rooms which are more fun to fill, and since it was fairly modern, I could mix up furniture styles. I’m using mostly 1930 to 1950’s furnishings, with some heirloom pieces.

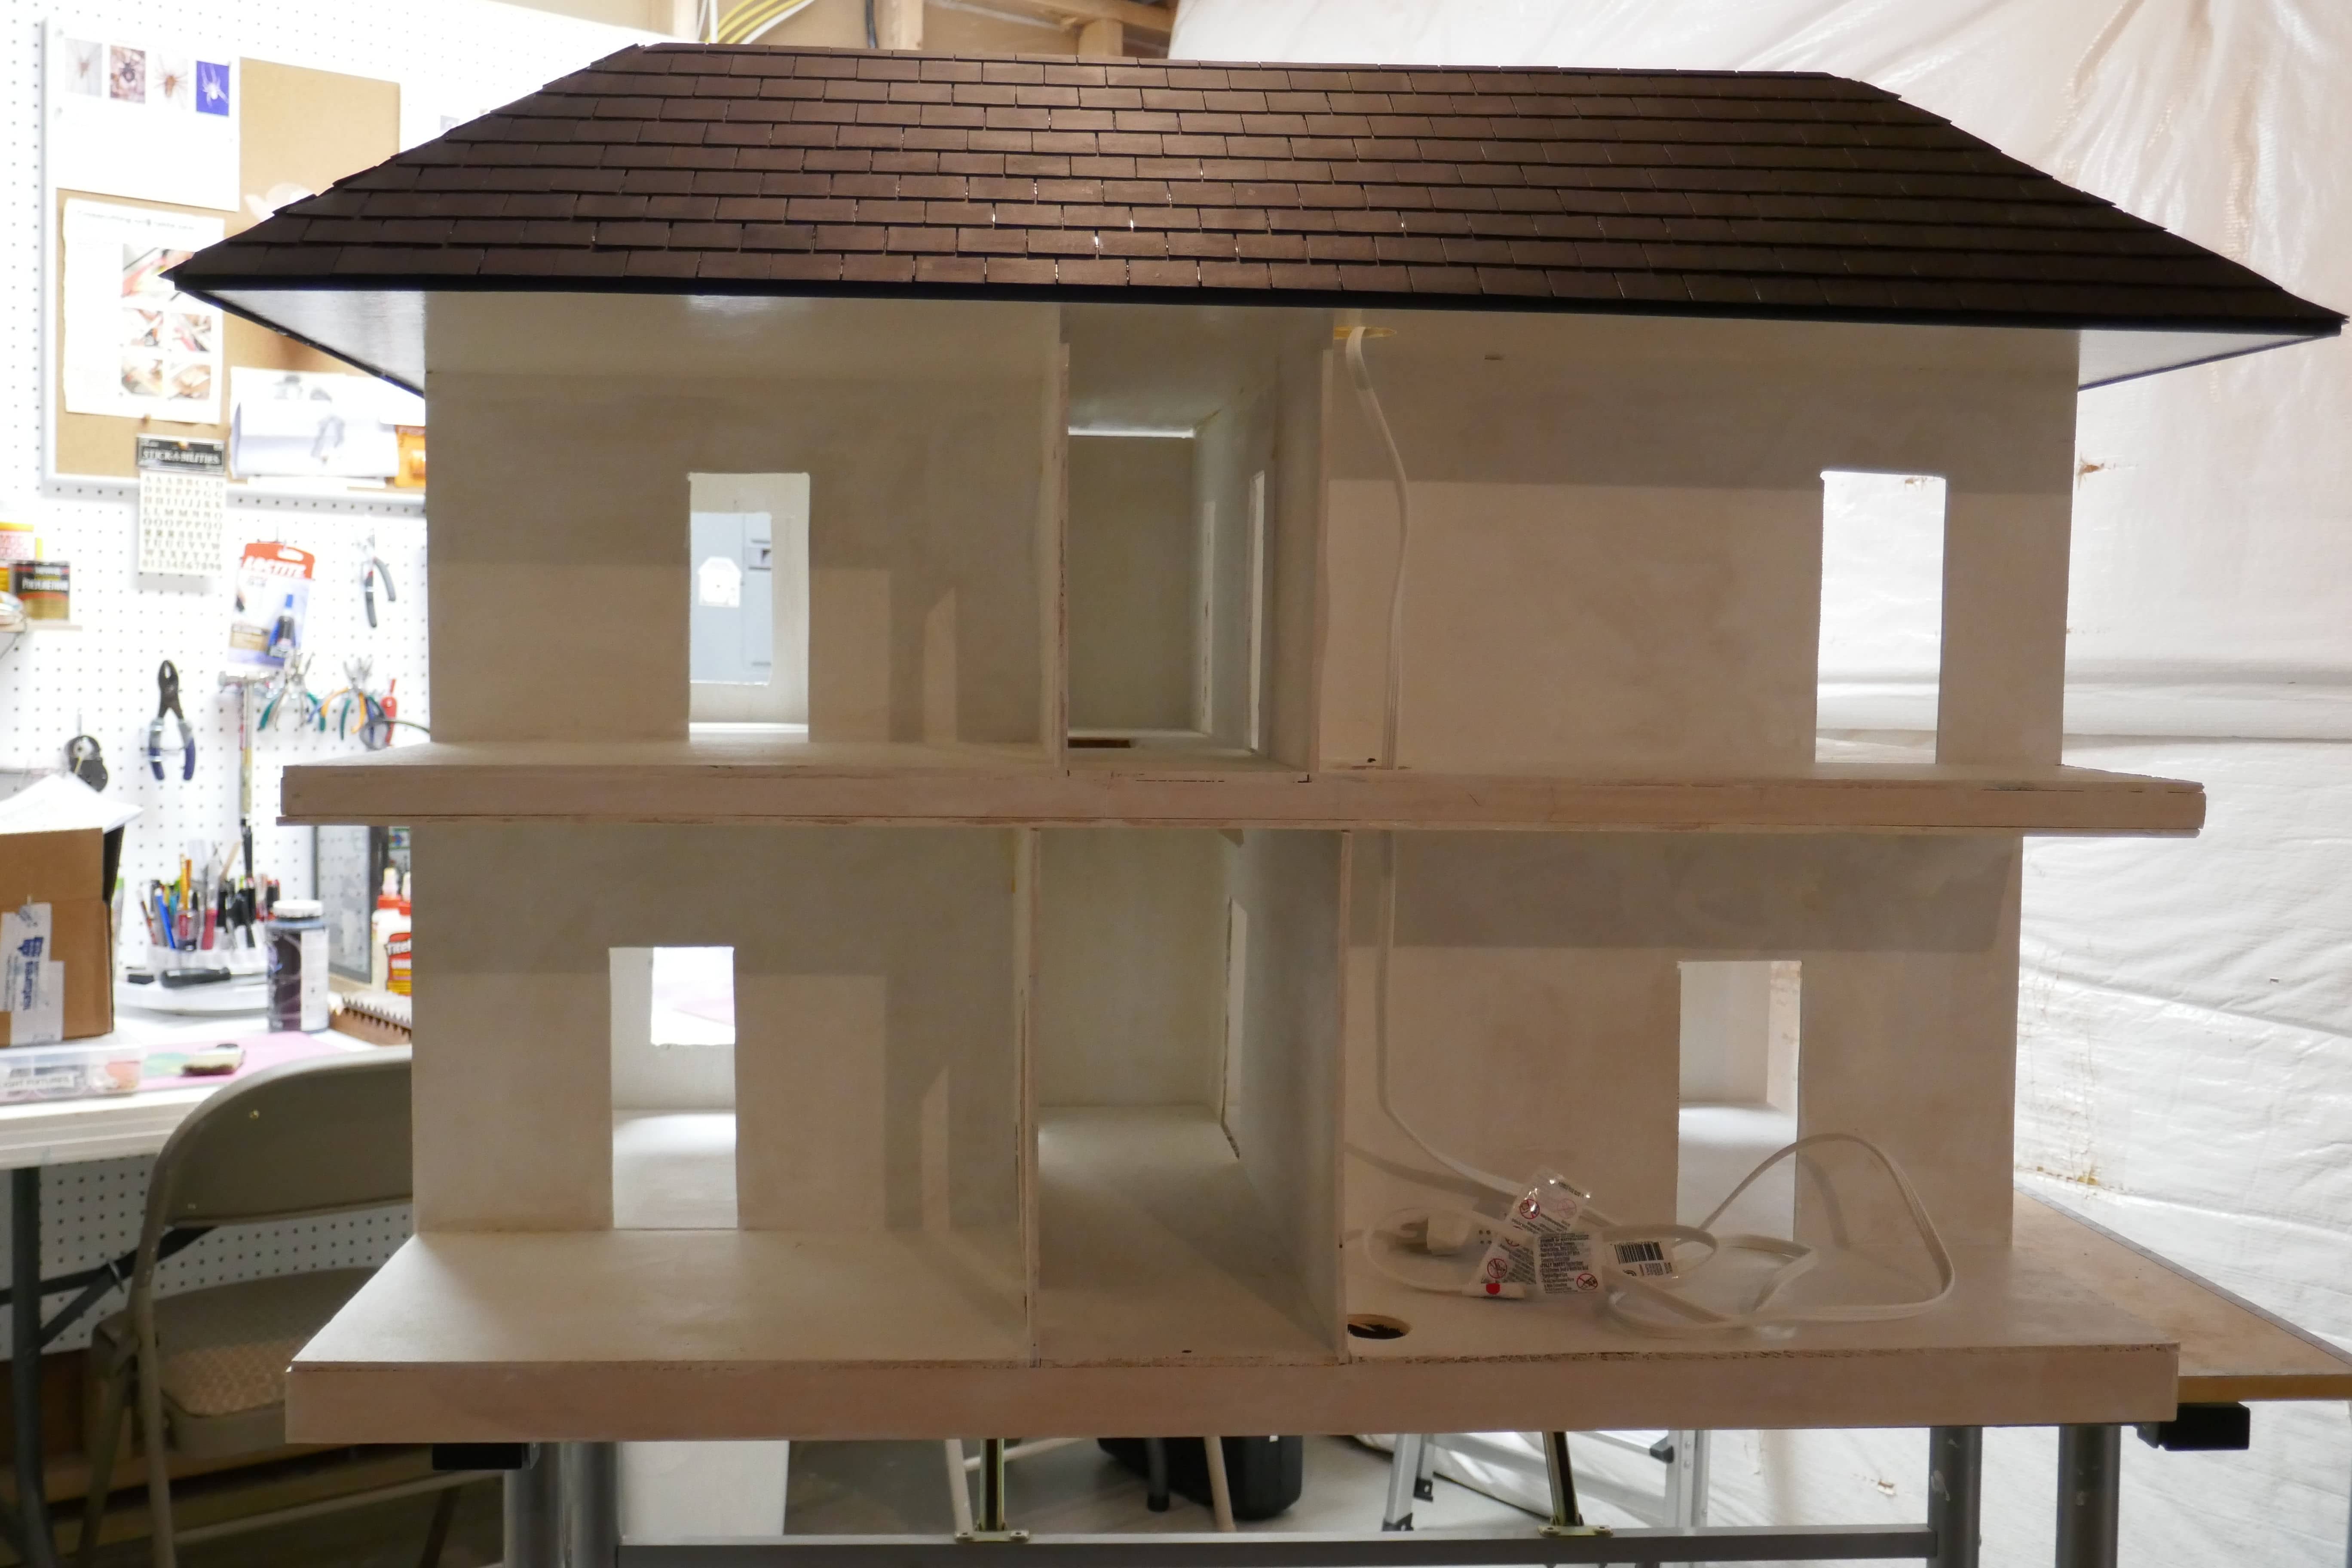
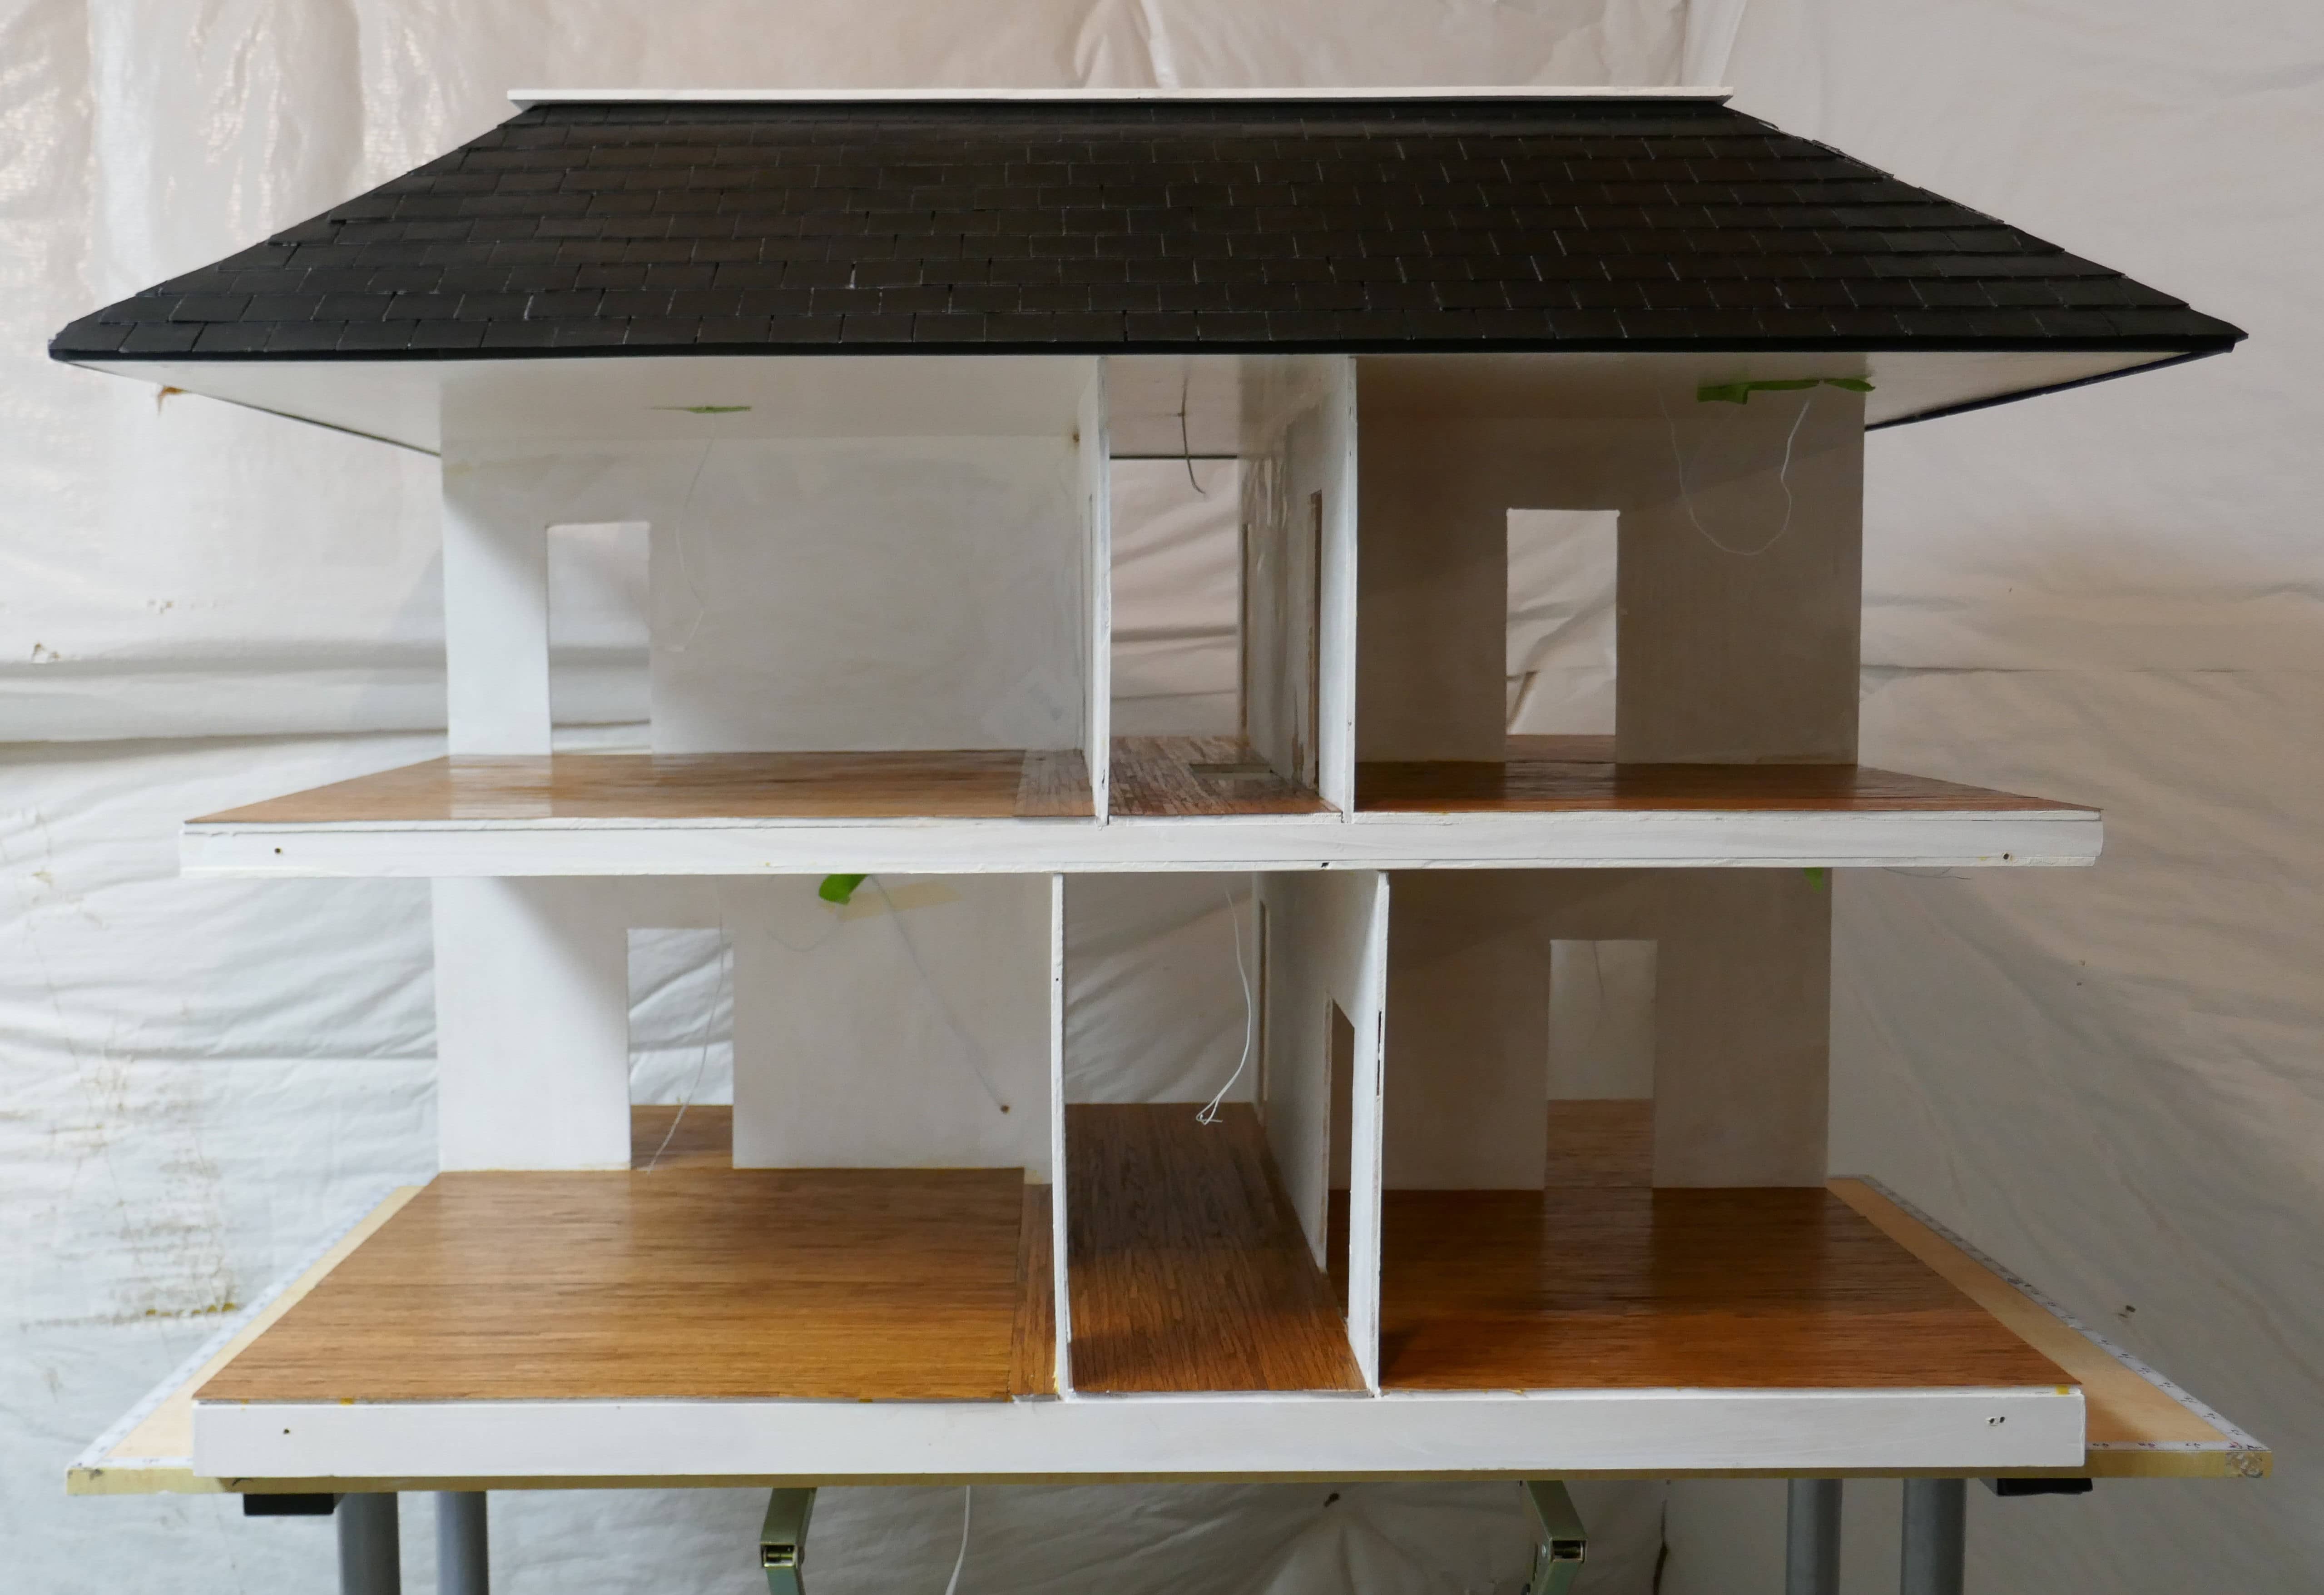
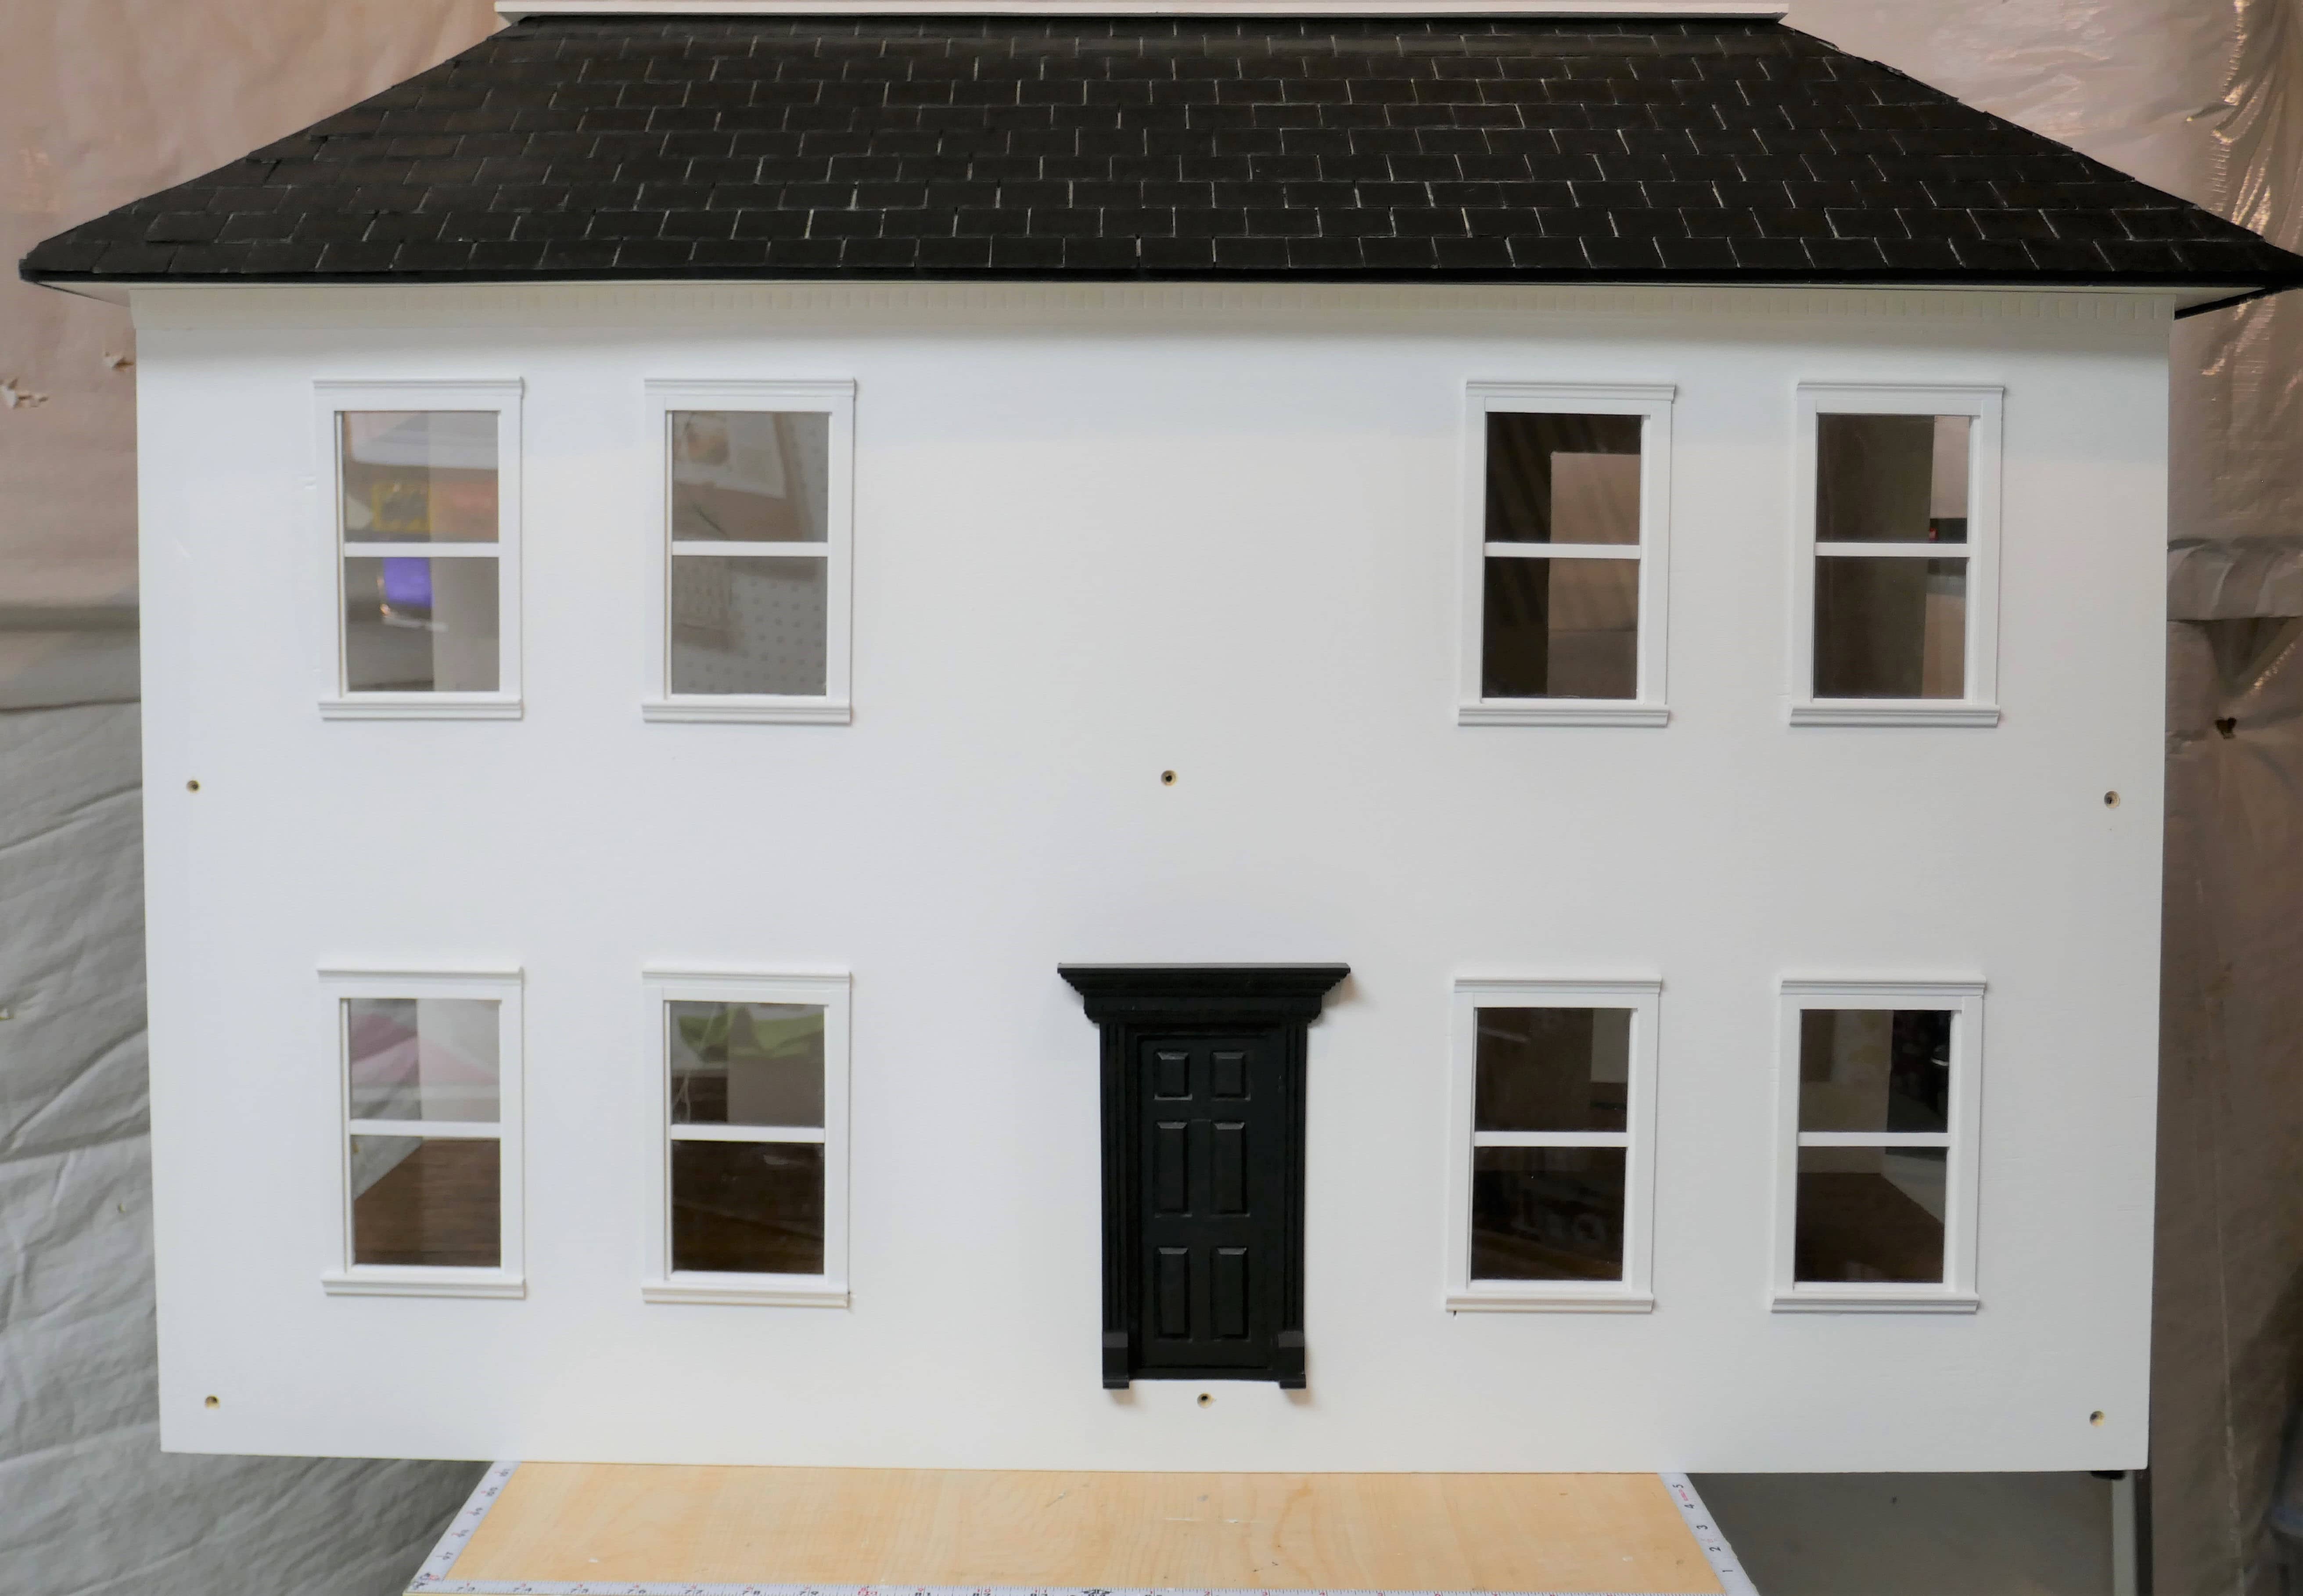
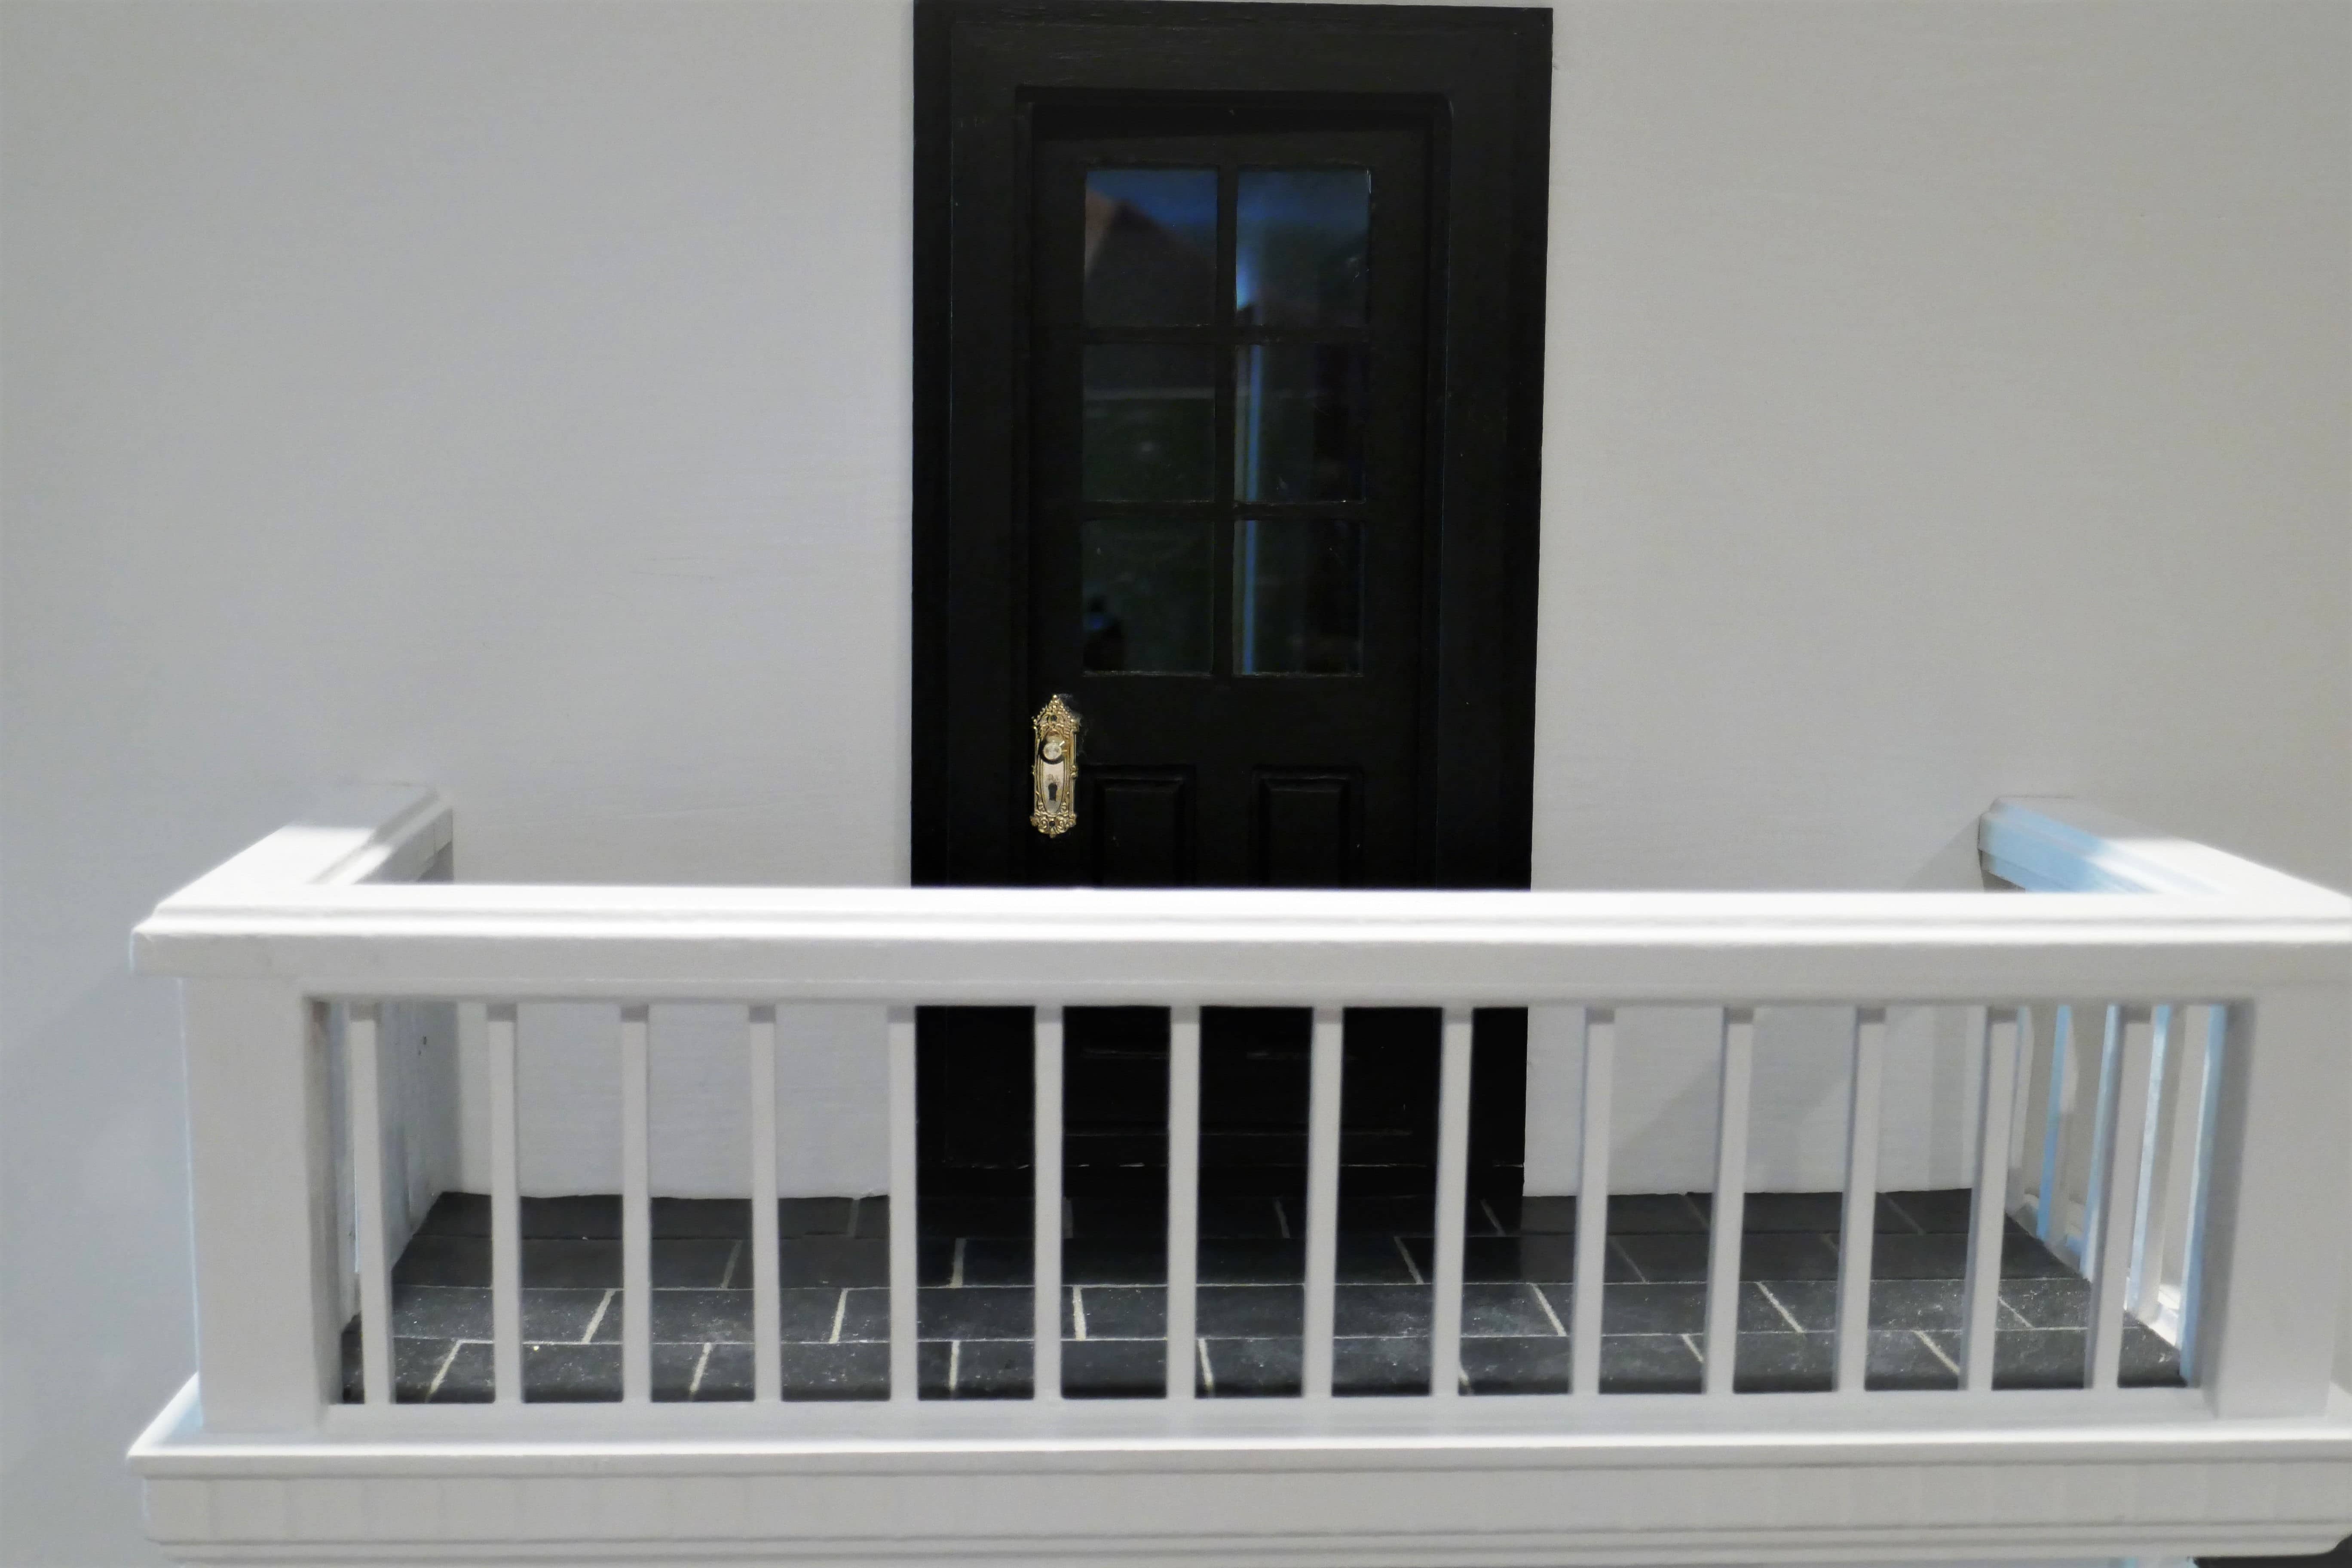
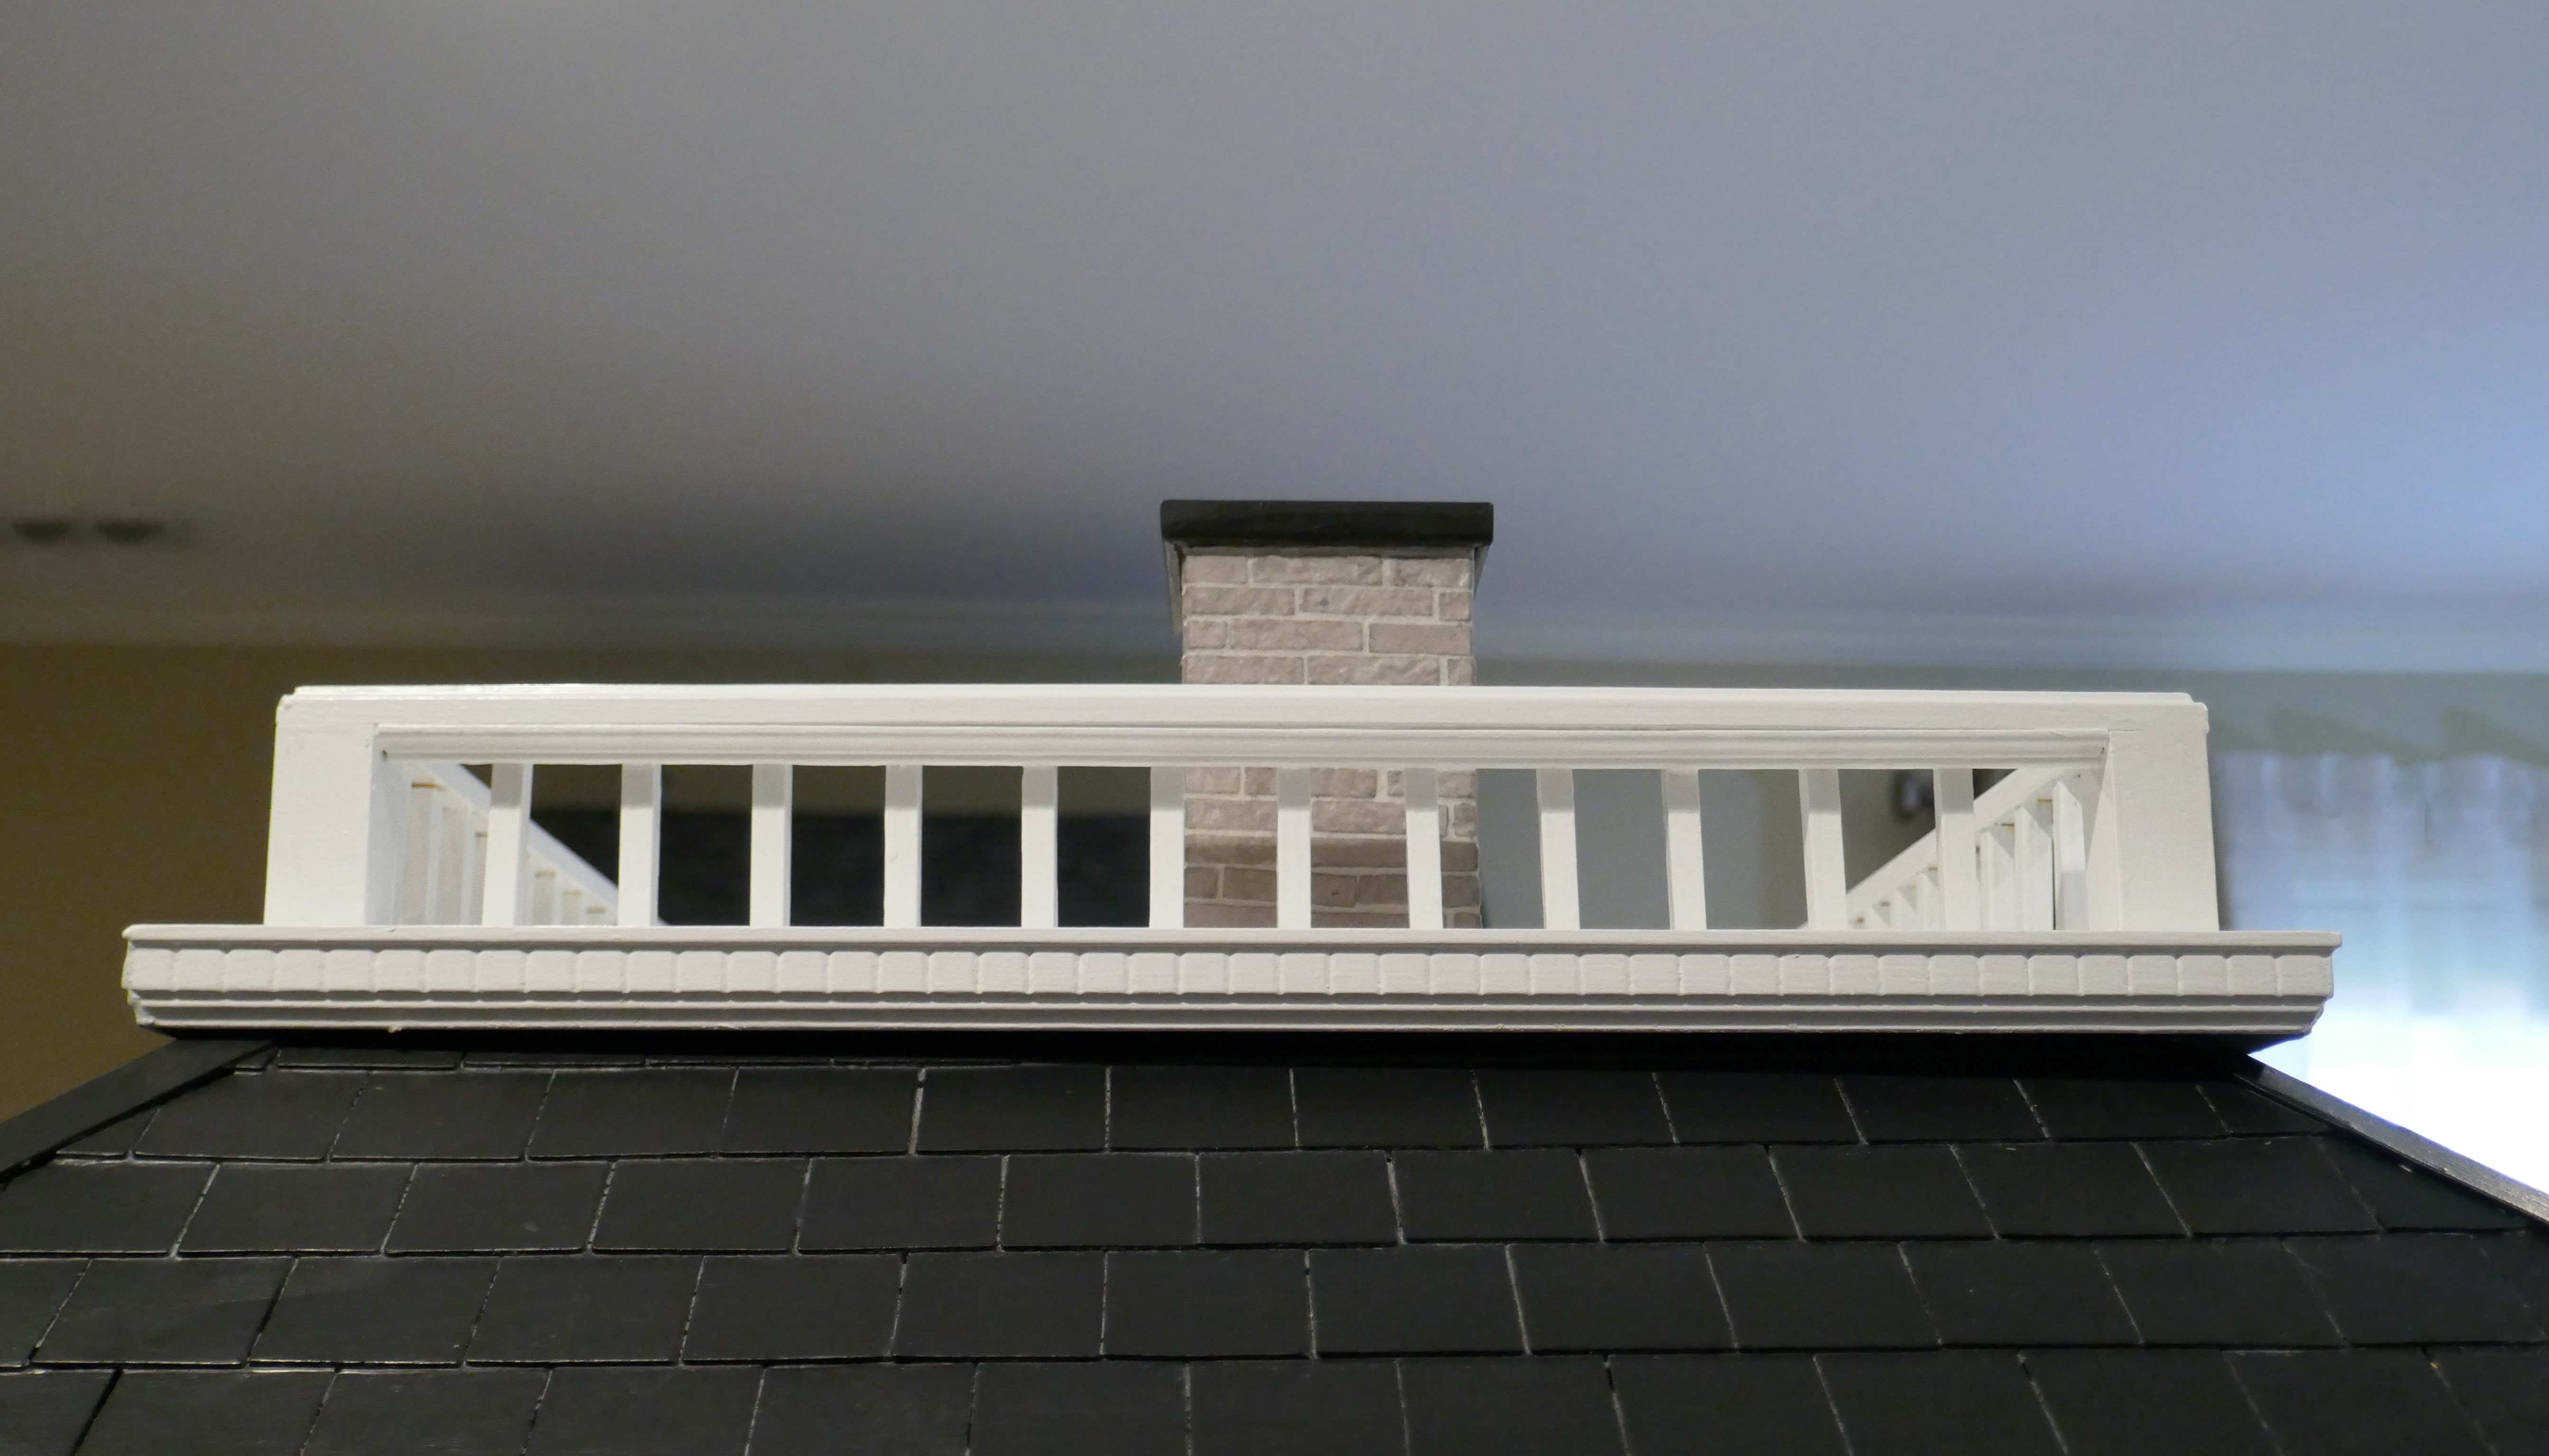
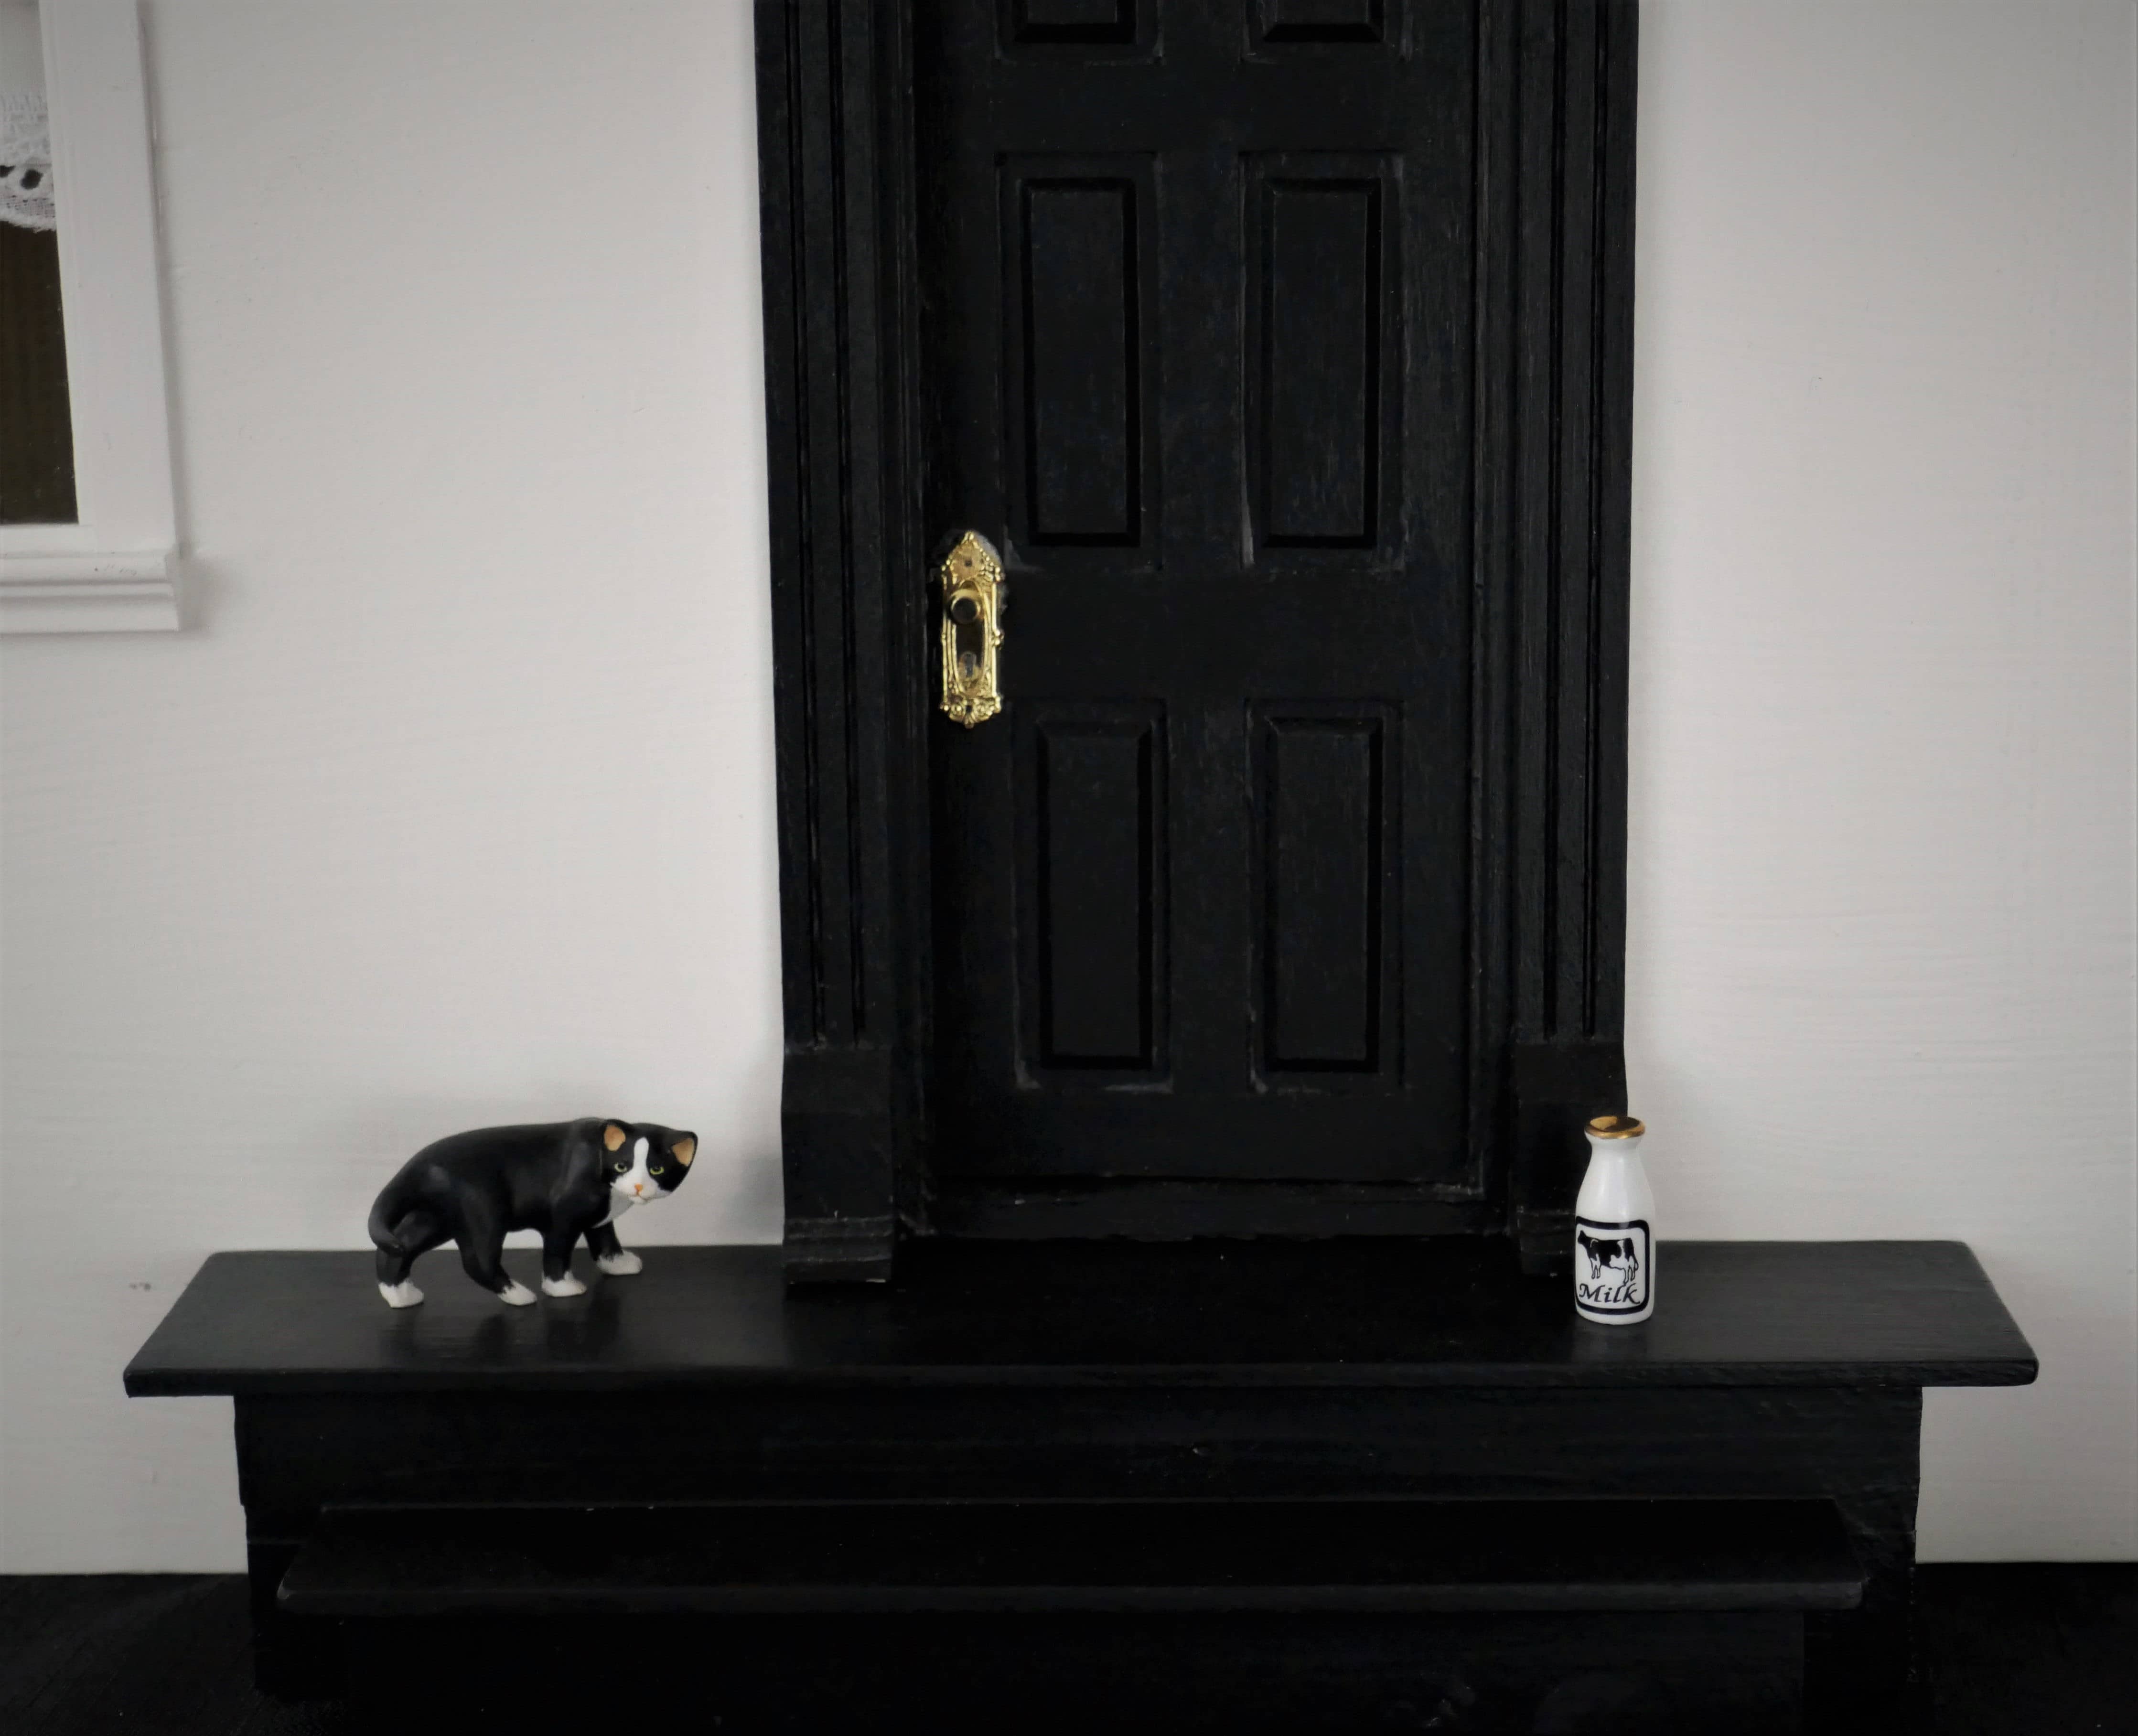
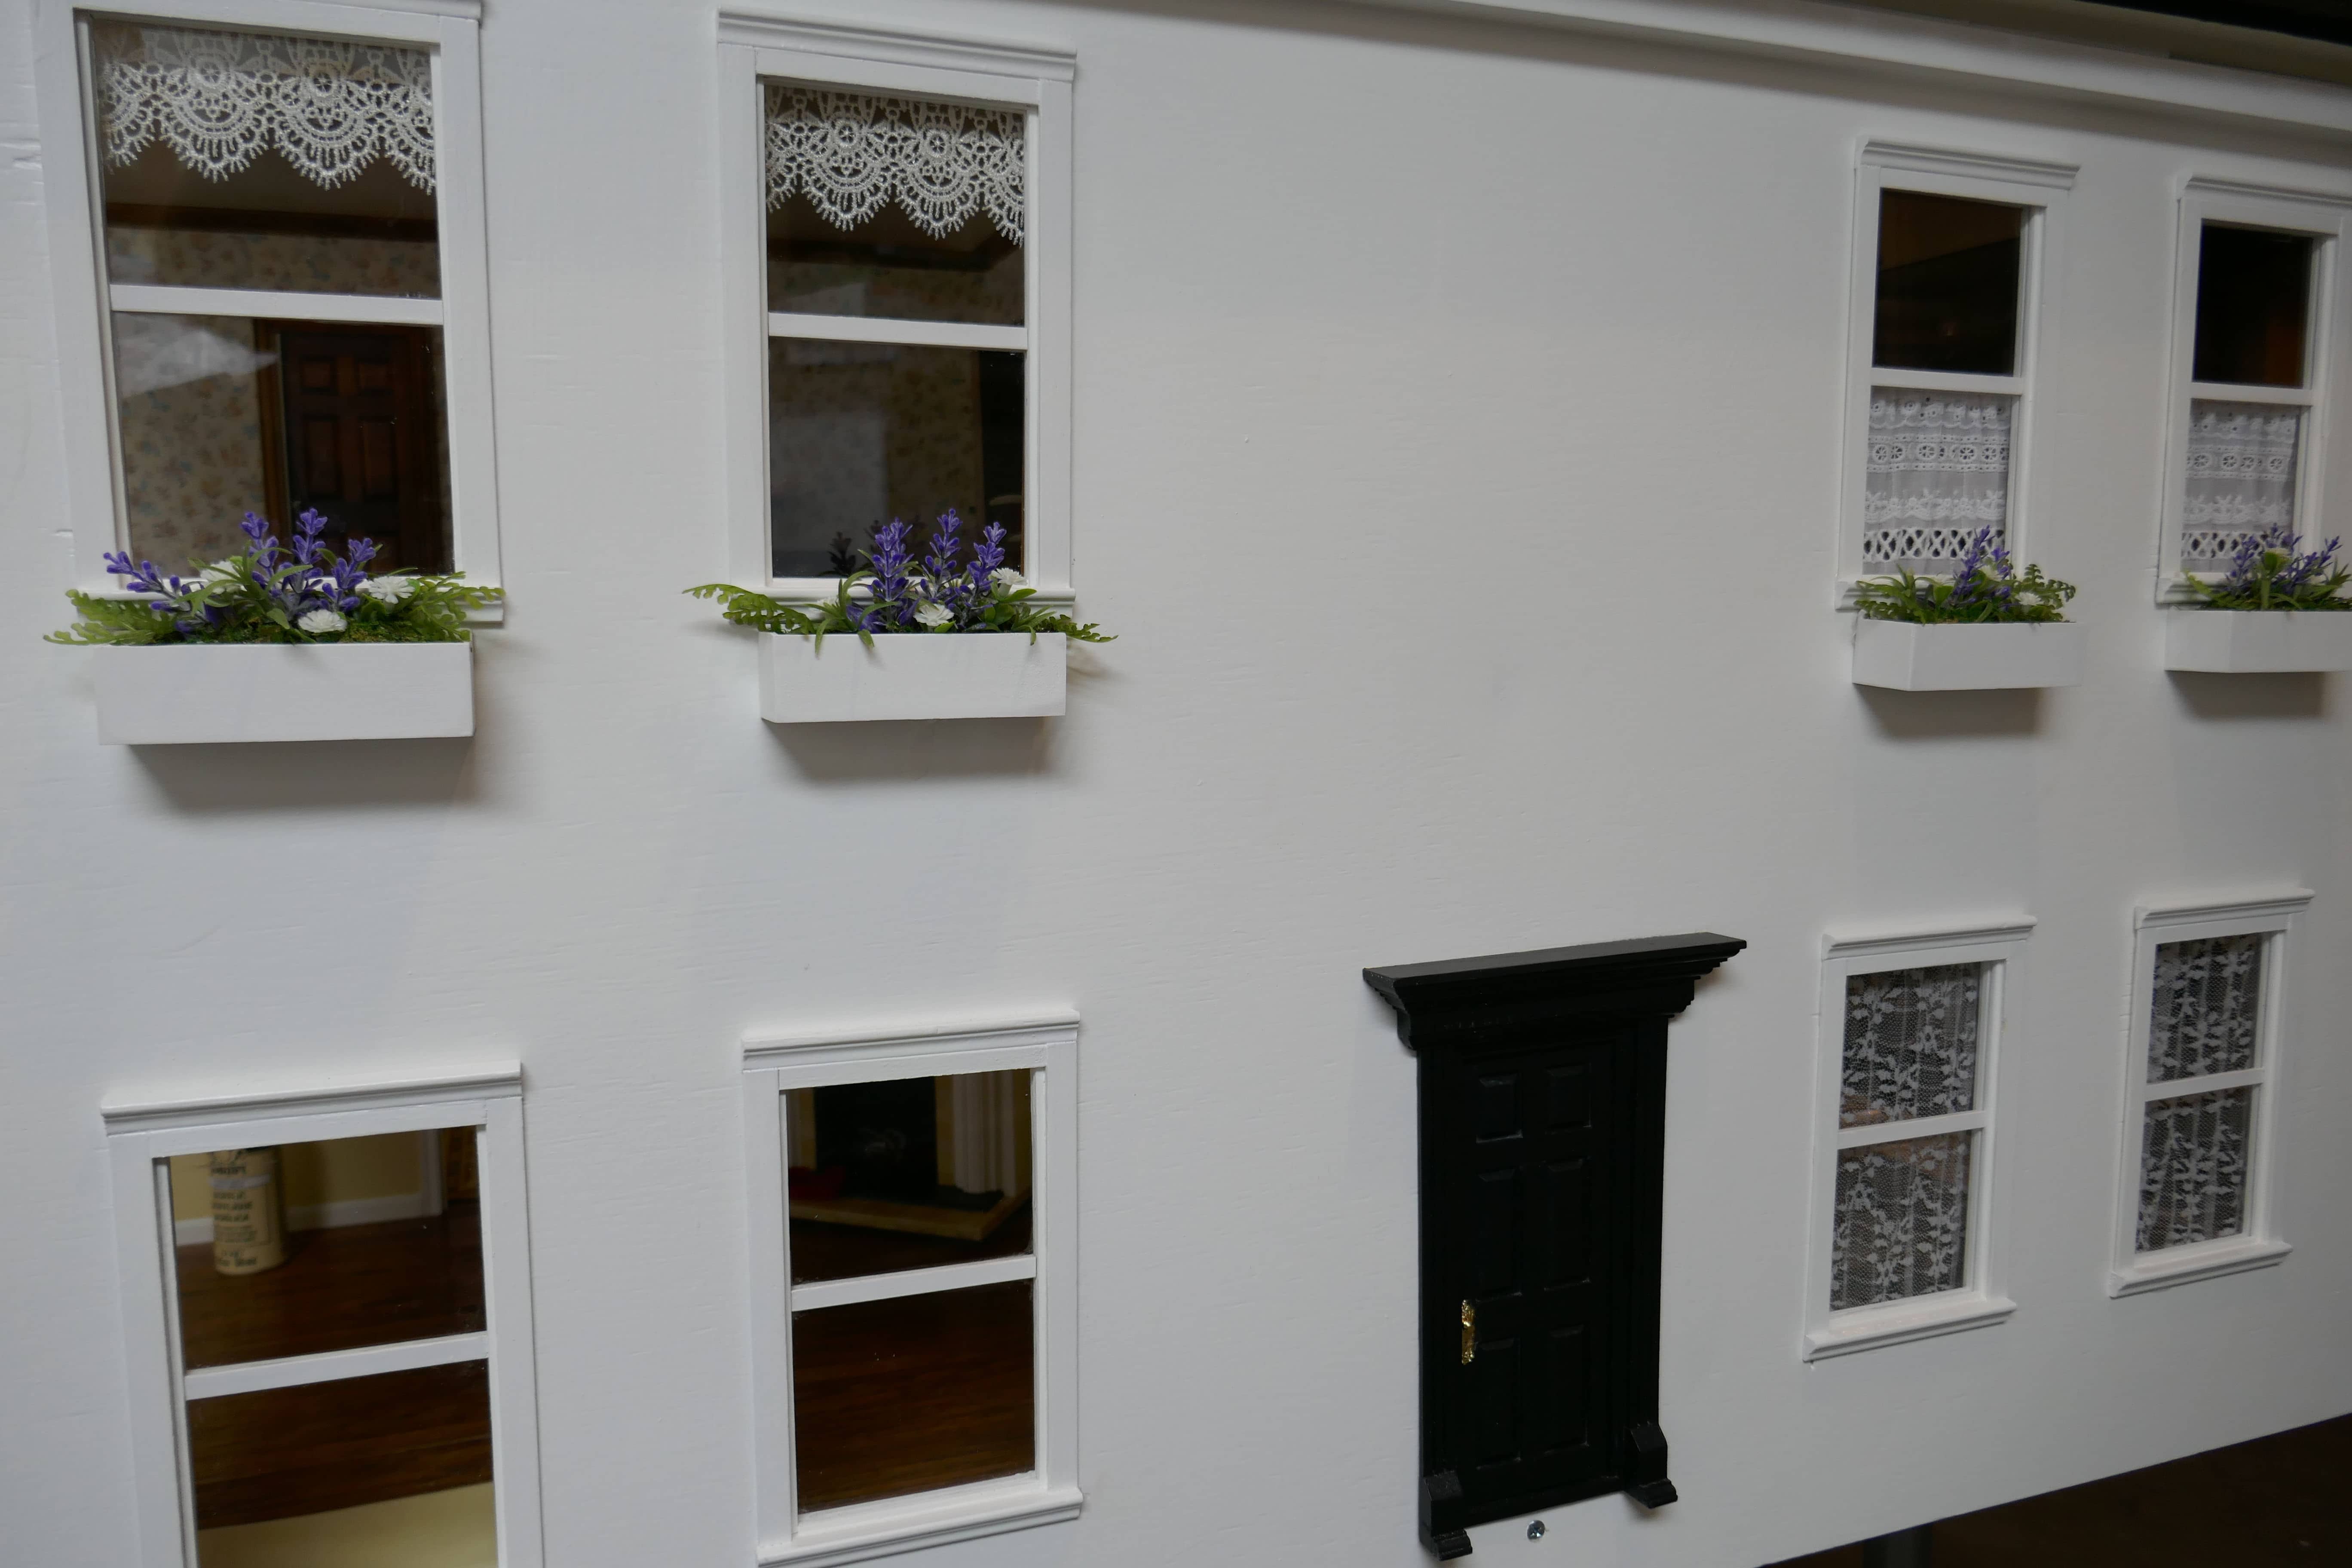
This mansion is only about 2/3’s done. I will add updated pictures as things change.
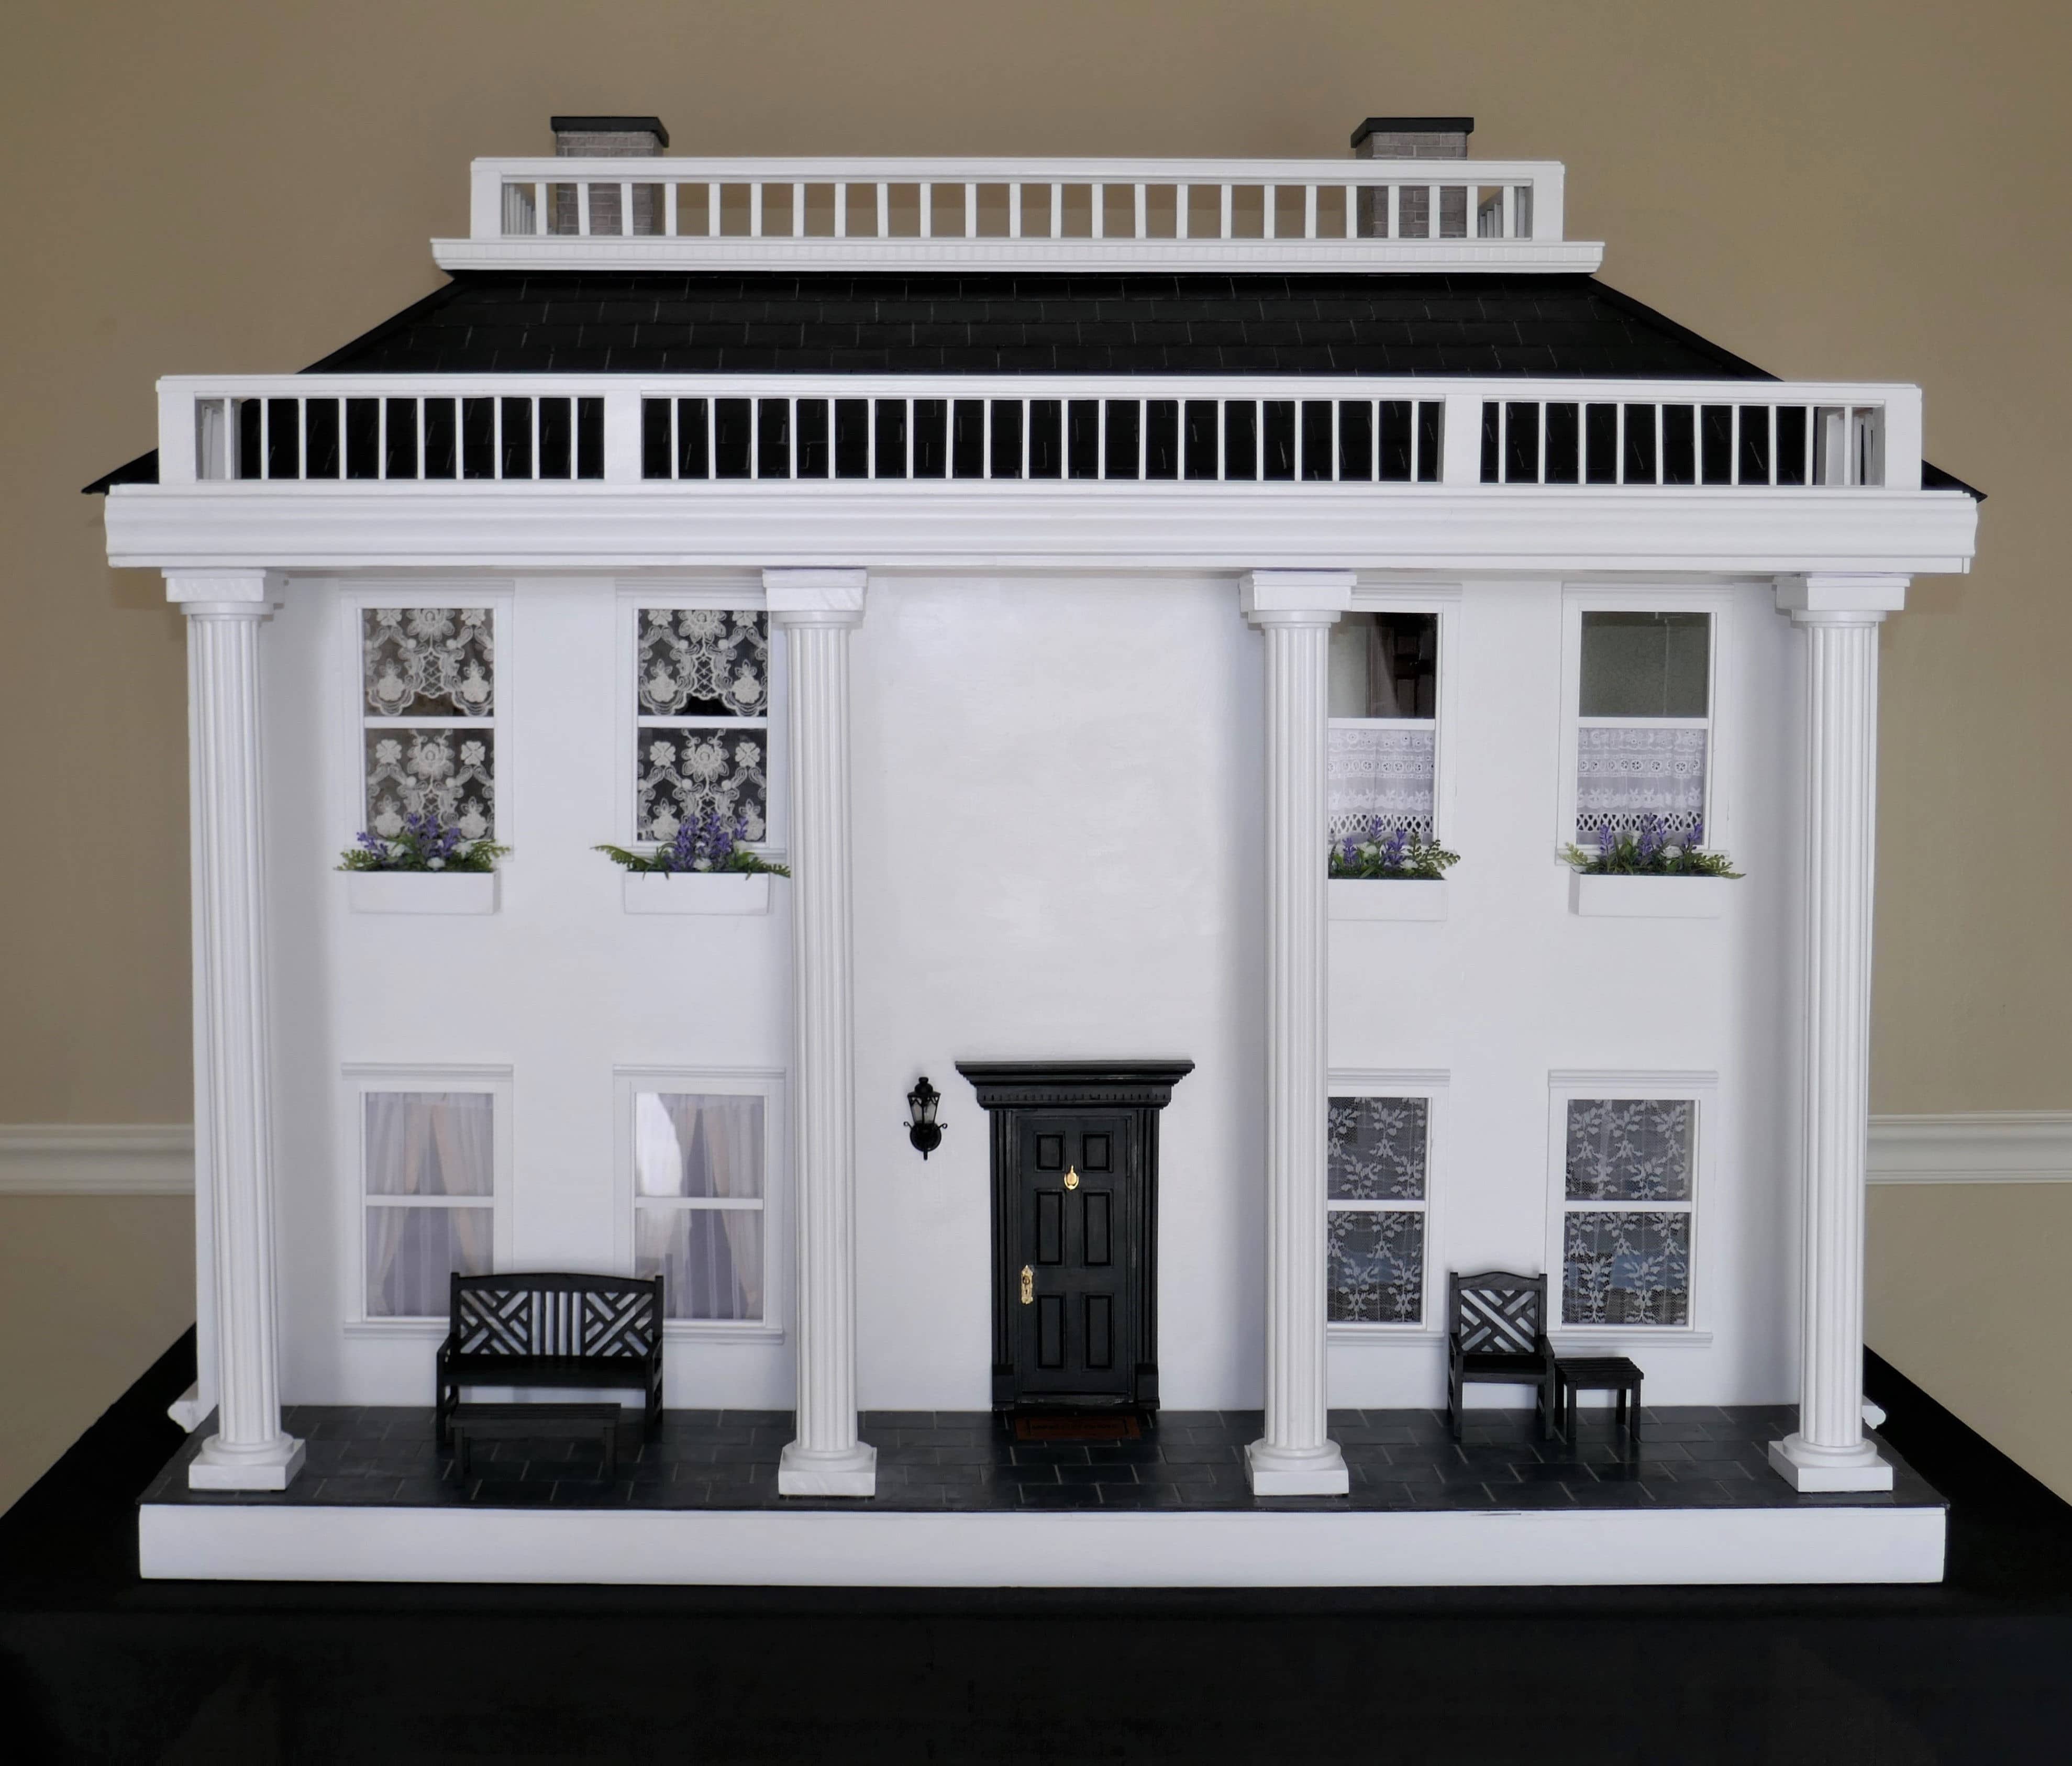
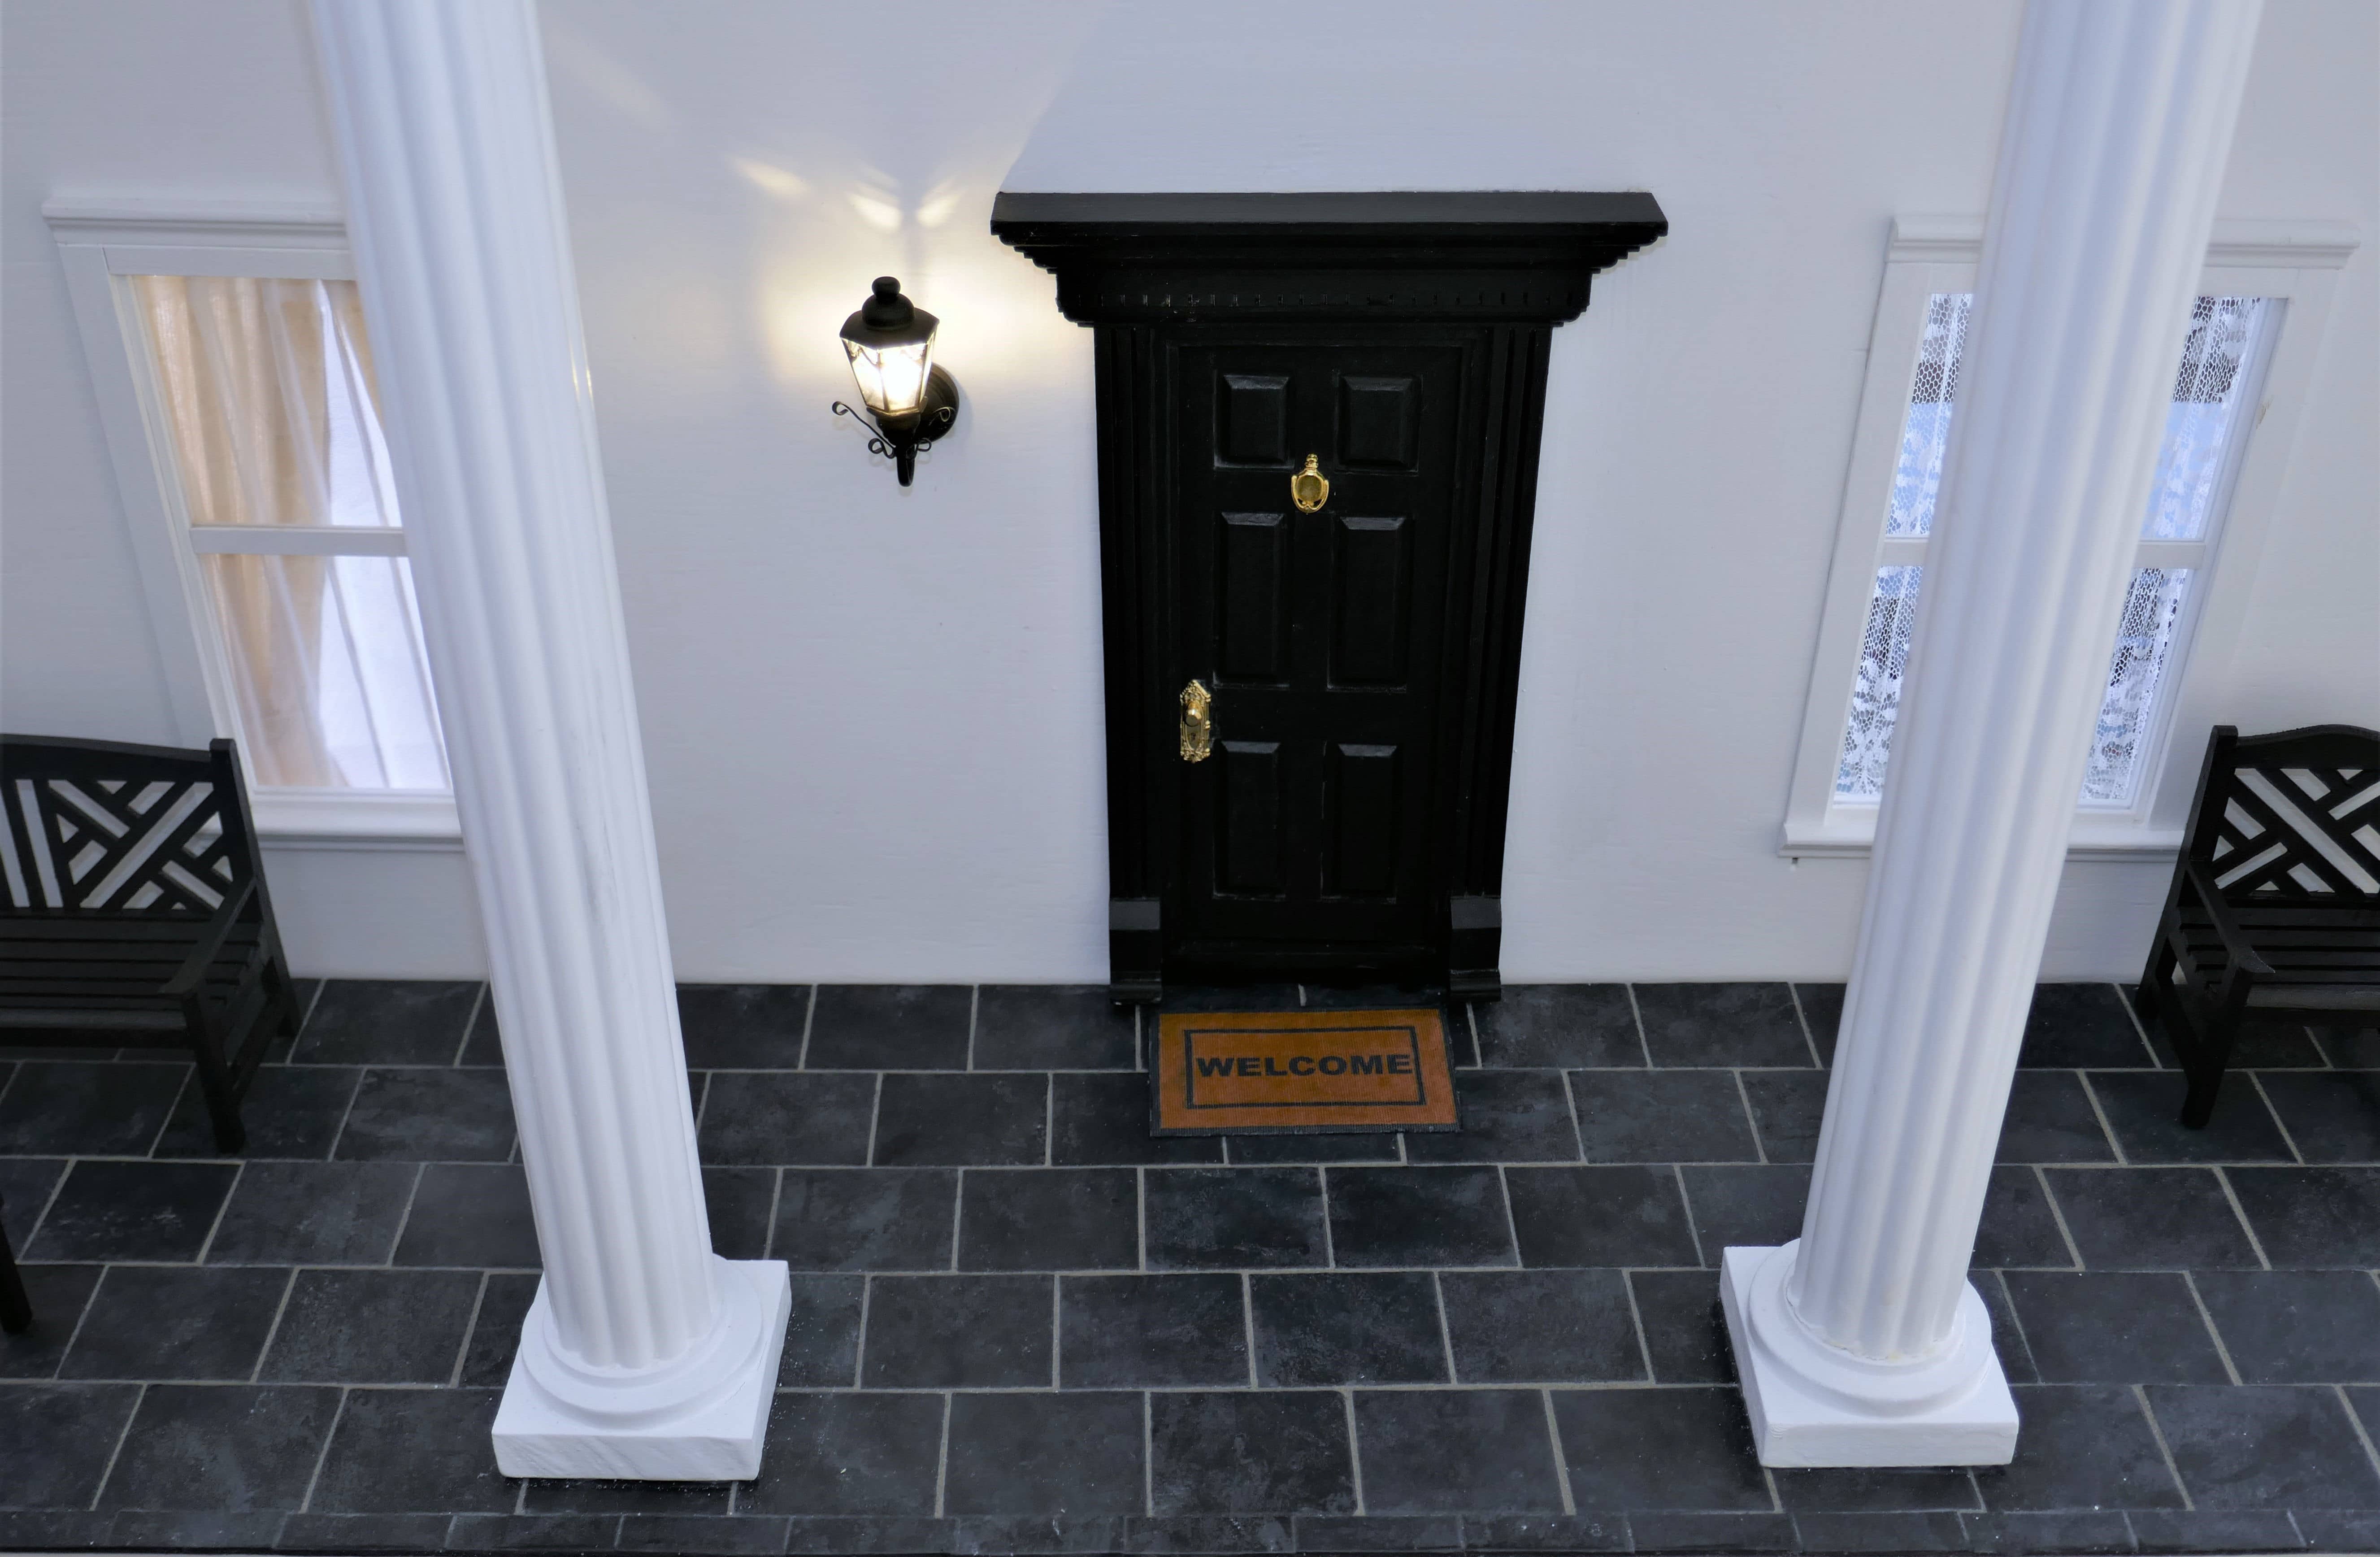
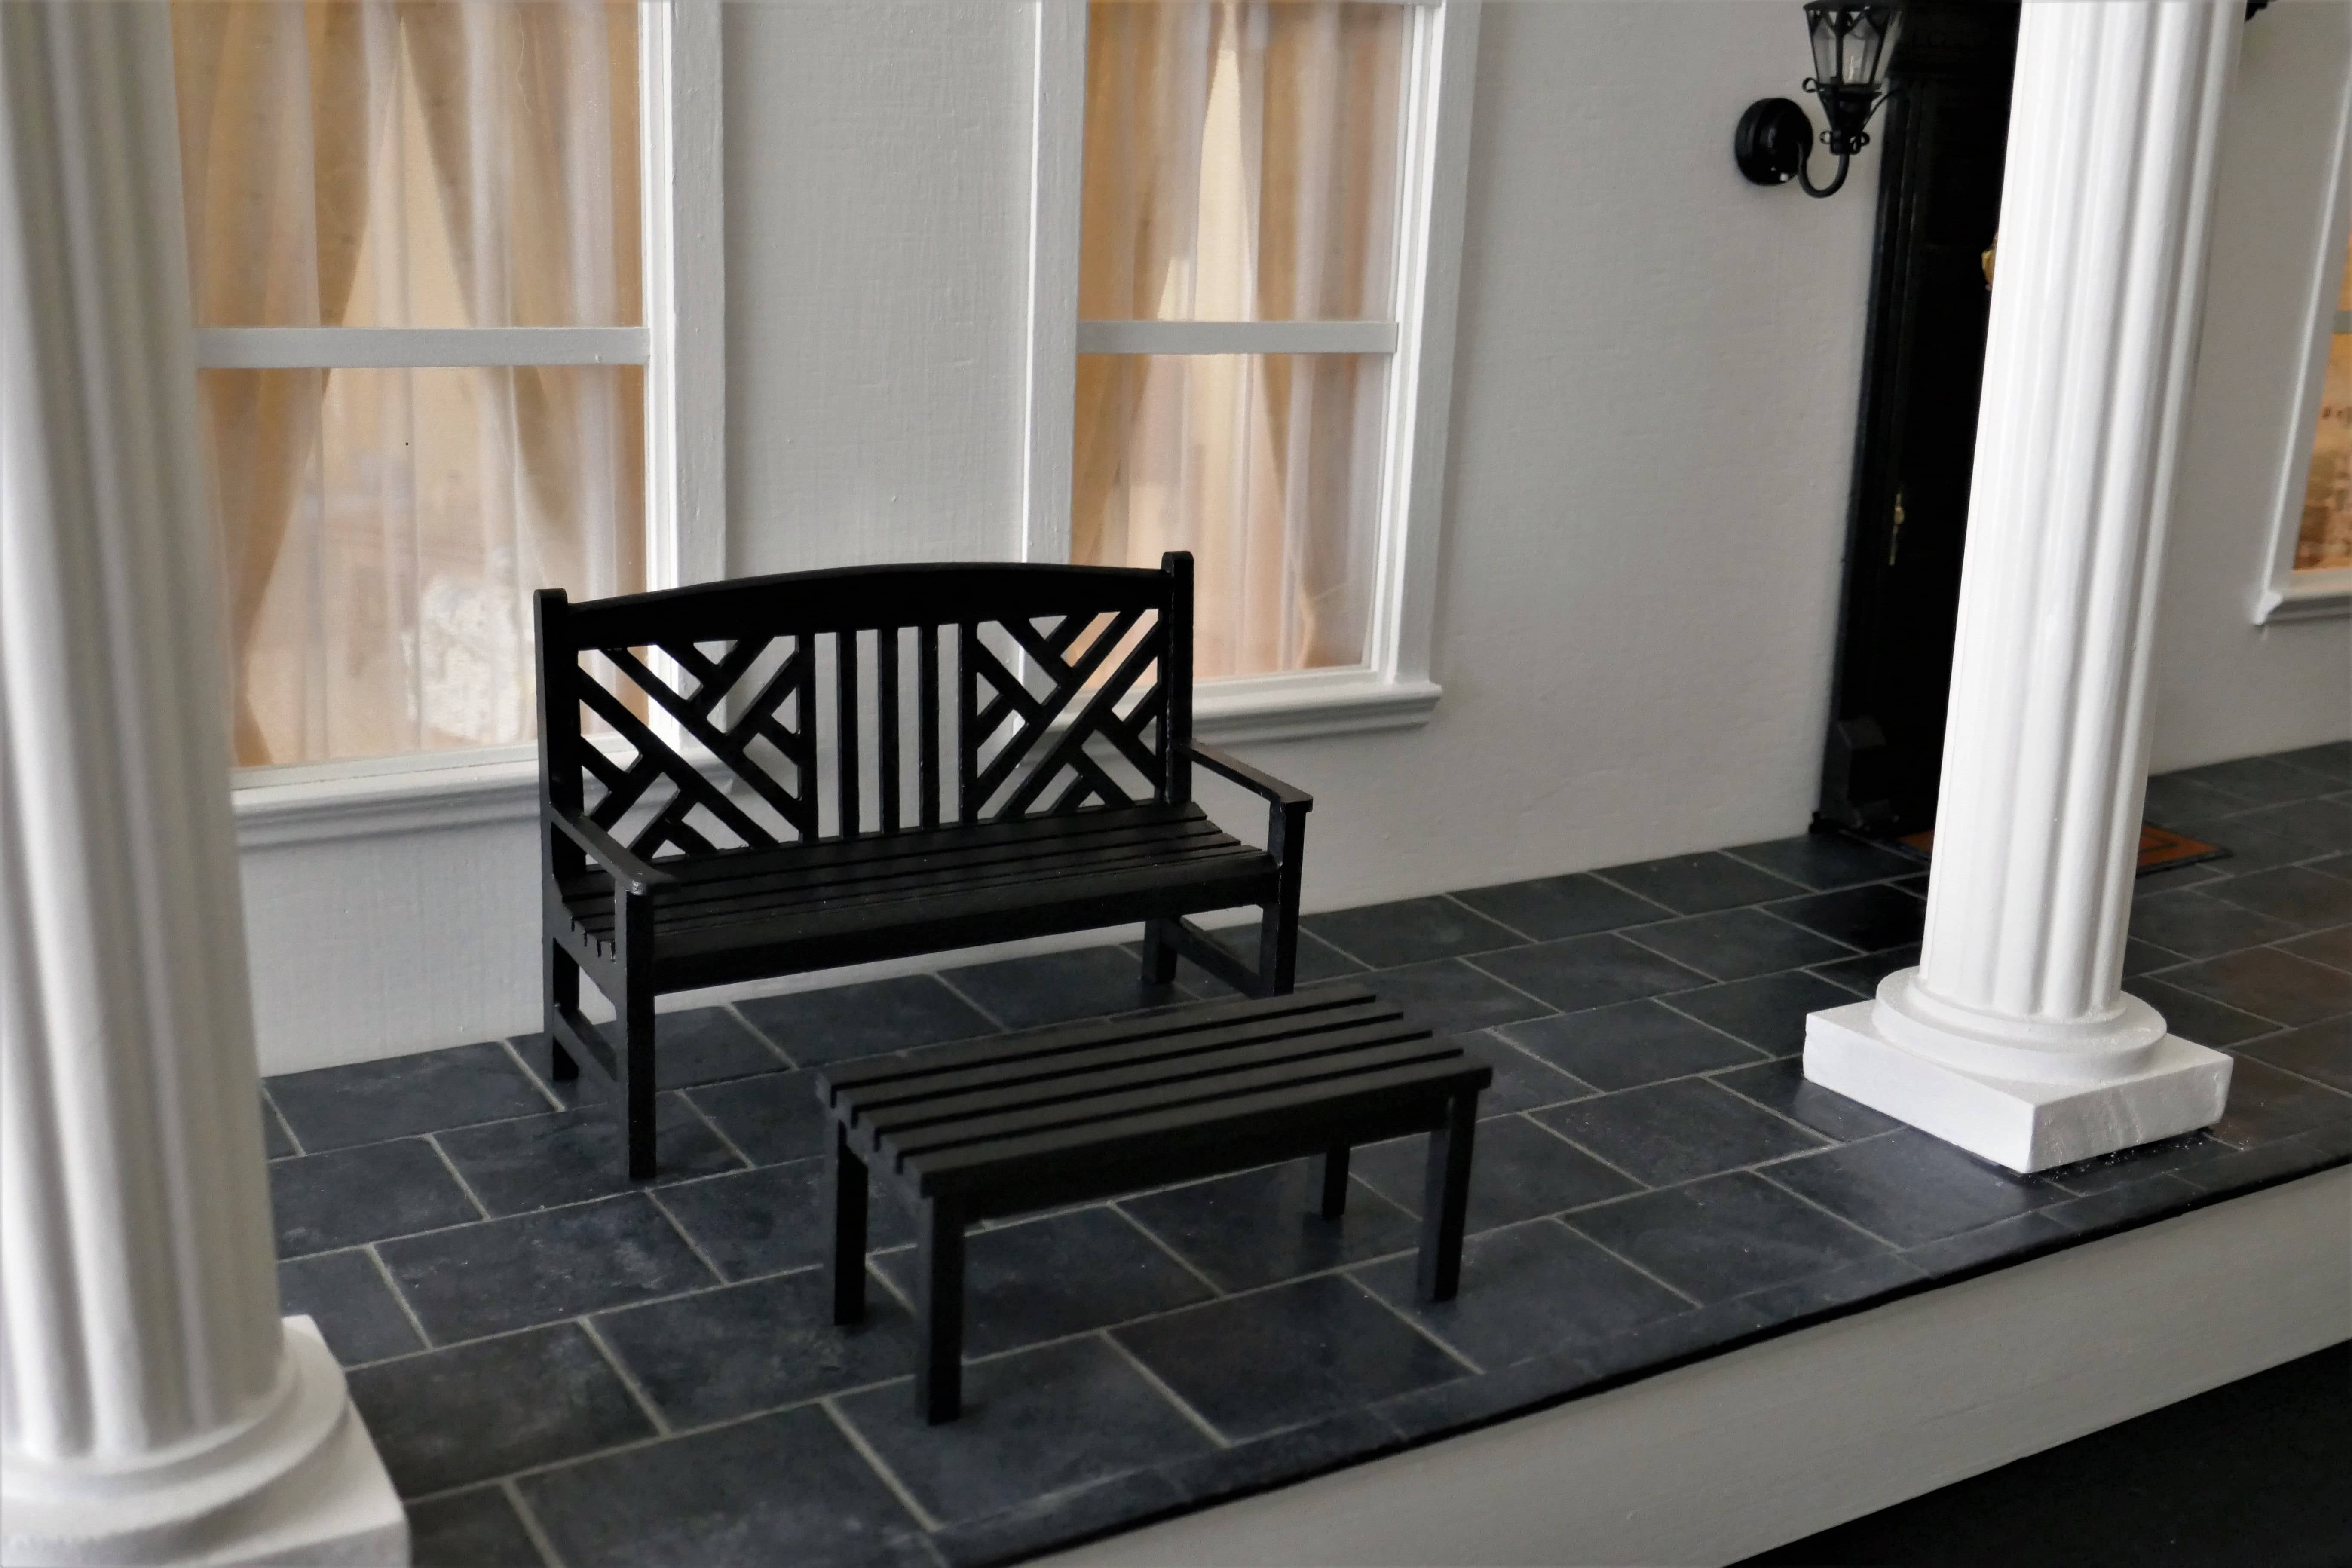
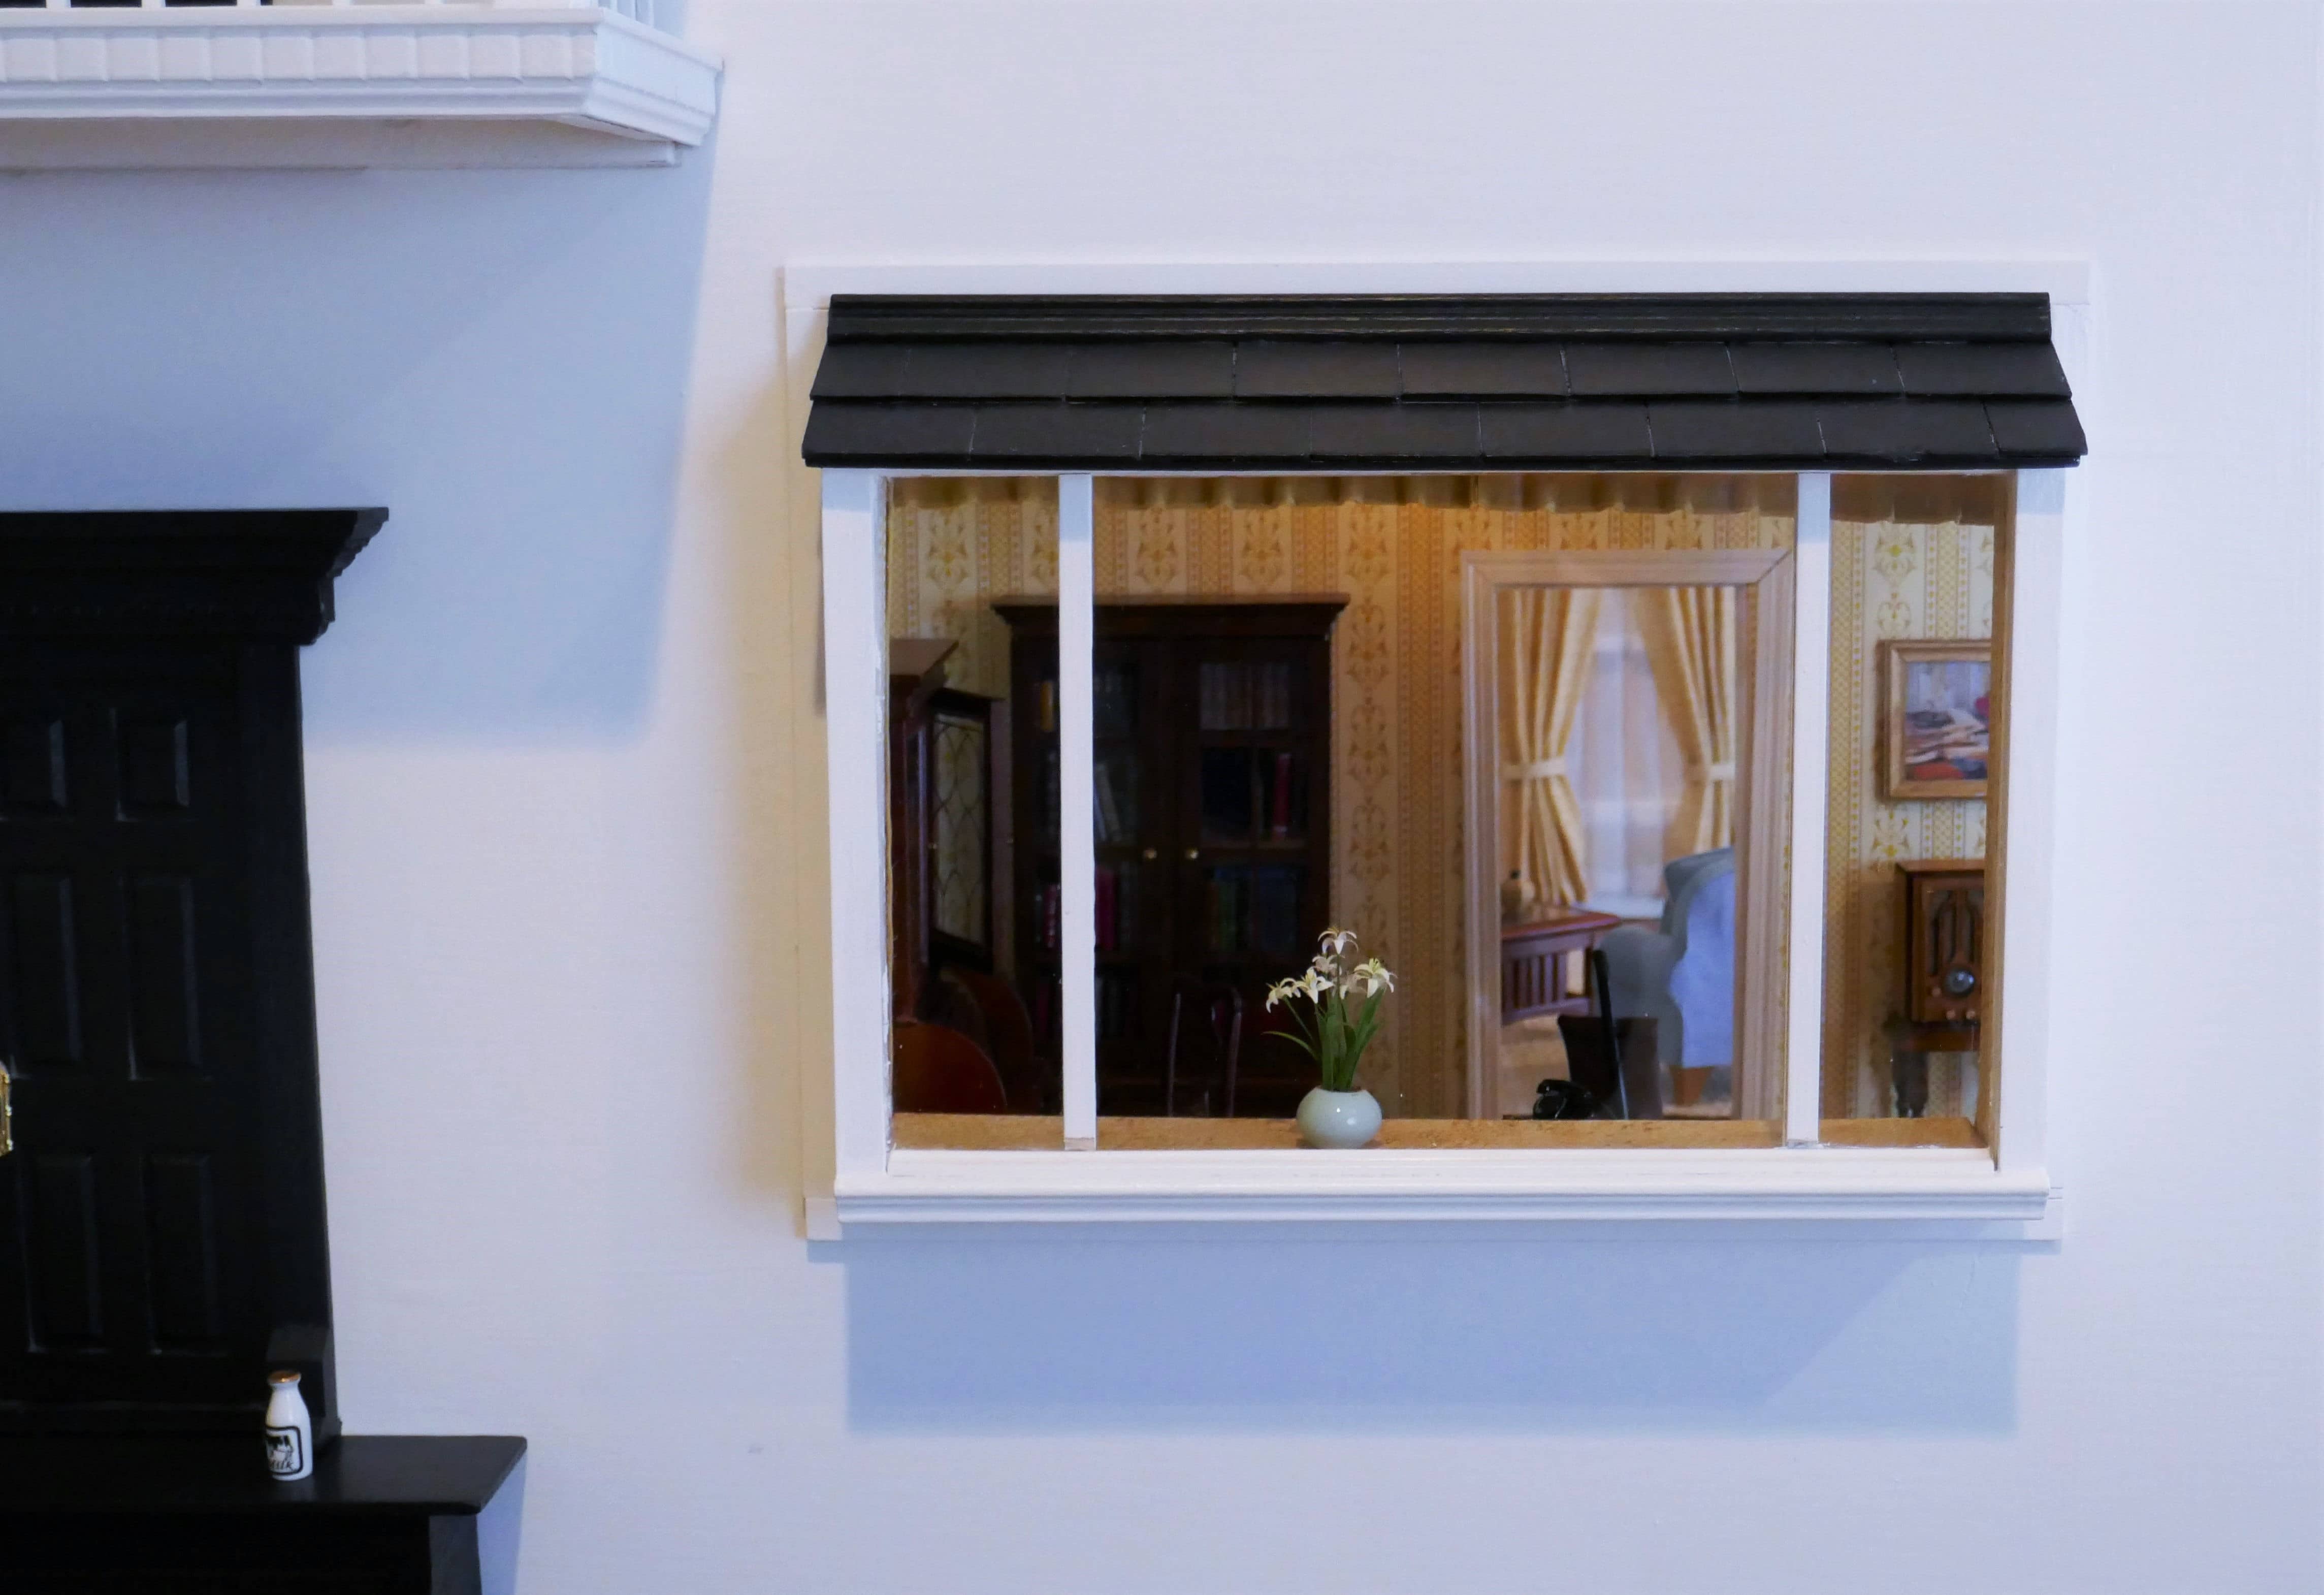
(Click images for more details)

View As A Slideshow

Blueprints Front view Back view Left side view Right side view Entrance door Left side of front porch Bump out window Living room right side Living room with lights Study with ceiling fan Dining room Kitchen with the lady of the house Kitchen with possible linoleum Overall view of upstairs master bedroom View of left corner of that bedroom Partially finished upstairs bathroom Young girl’s bedroom with fairy wallpaper Guest or third bedroom

Updated Pictures:

Study Sitting area Sitting area with fireplace Kitchen Kitchen sink Bathtub Kid's room

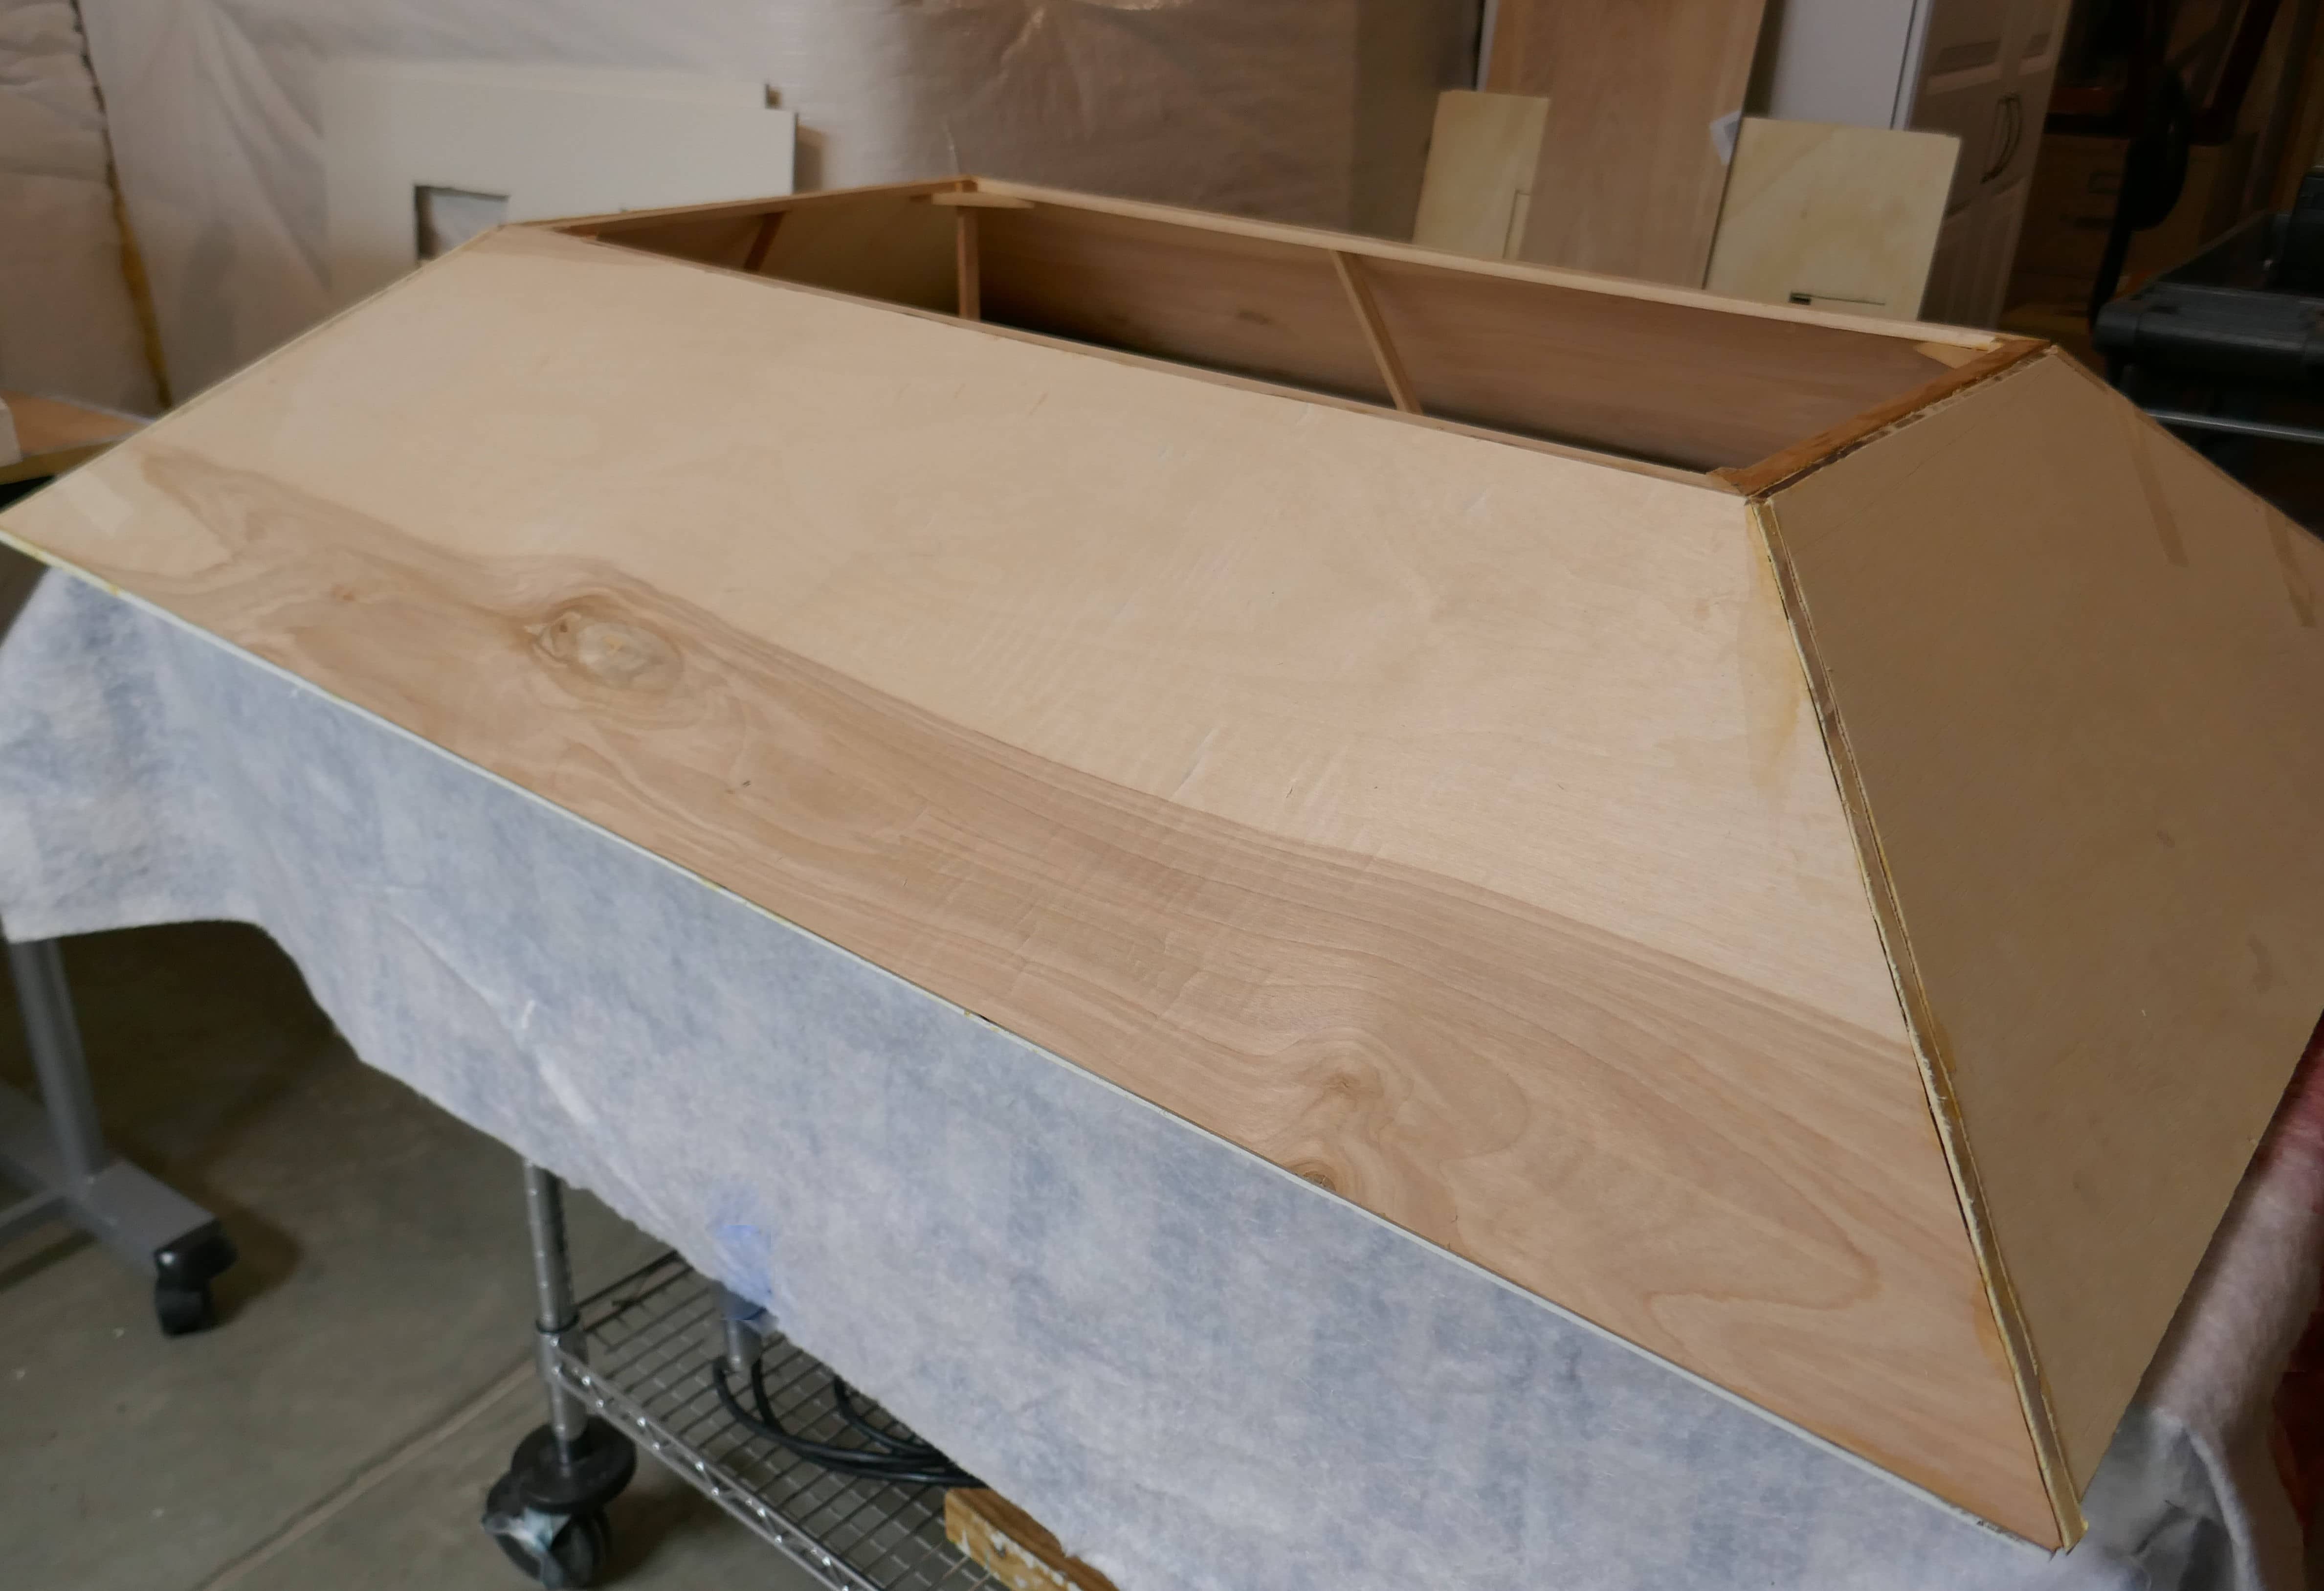
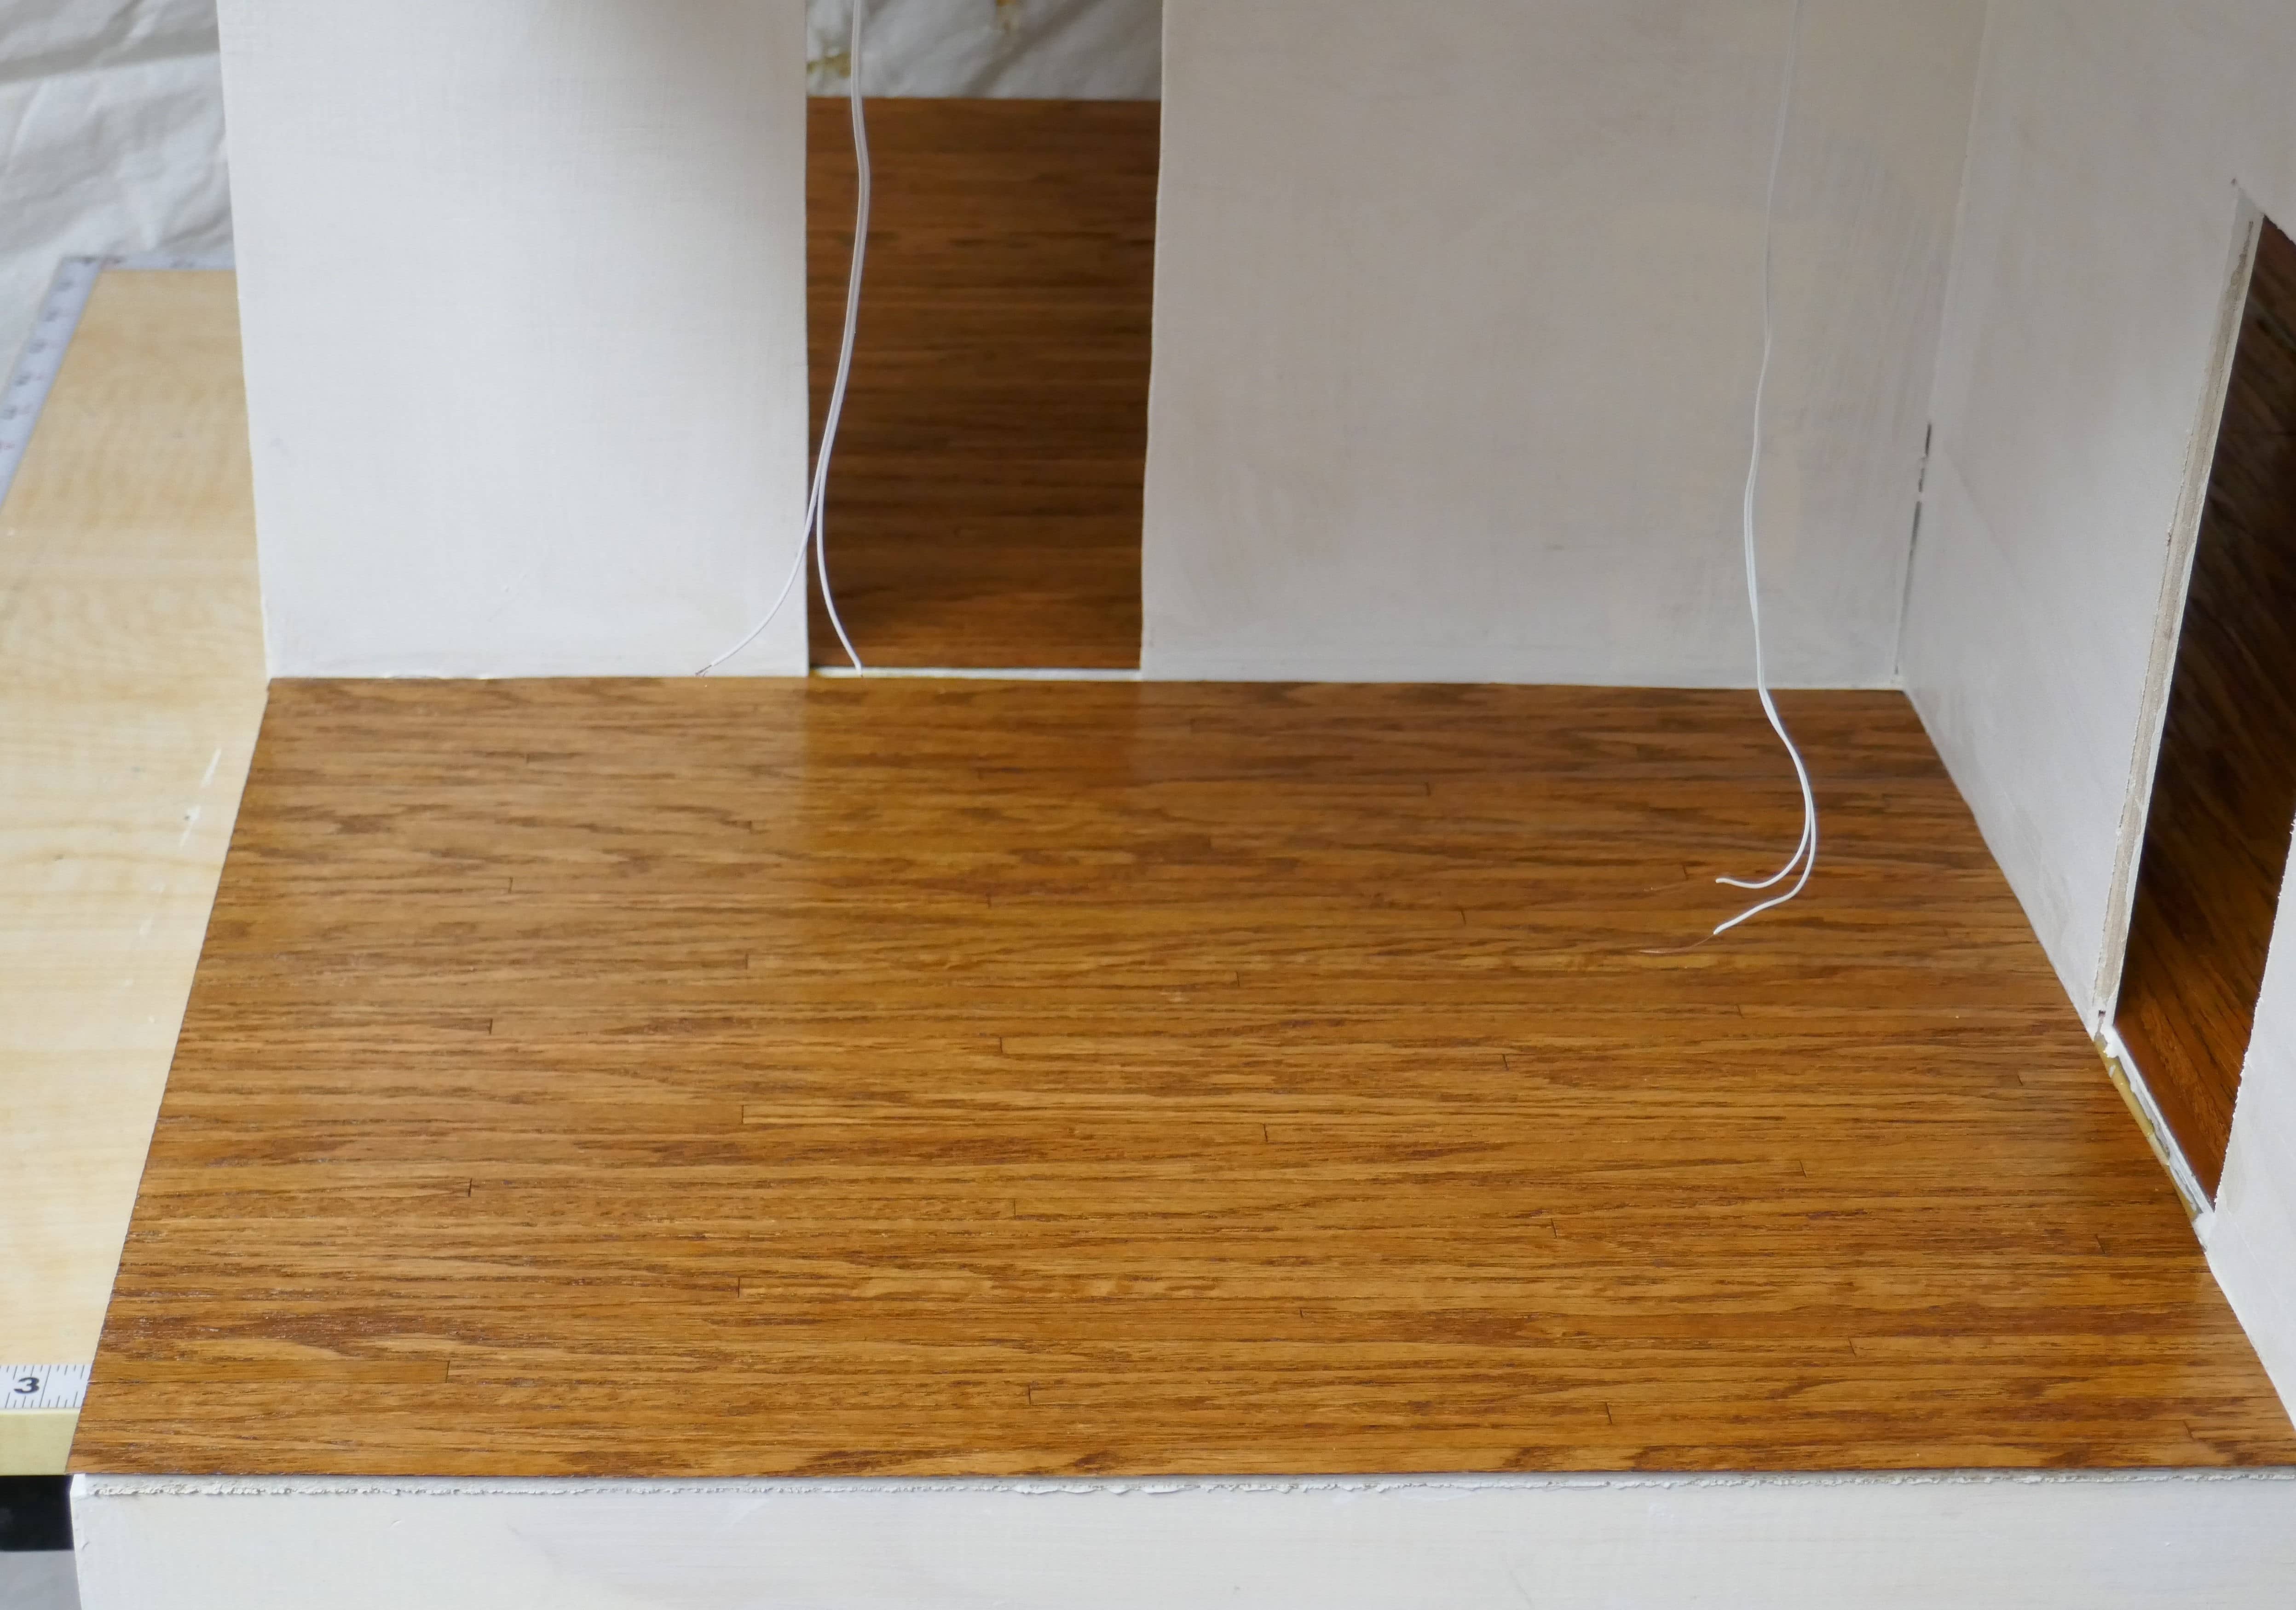
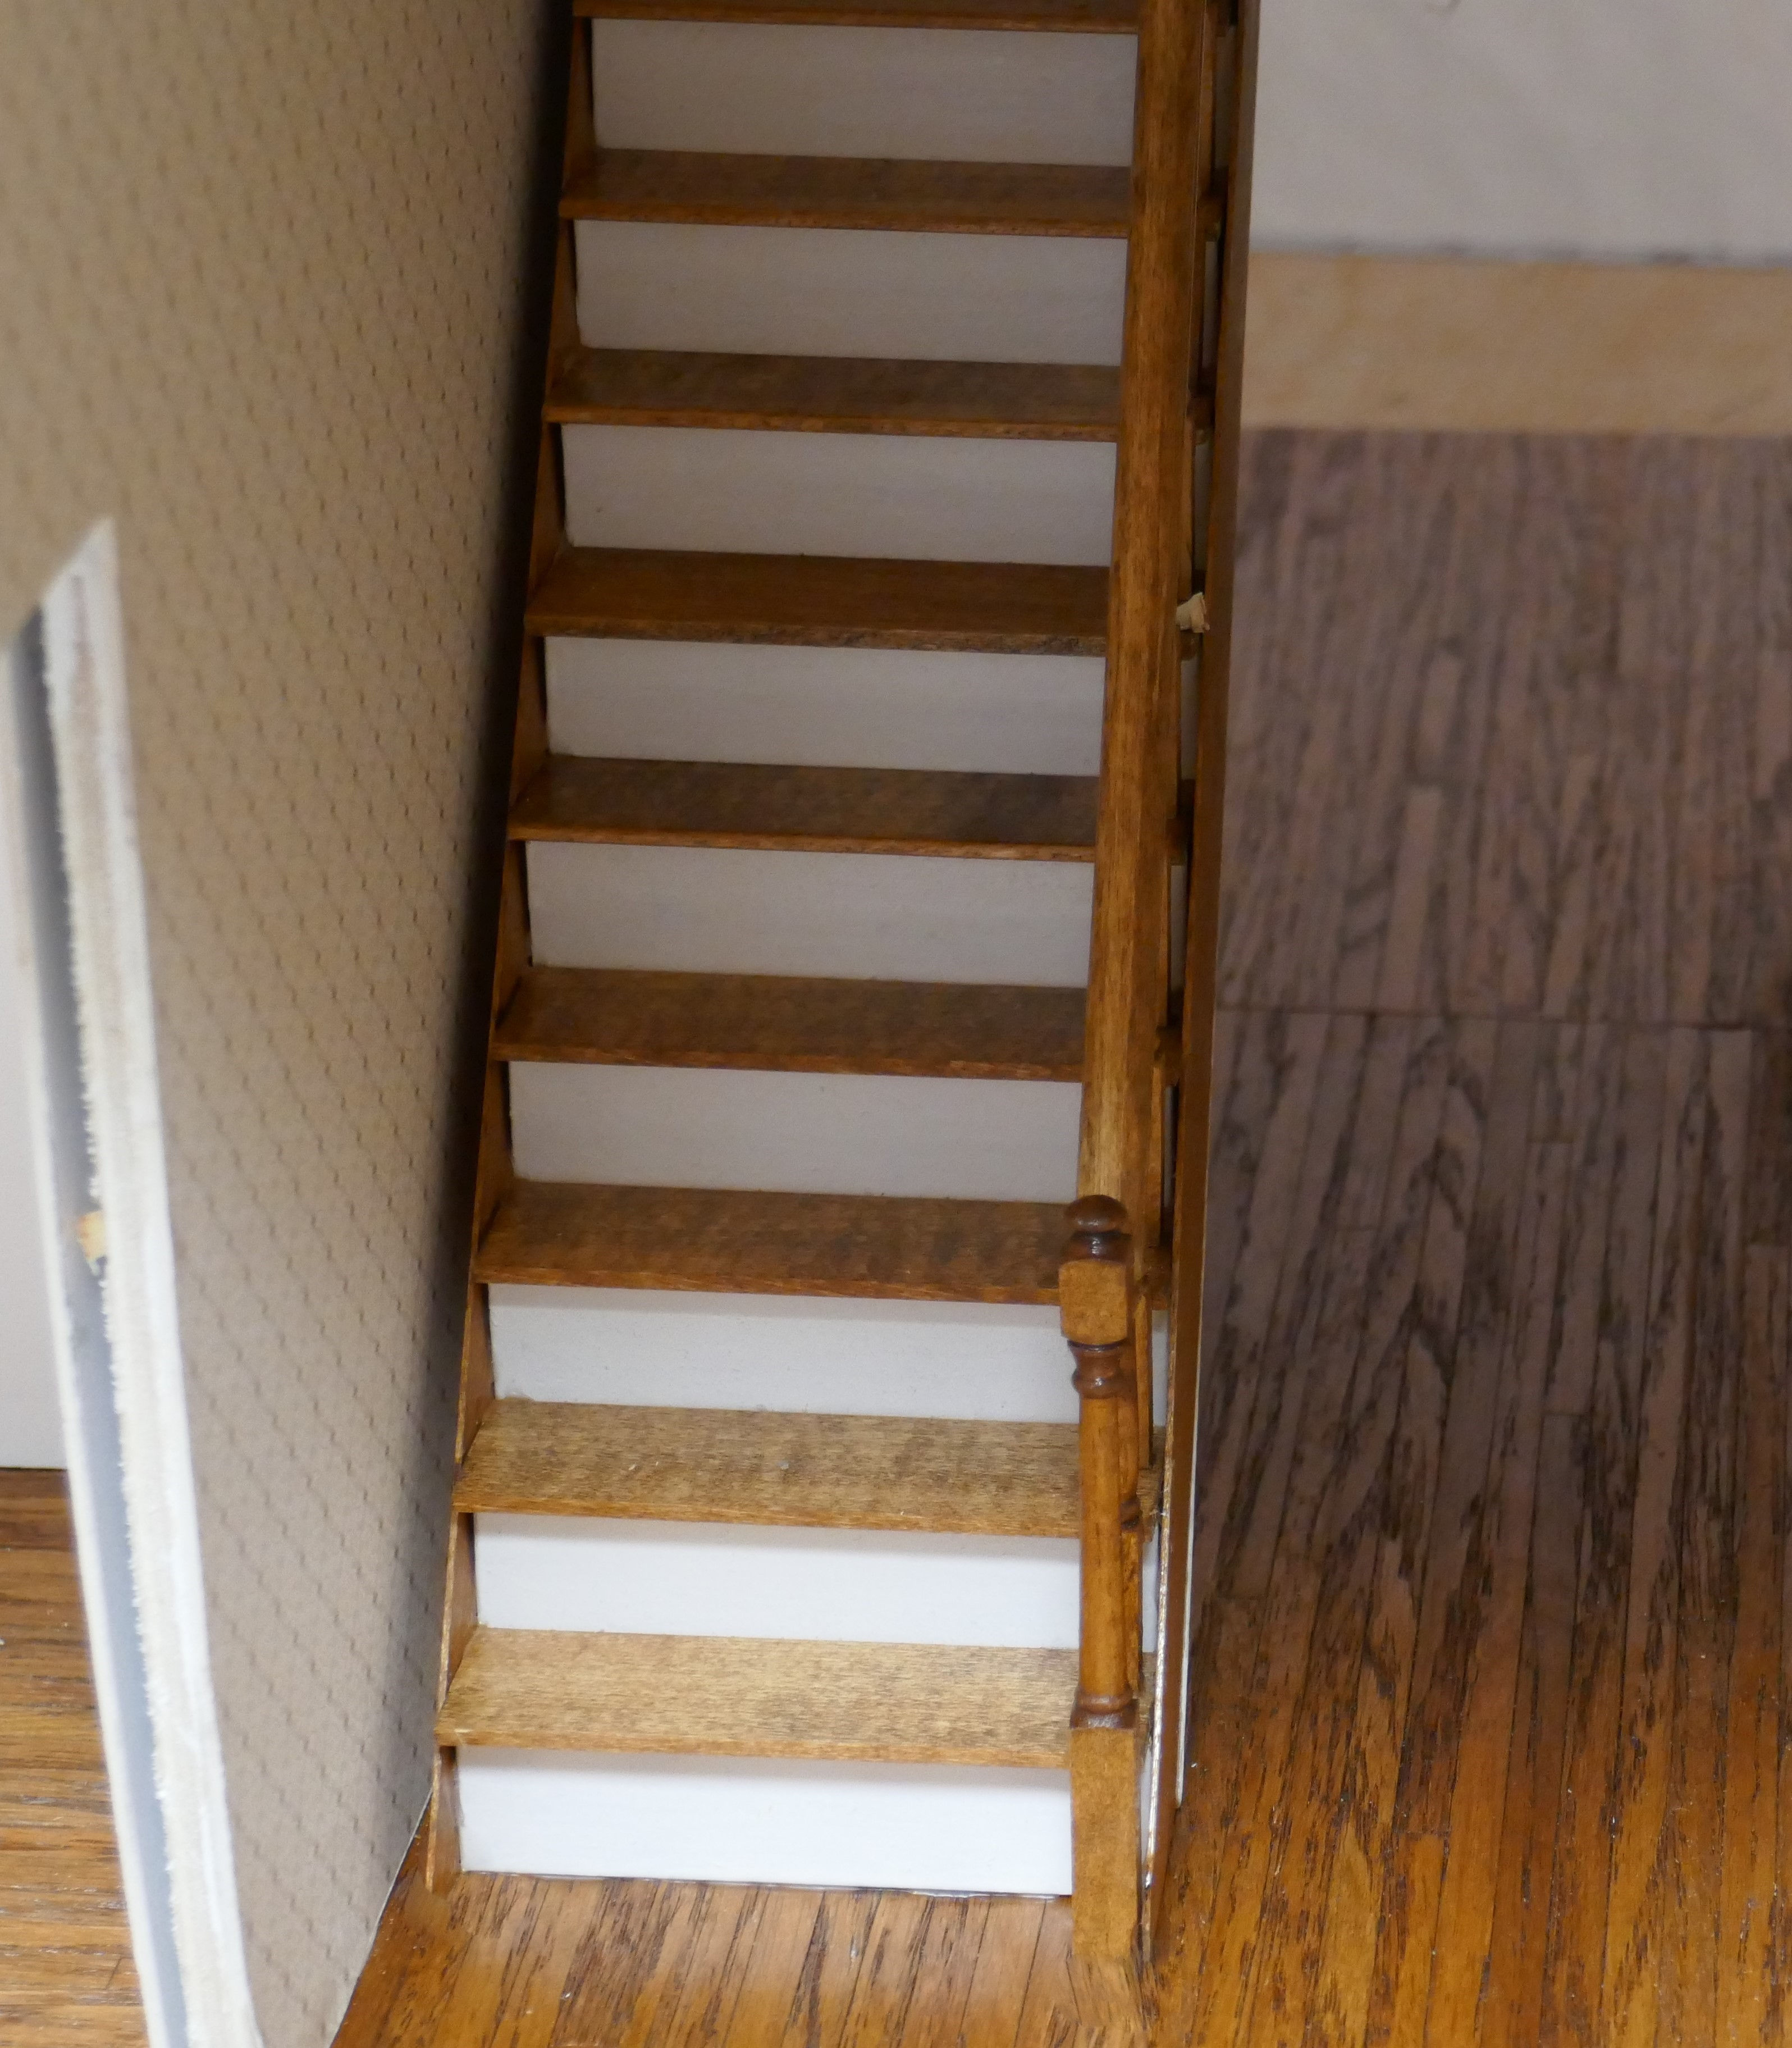
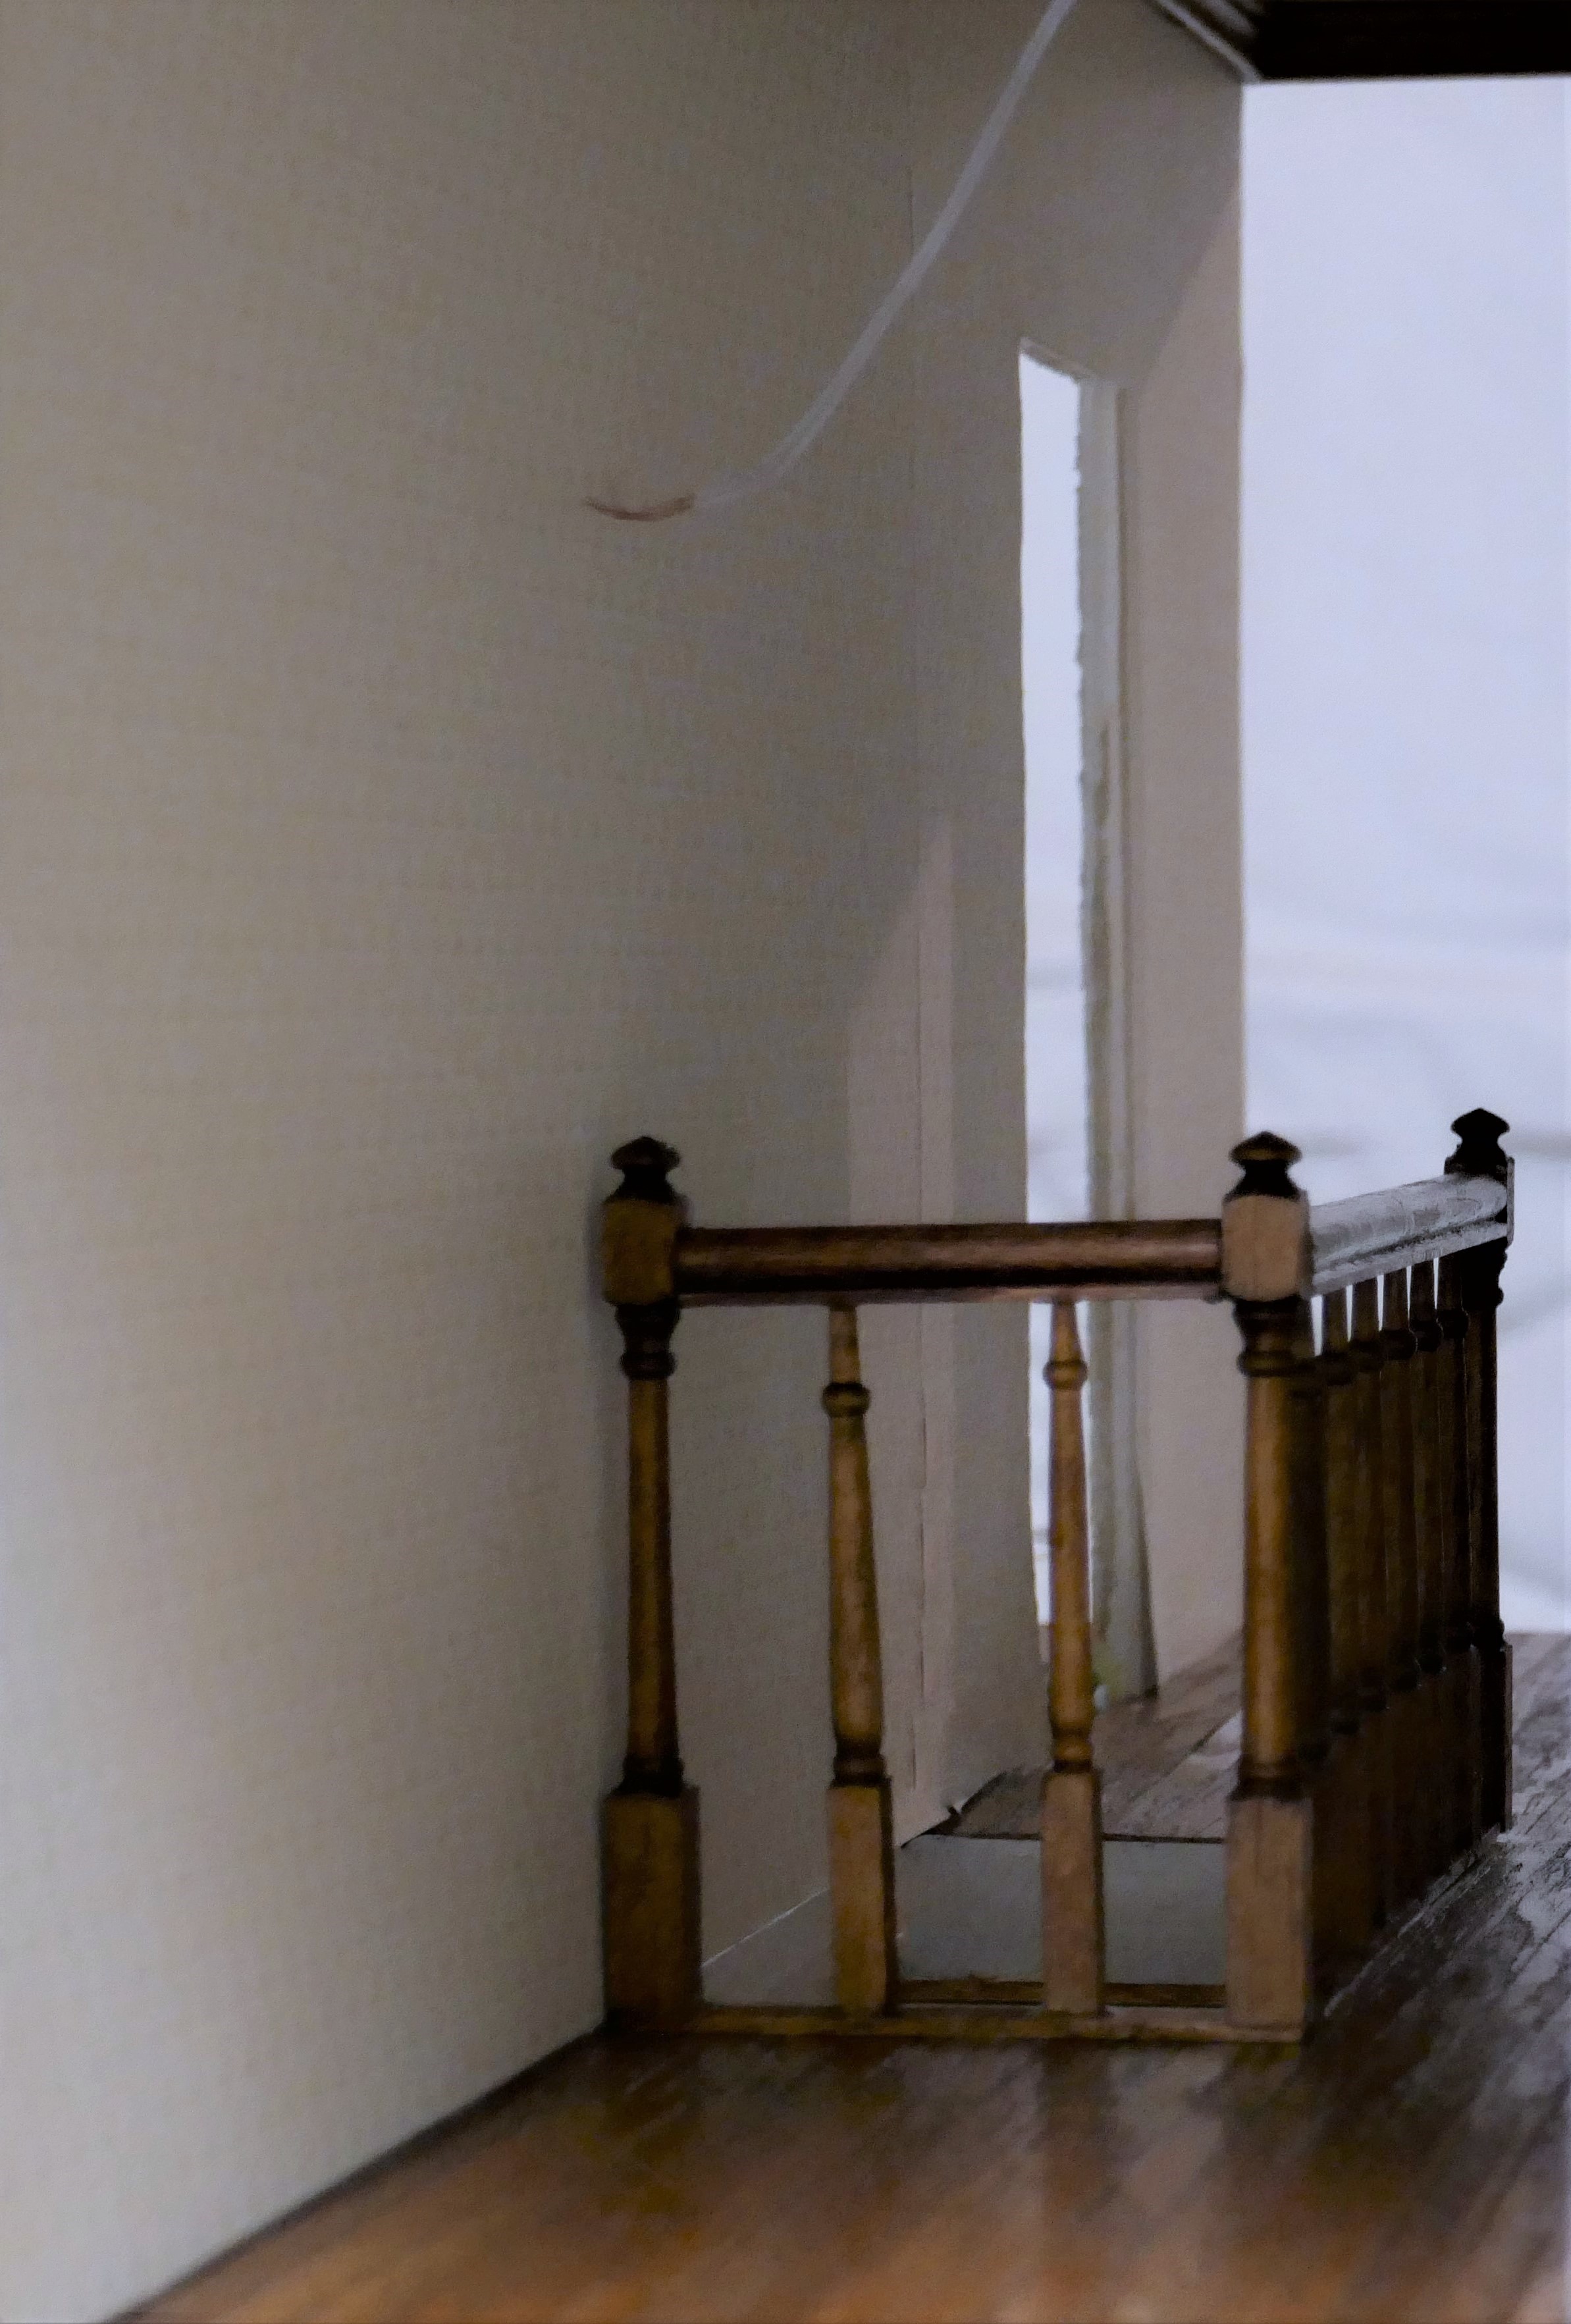
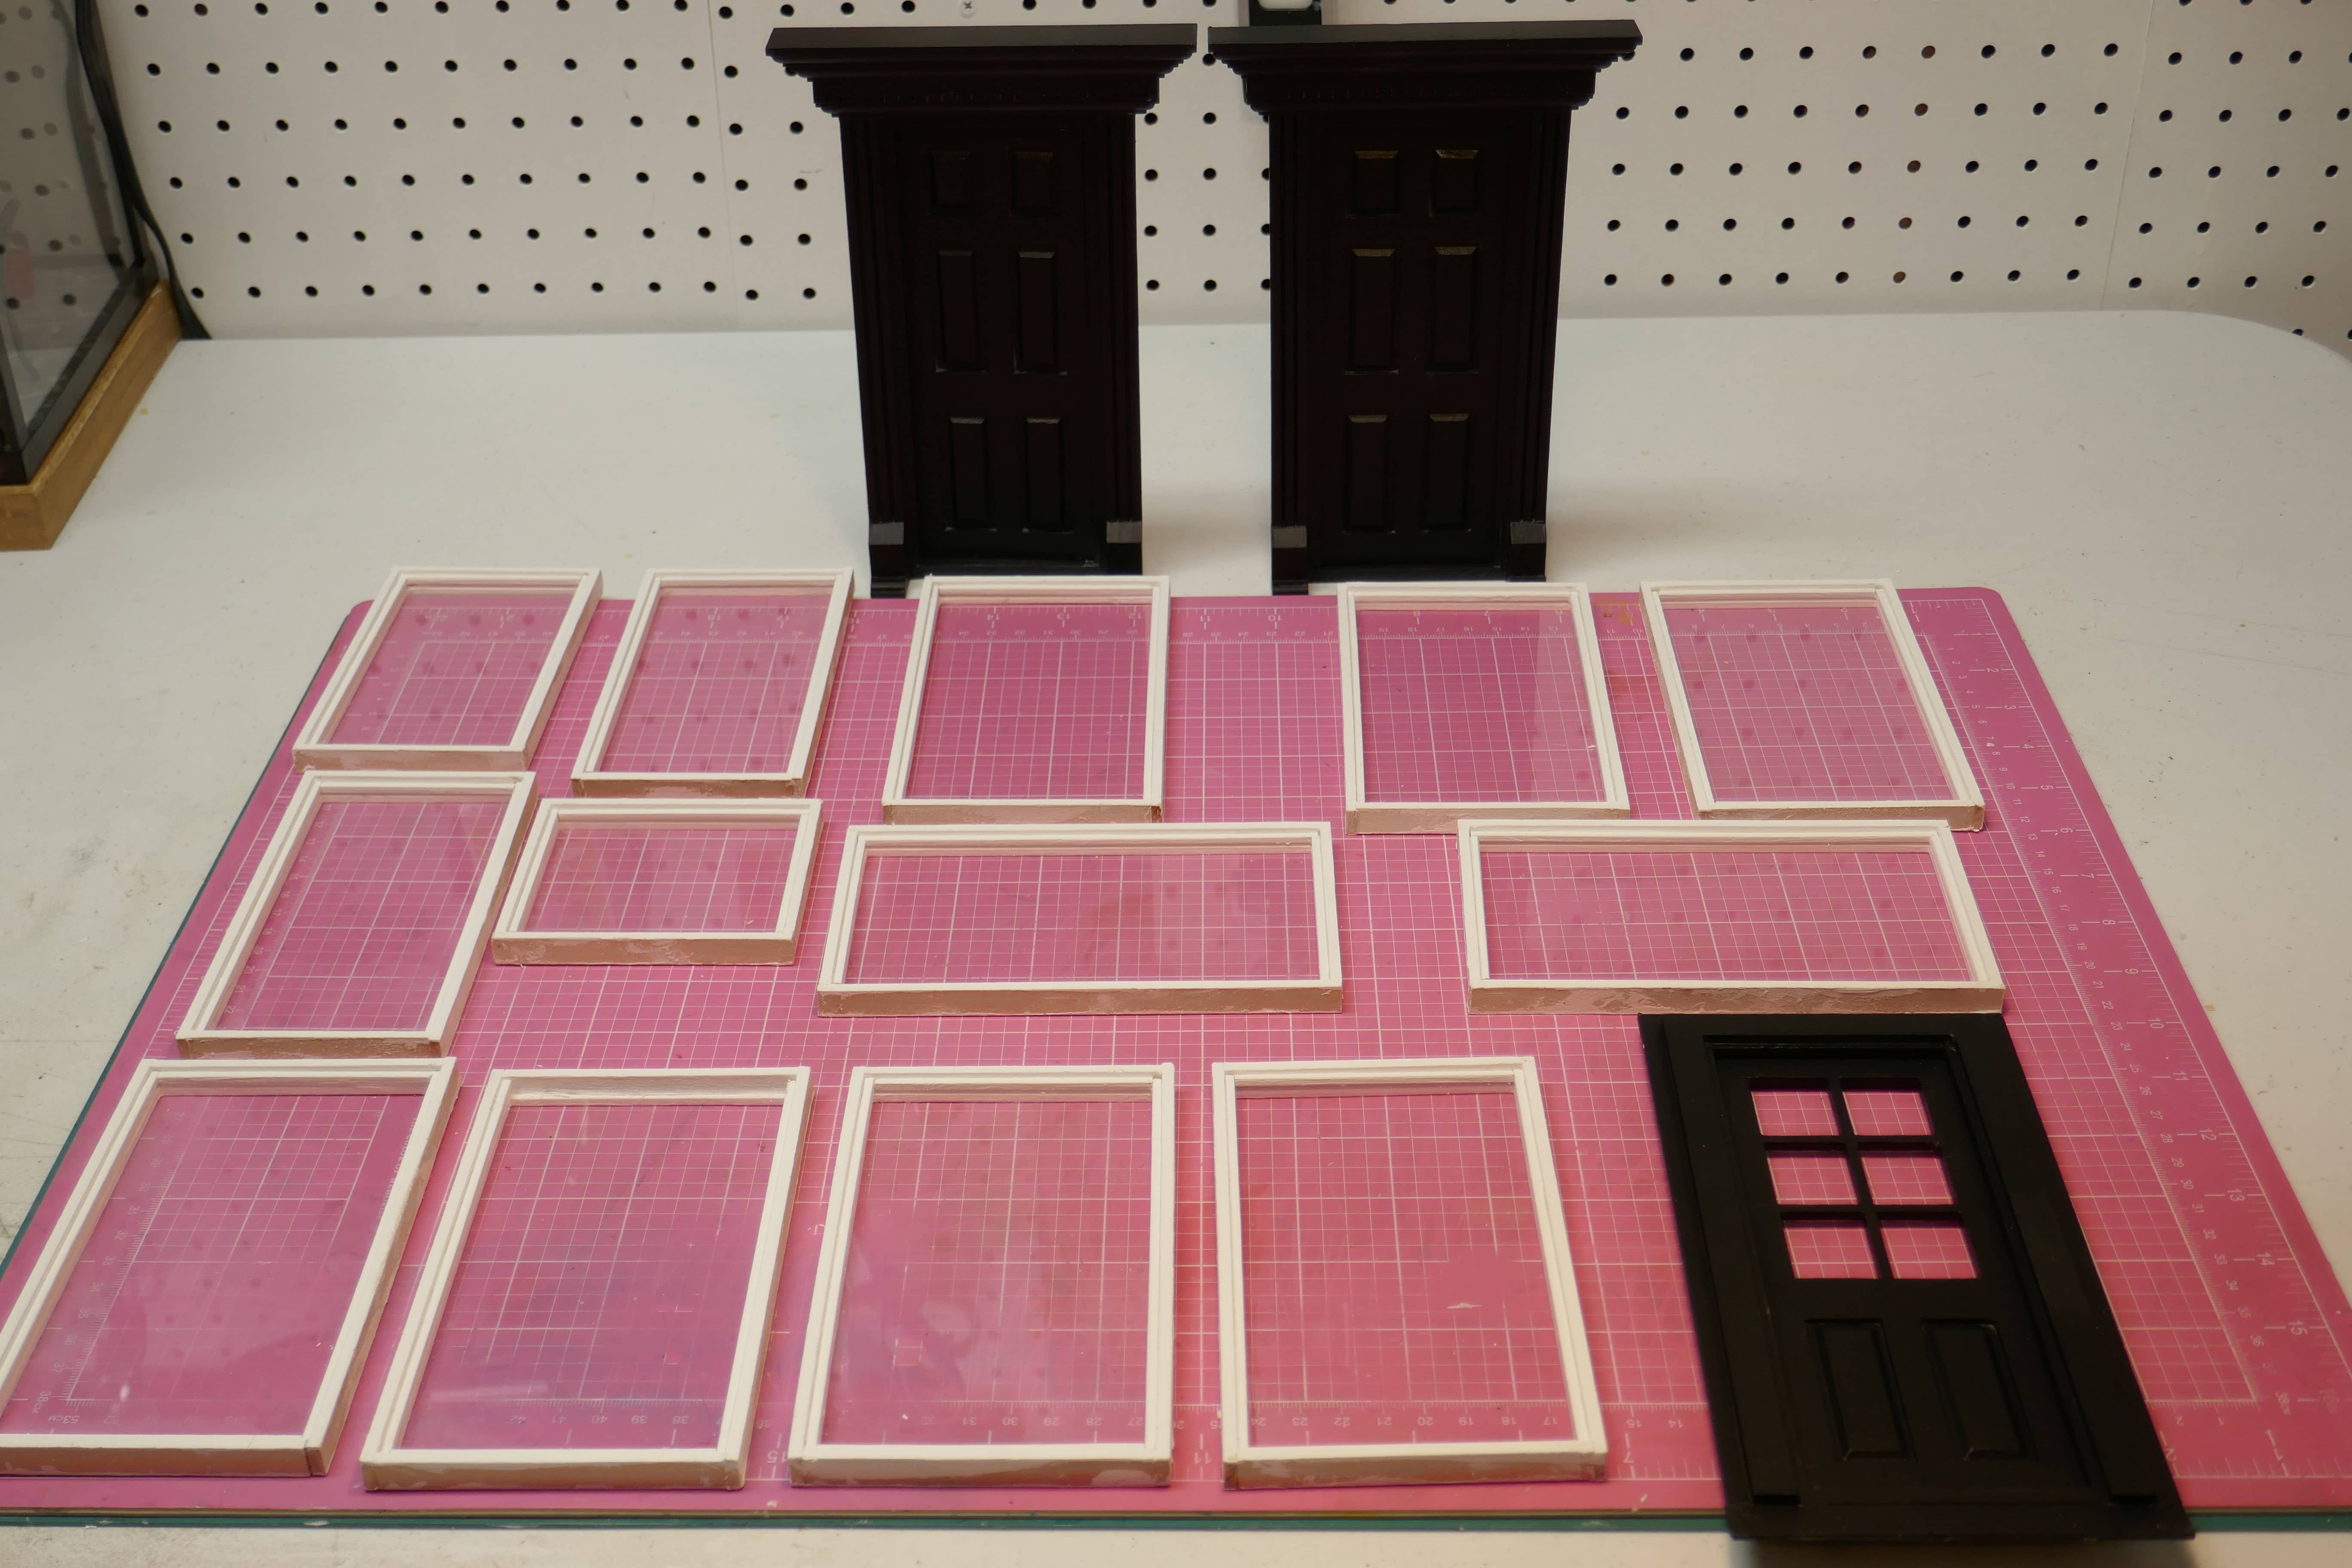
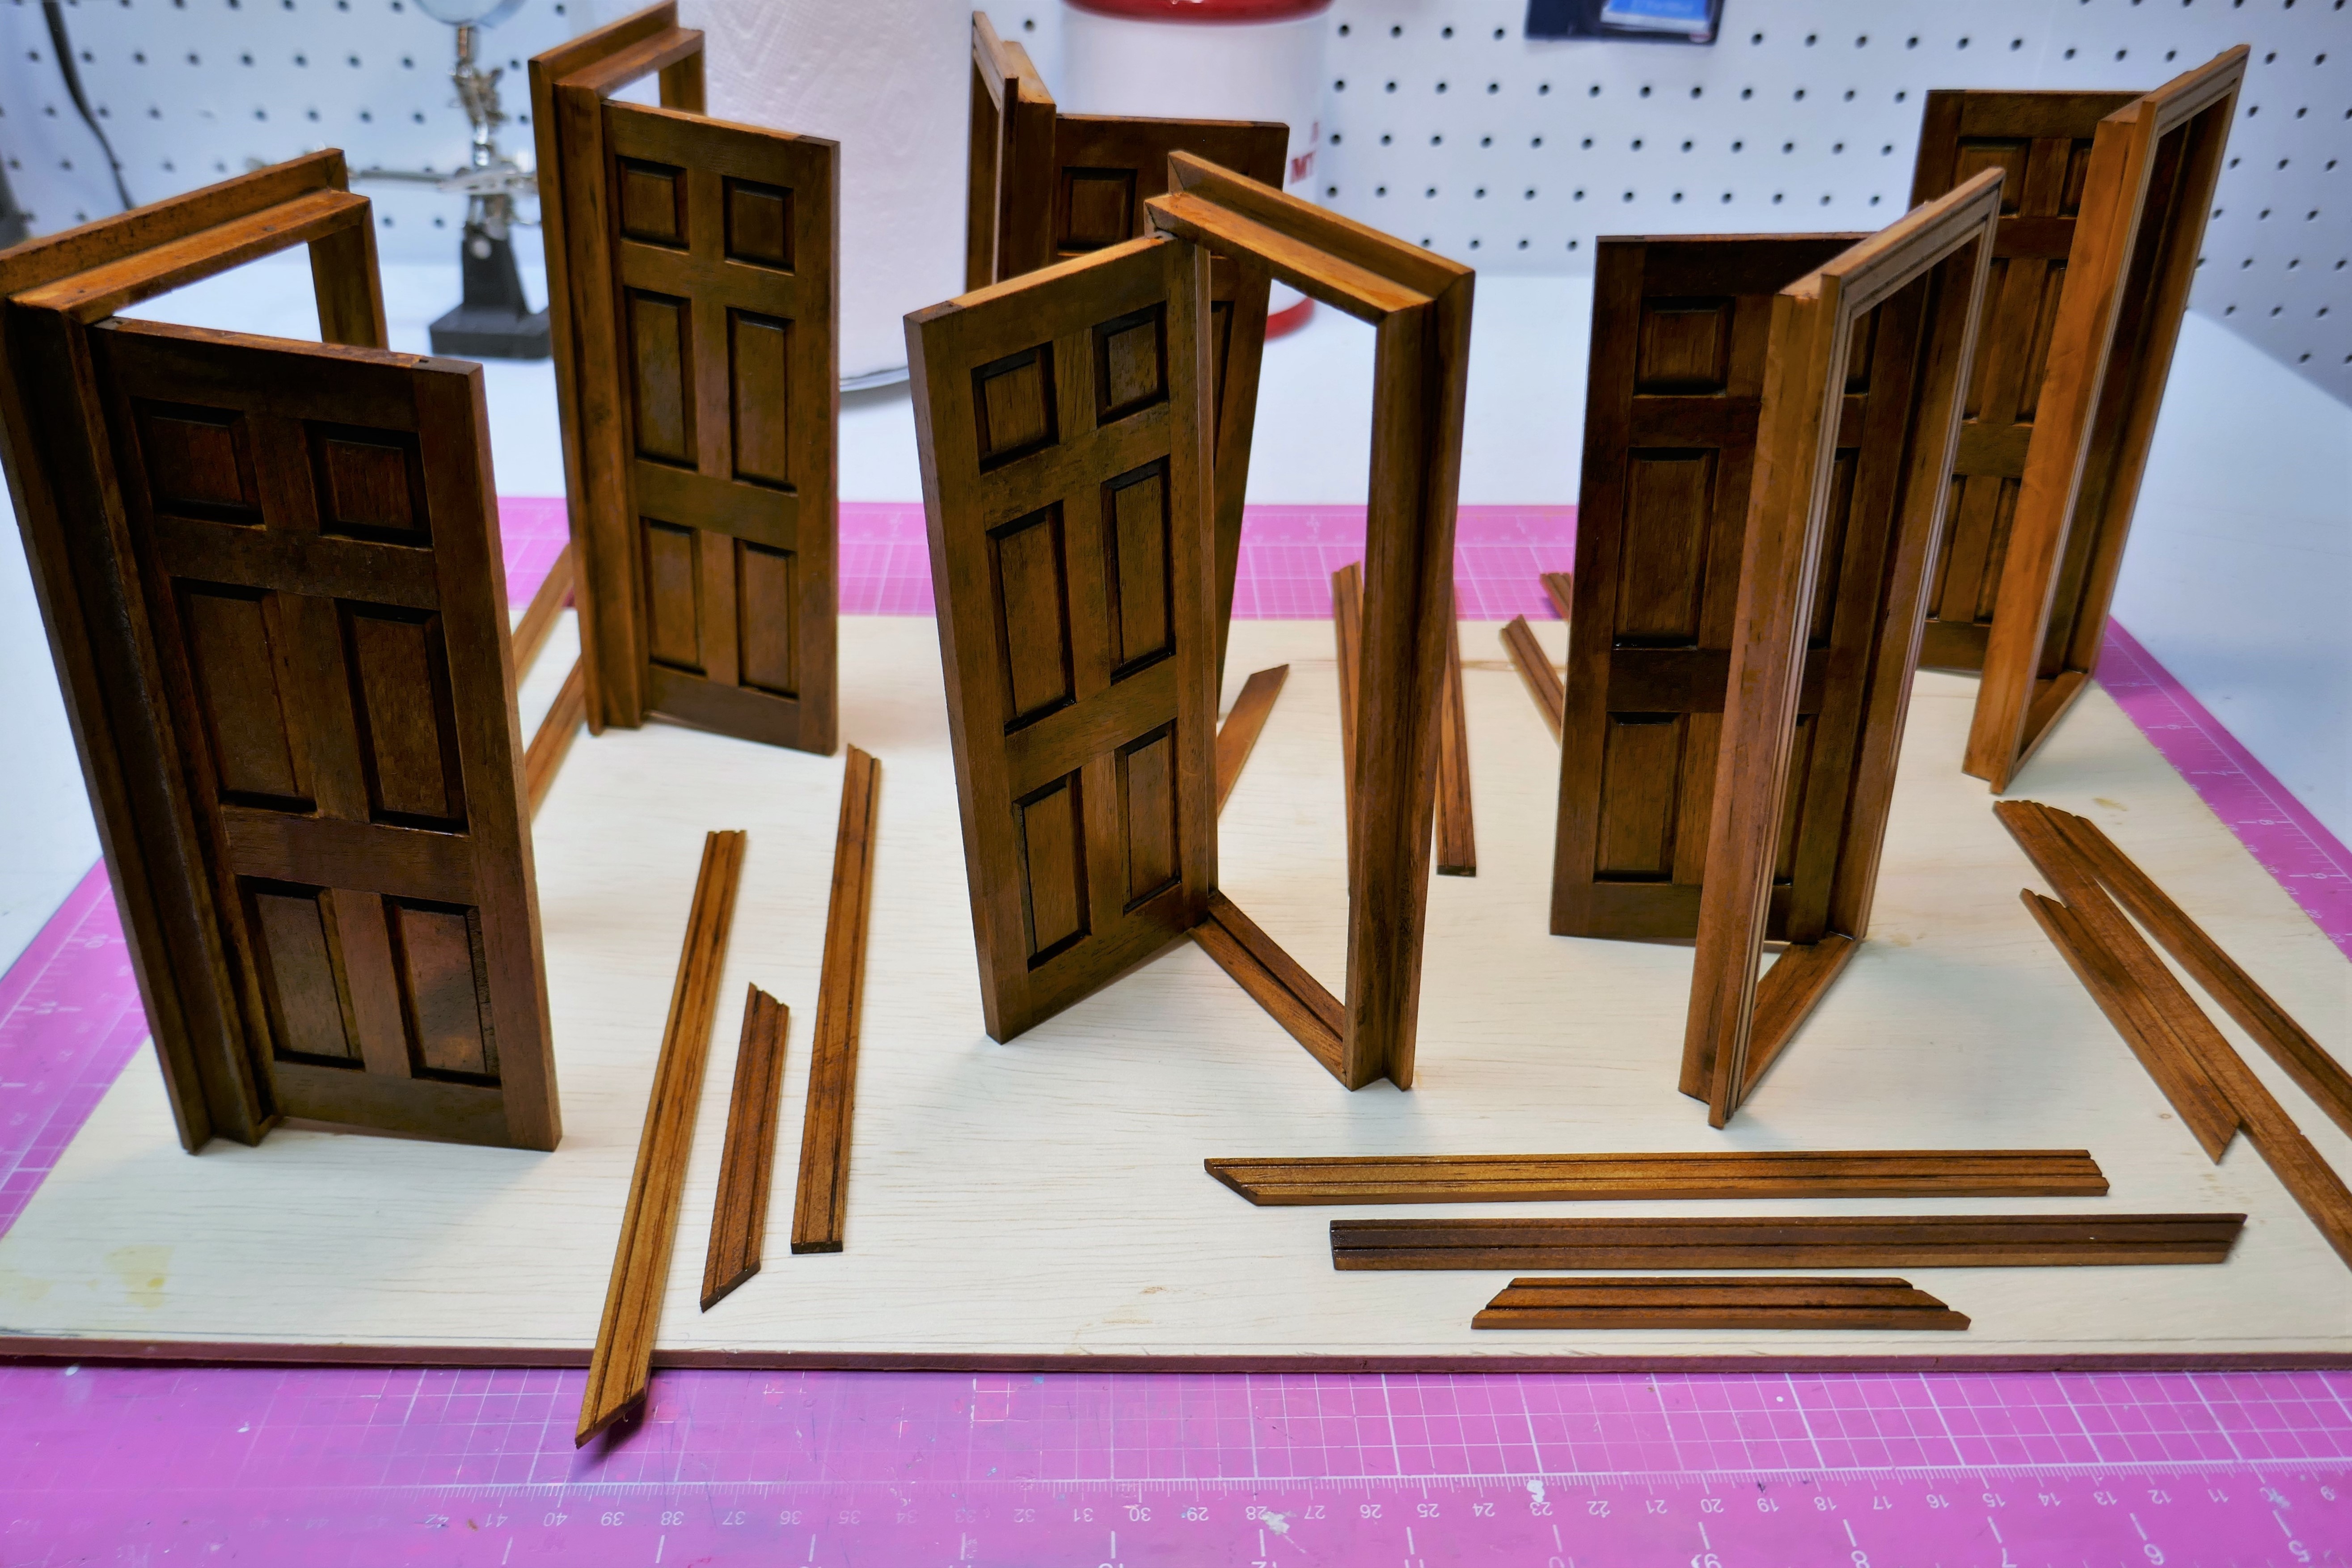
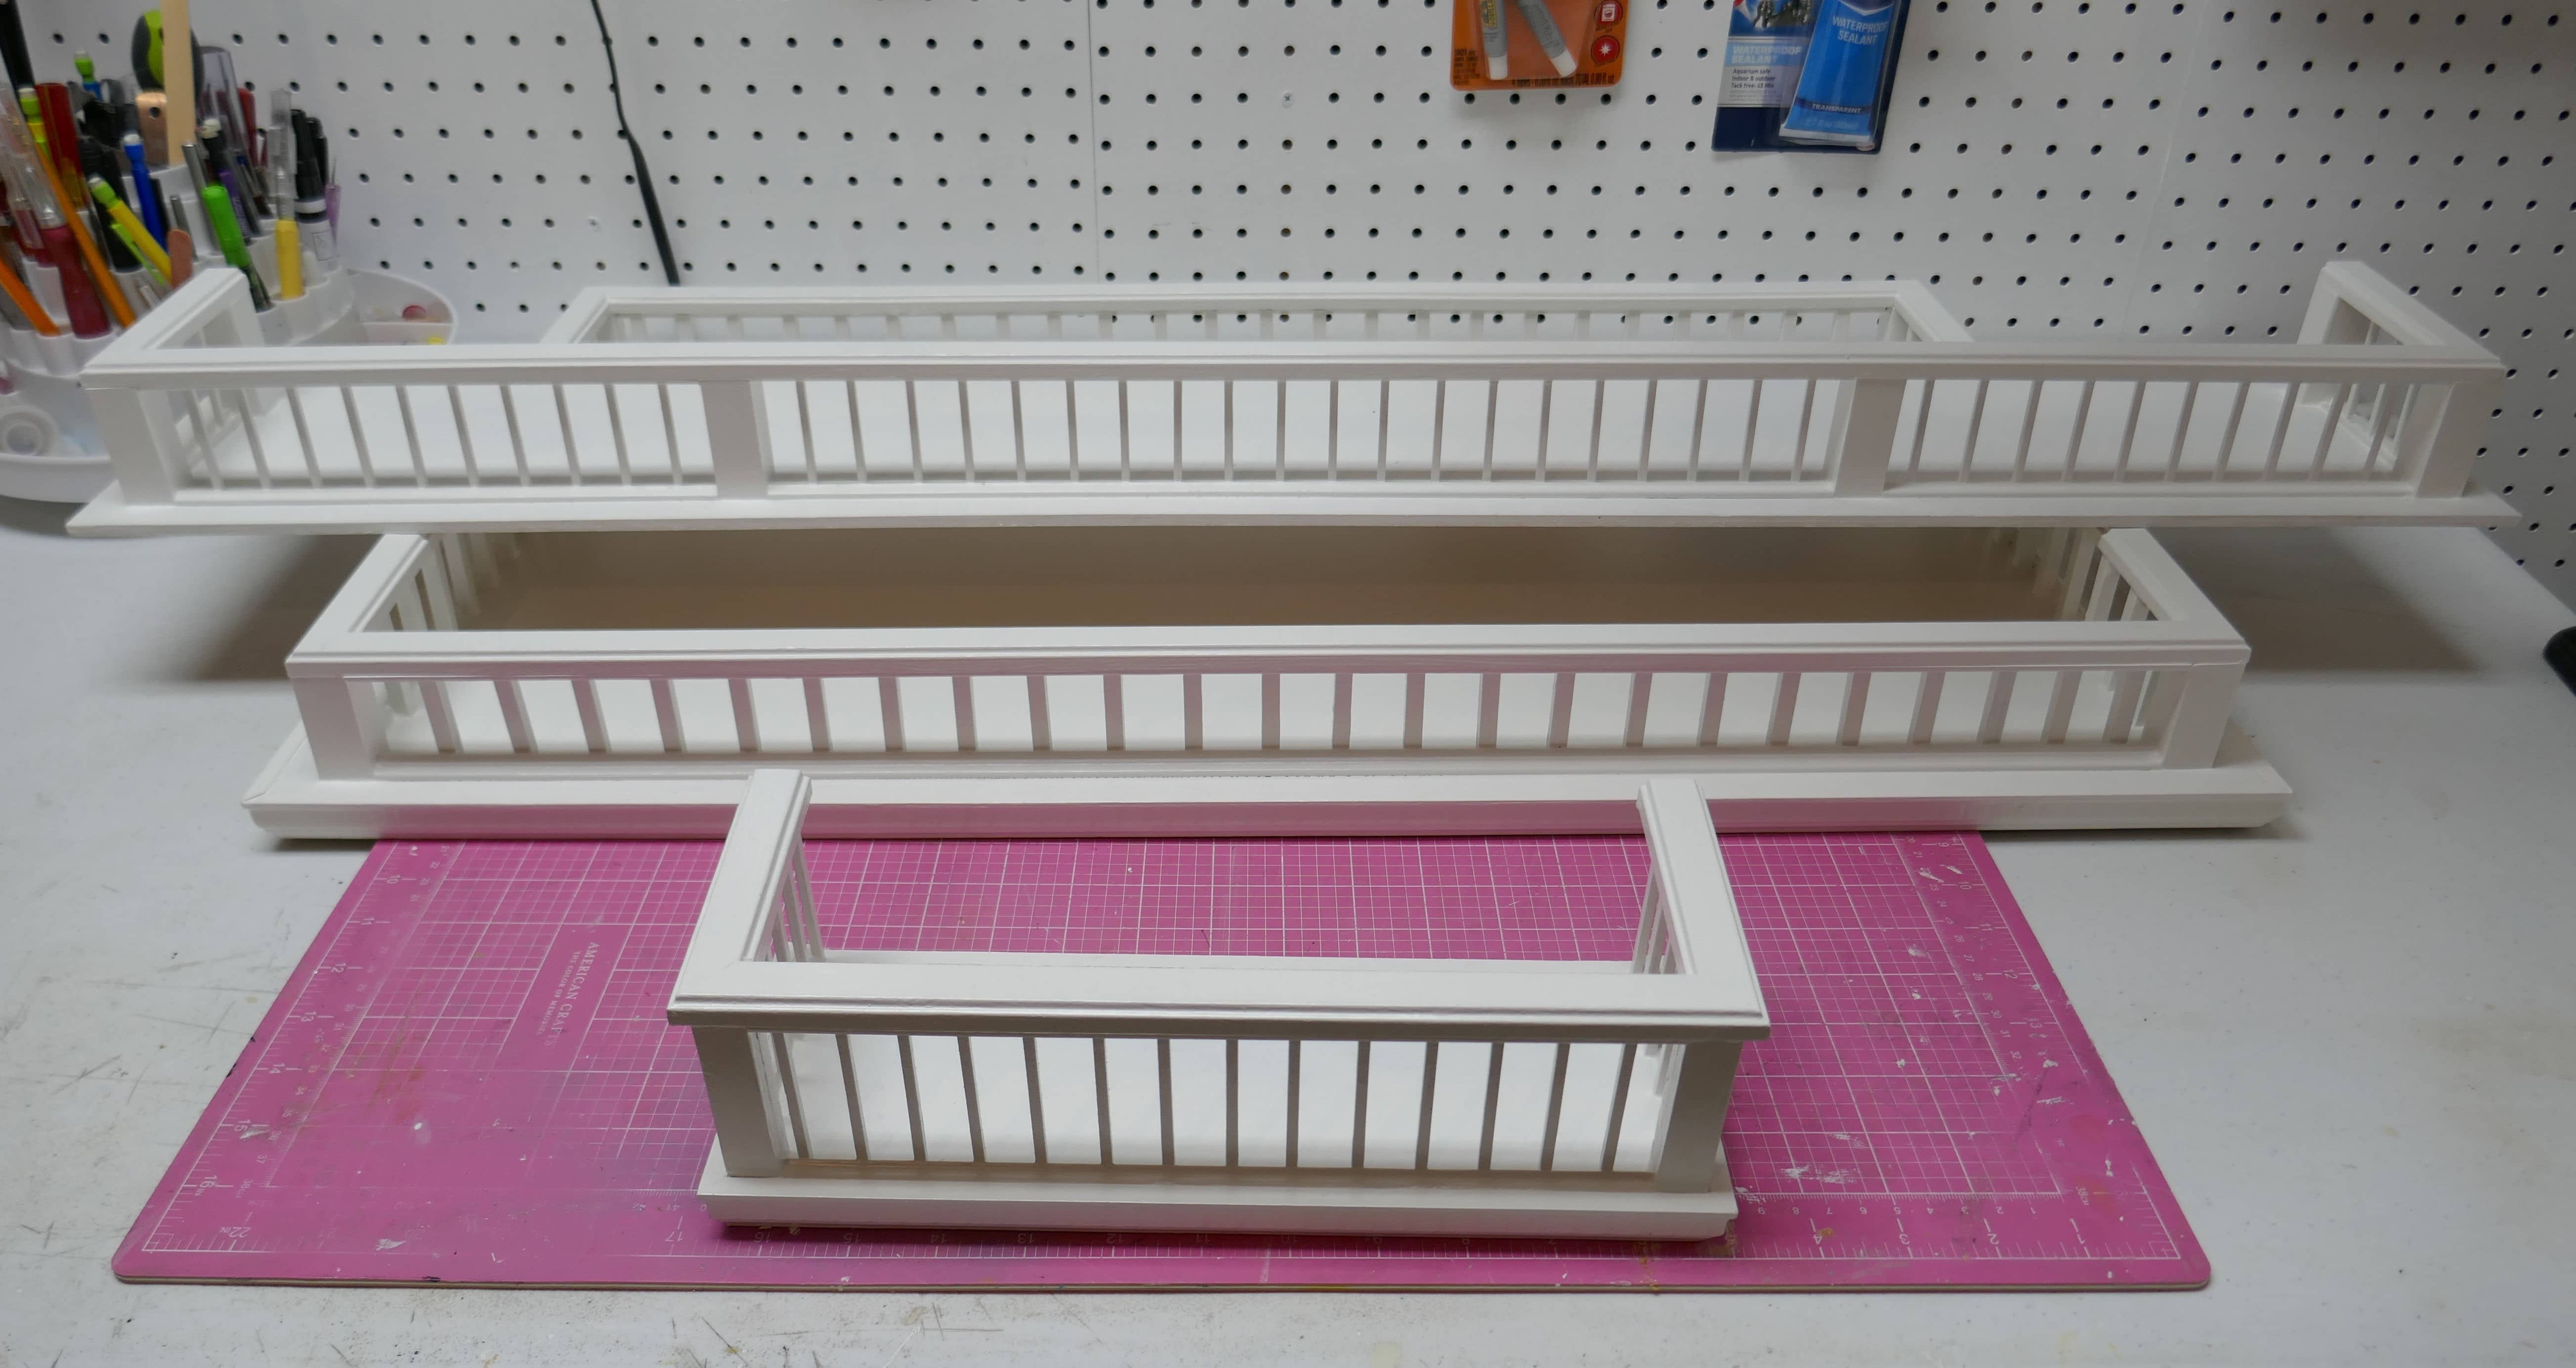
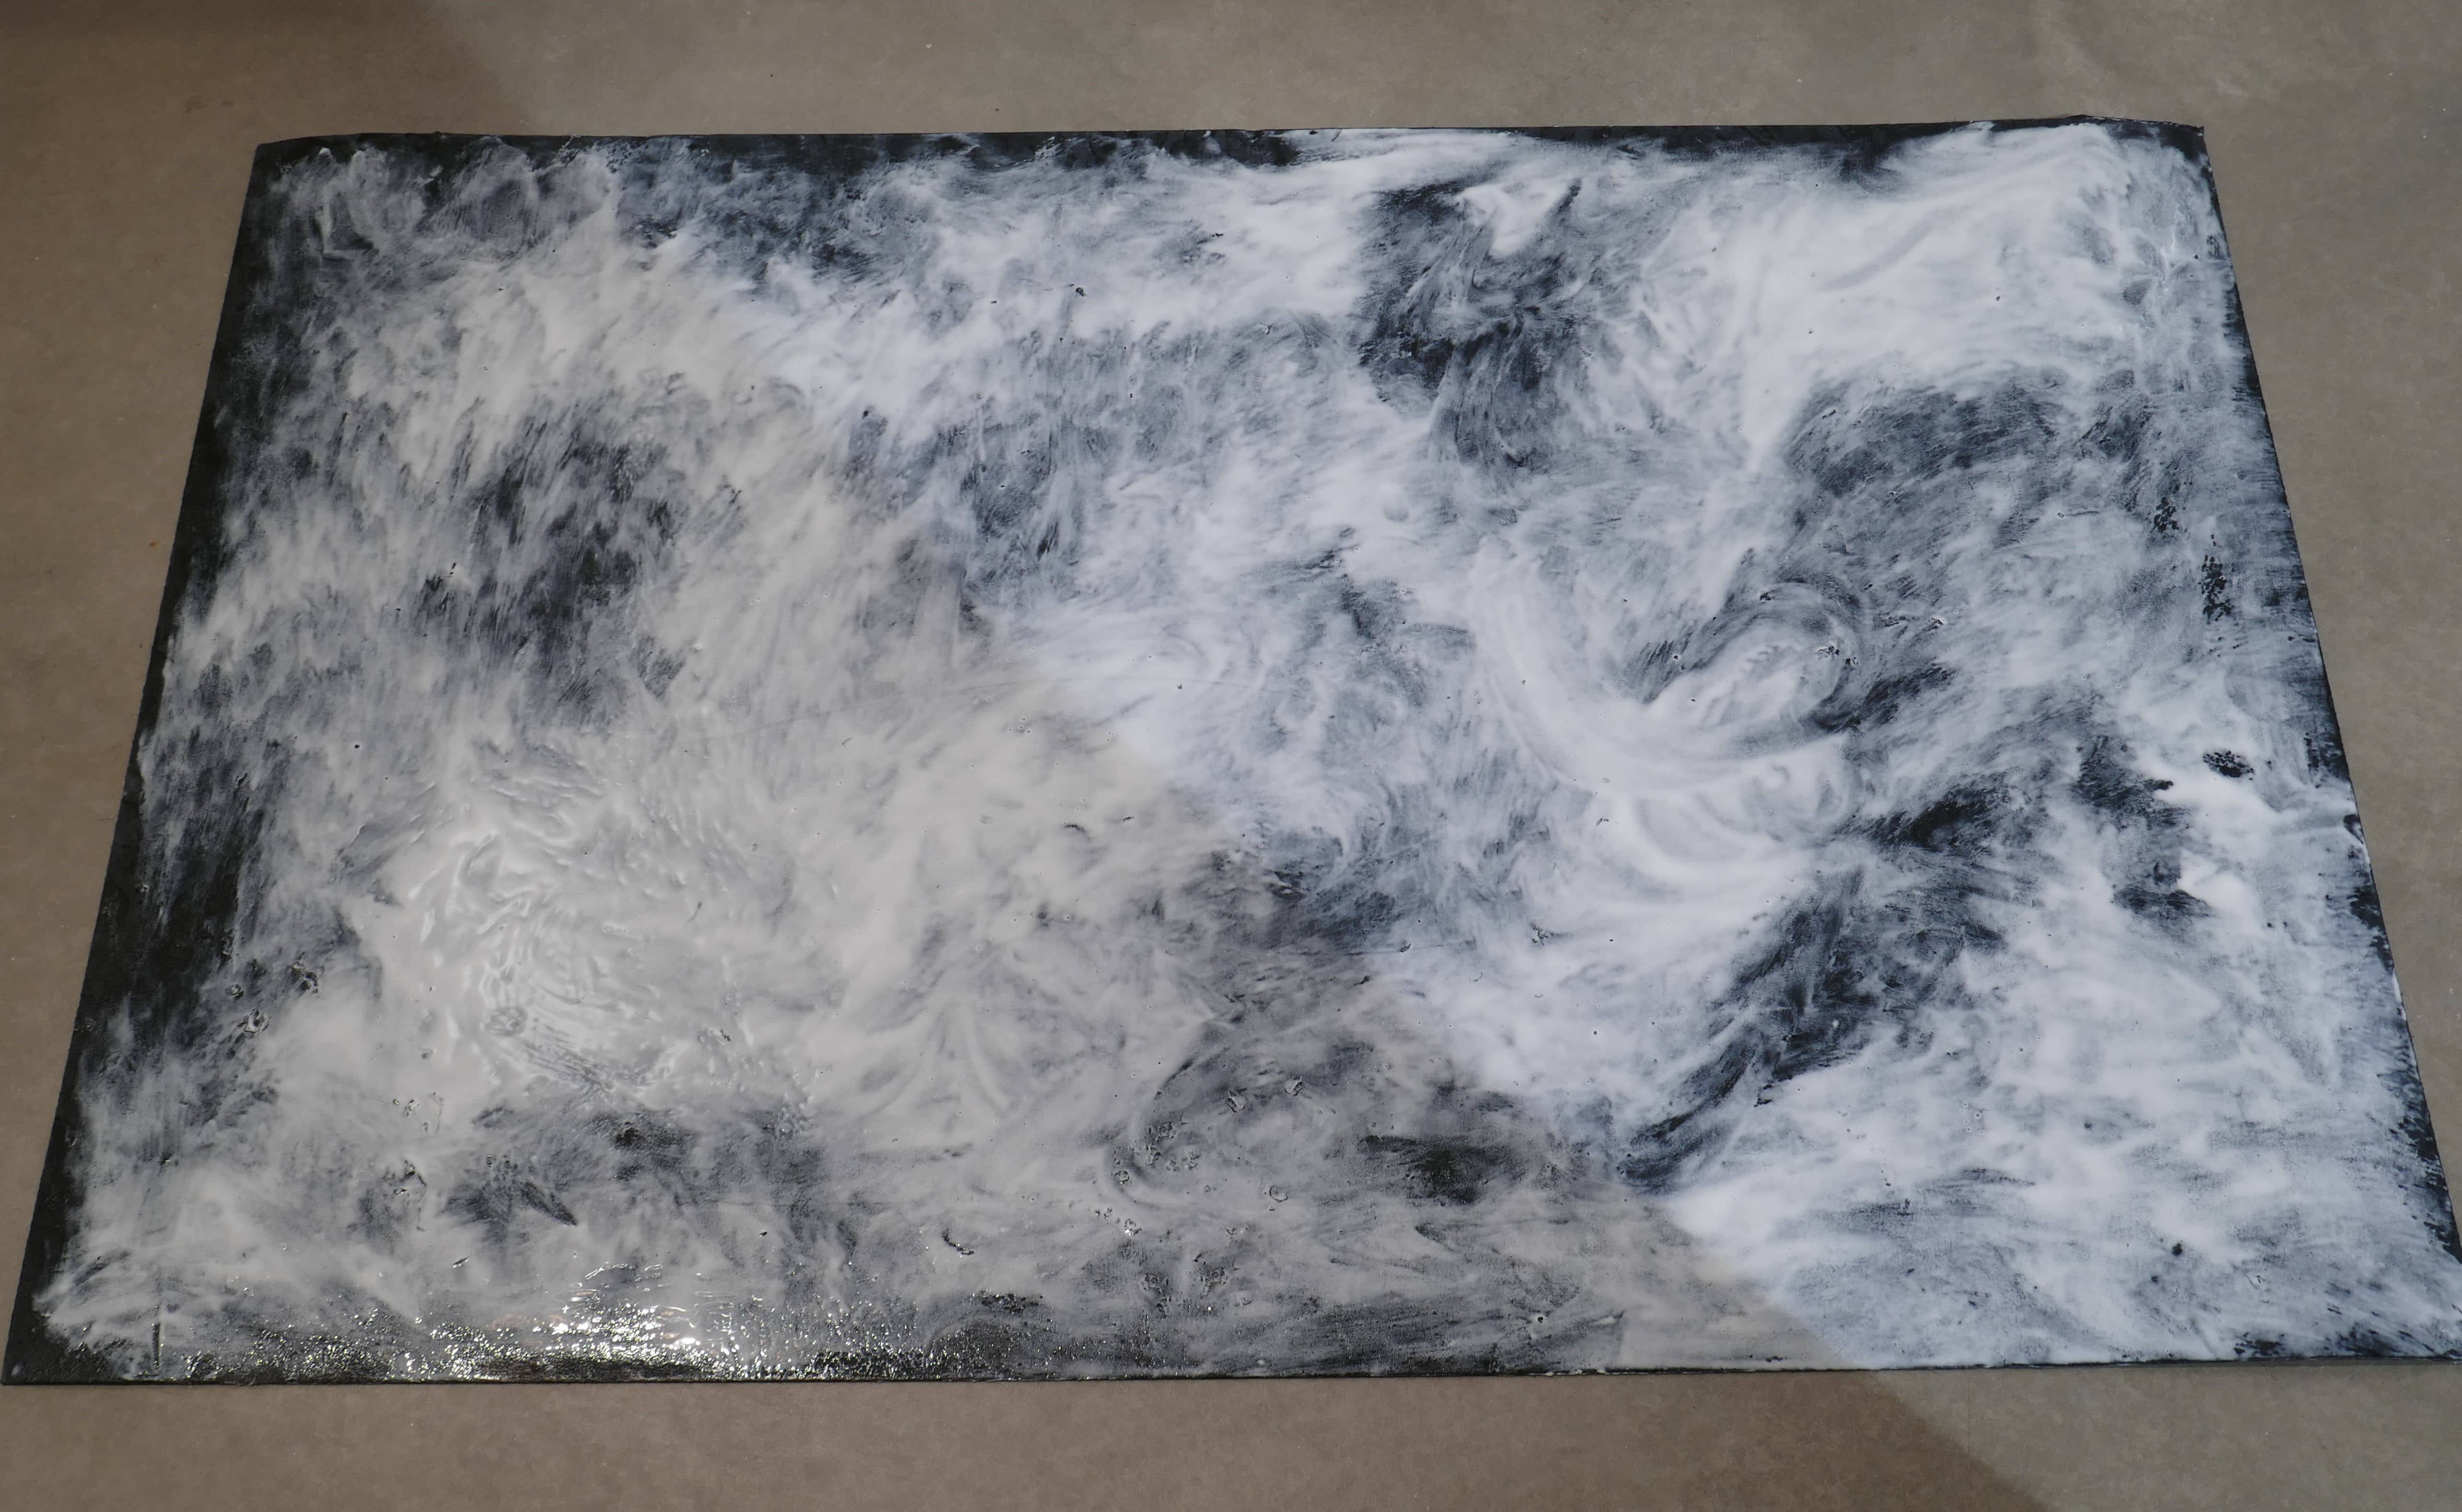
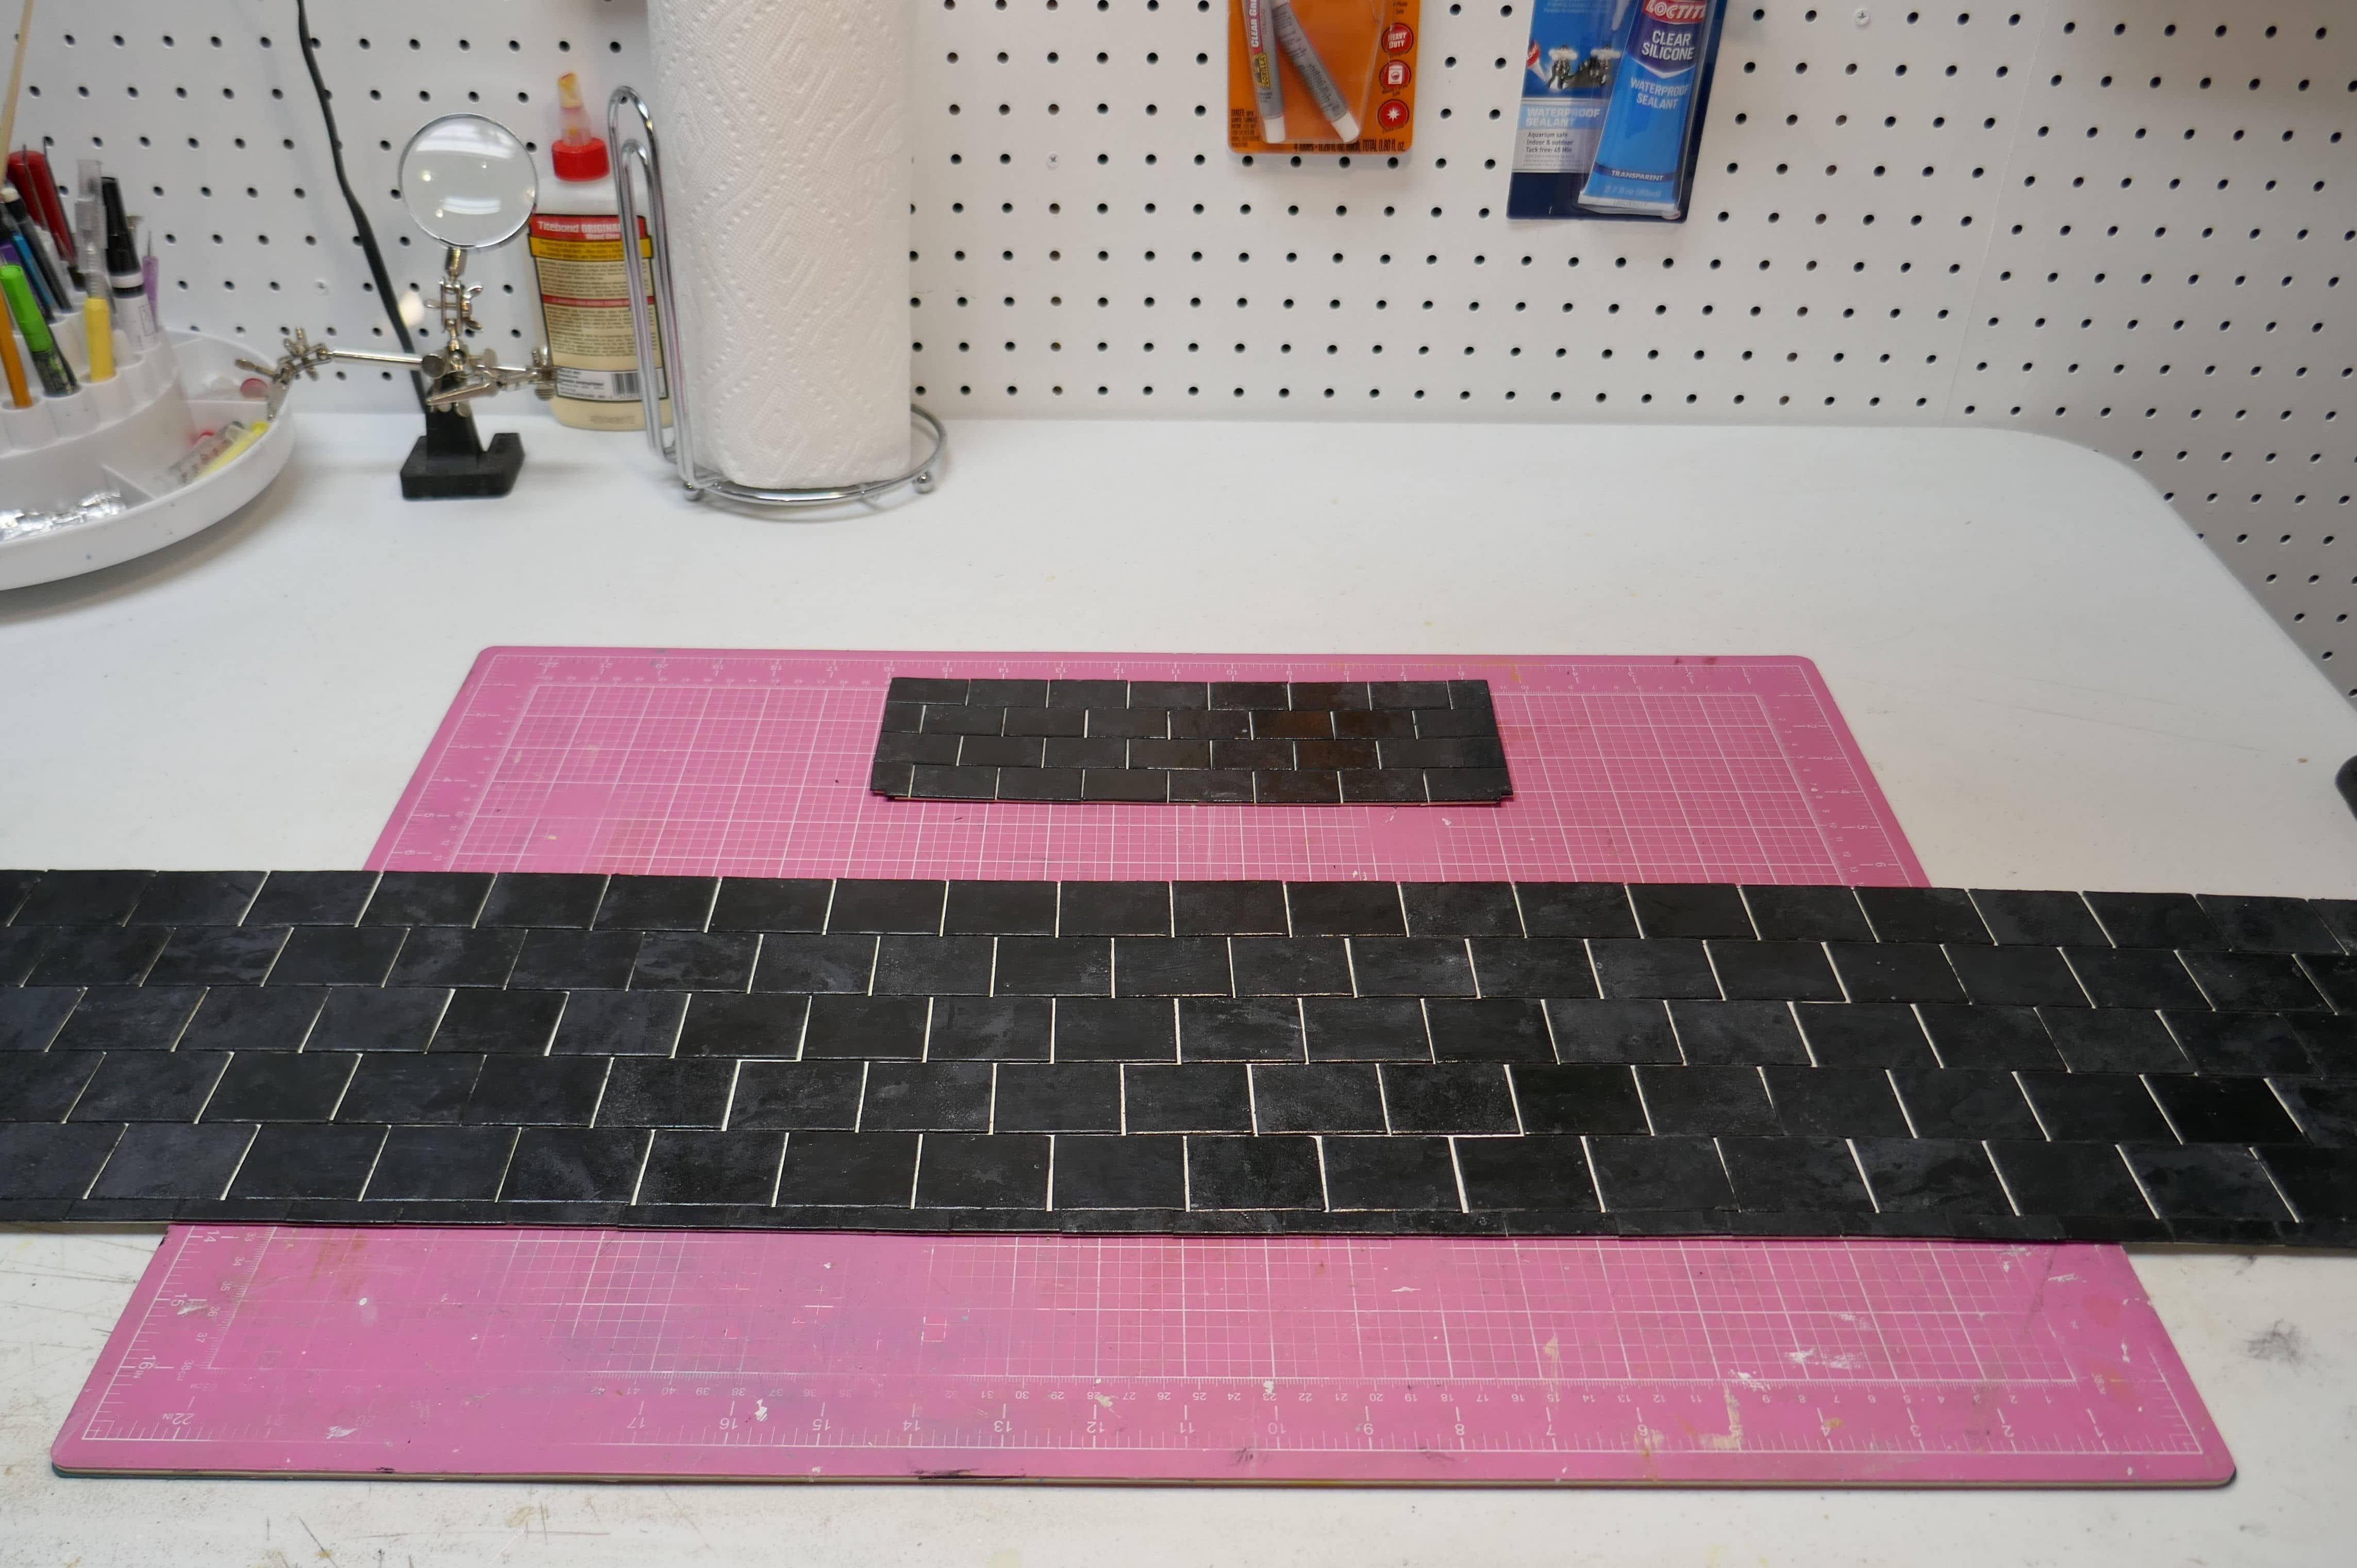
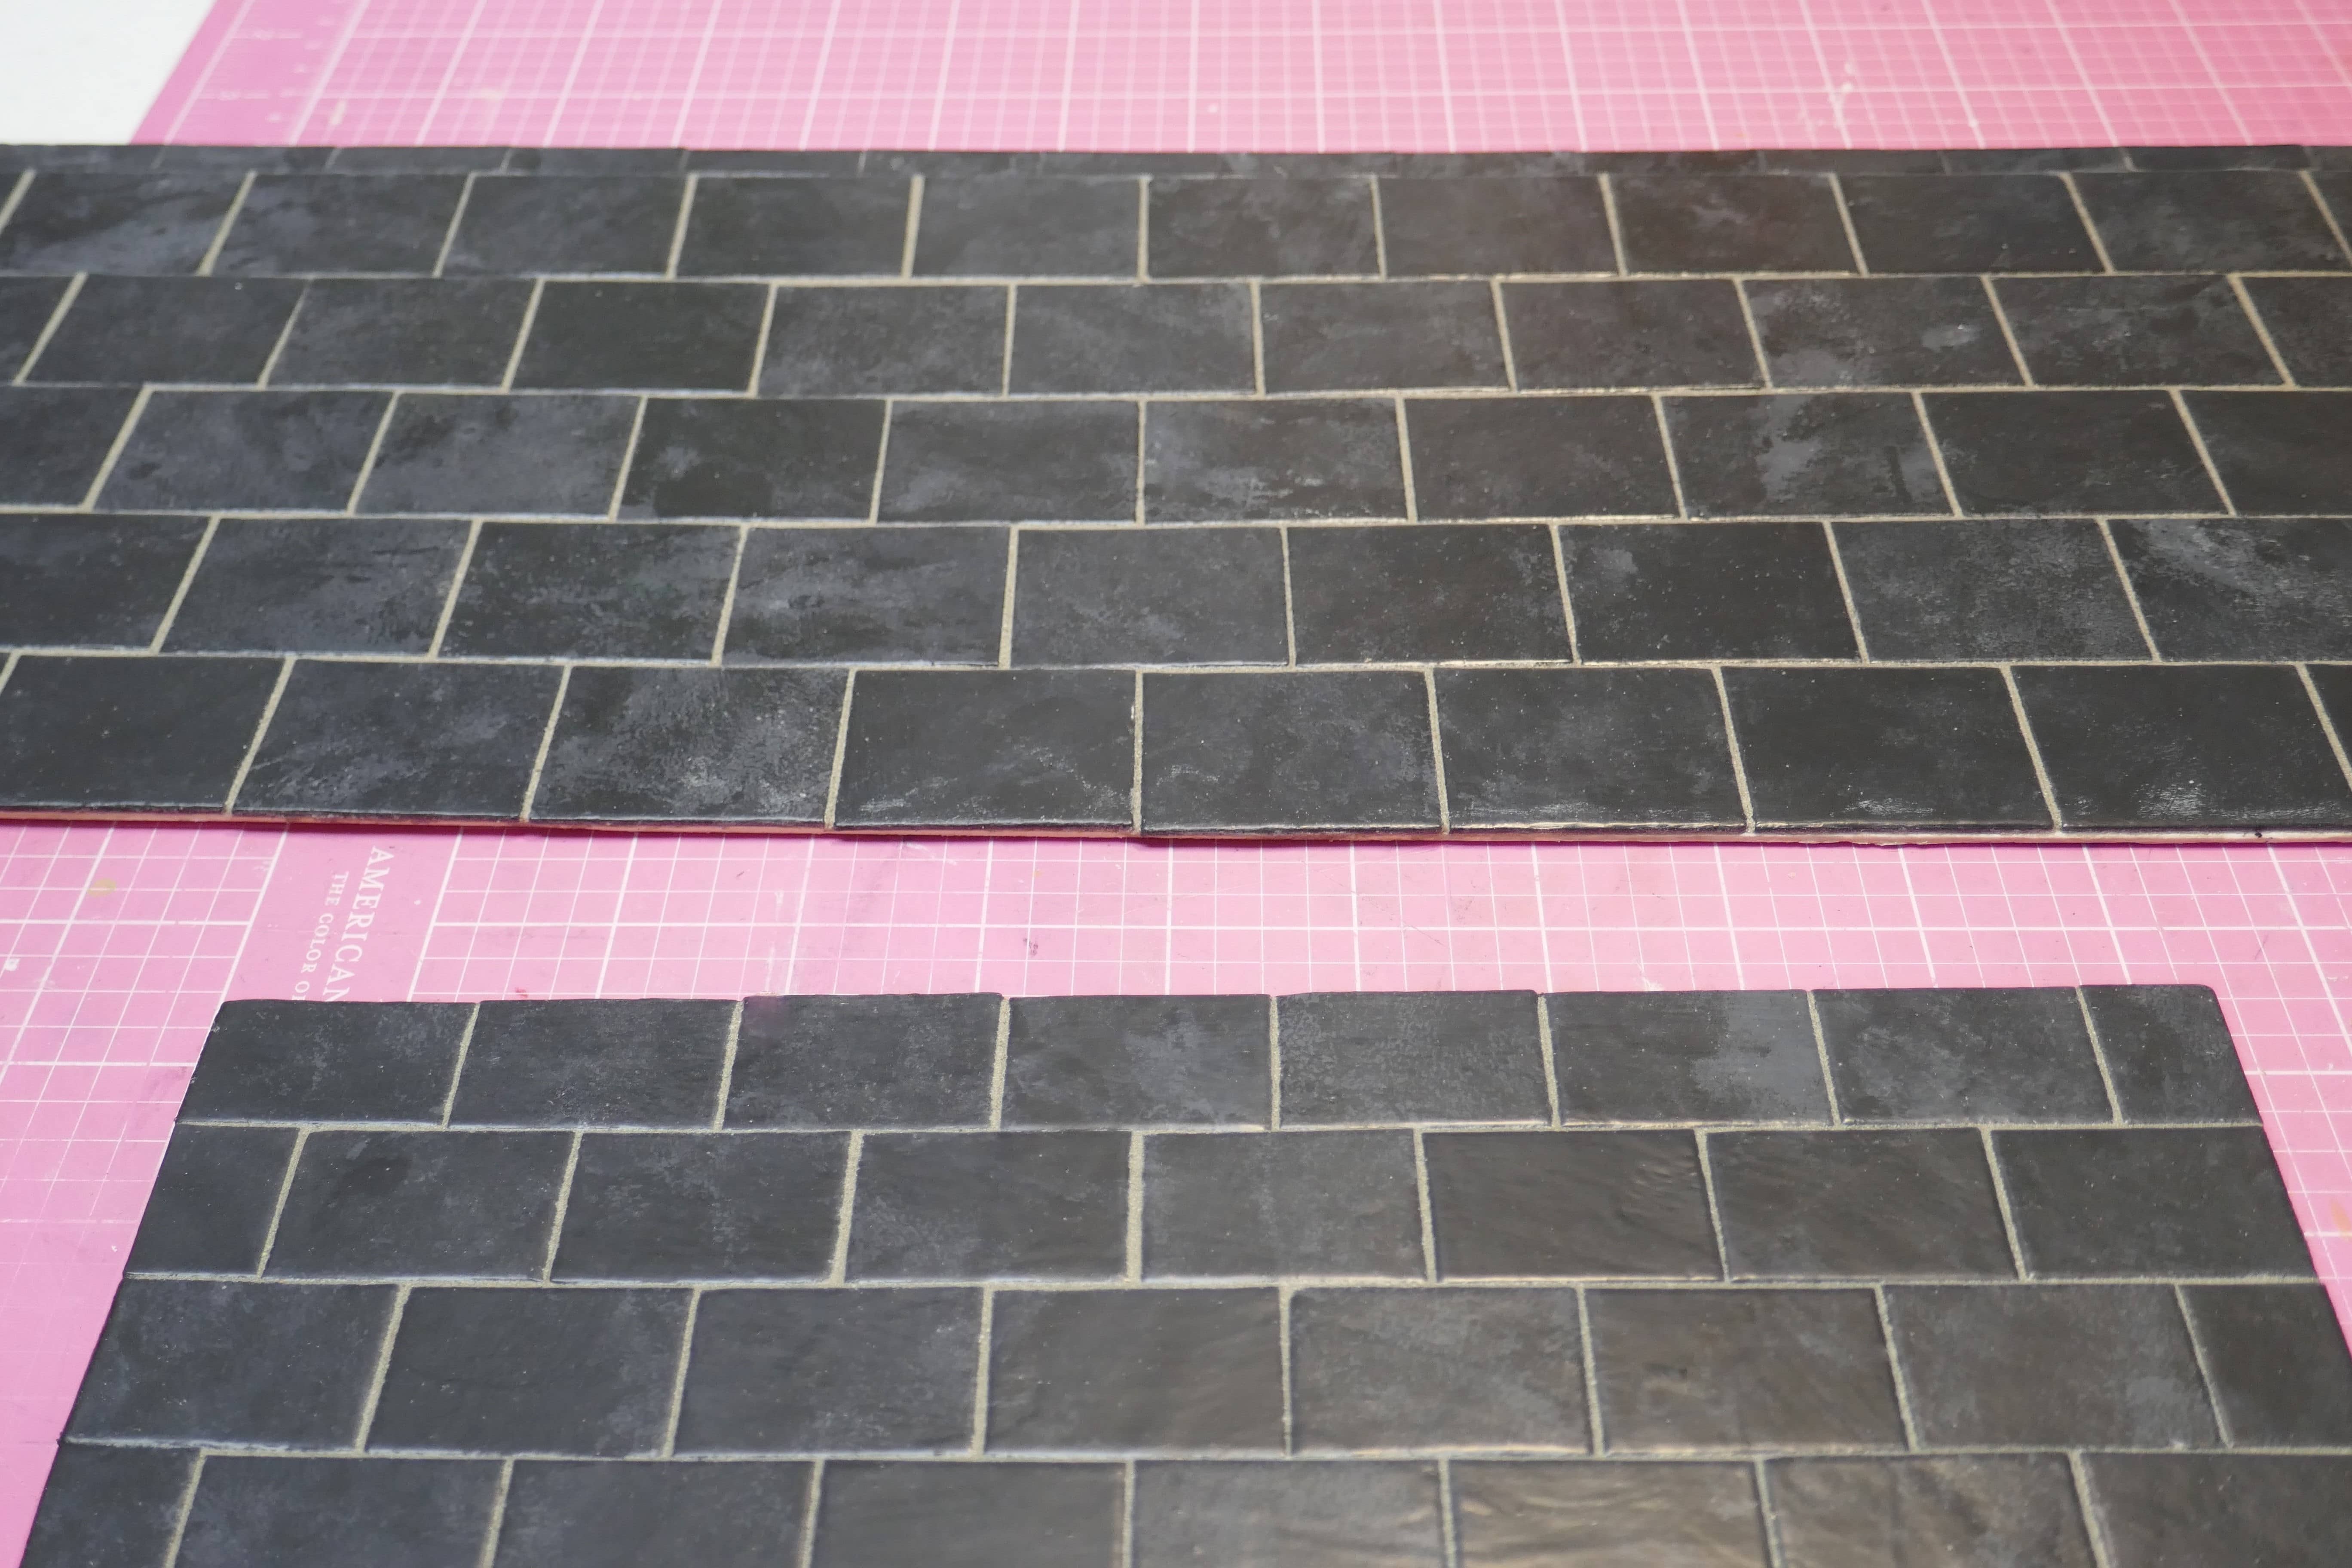
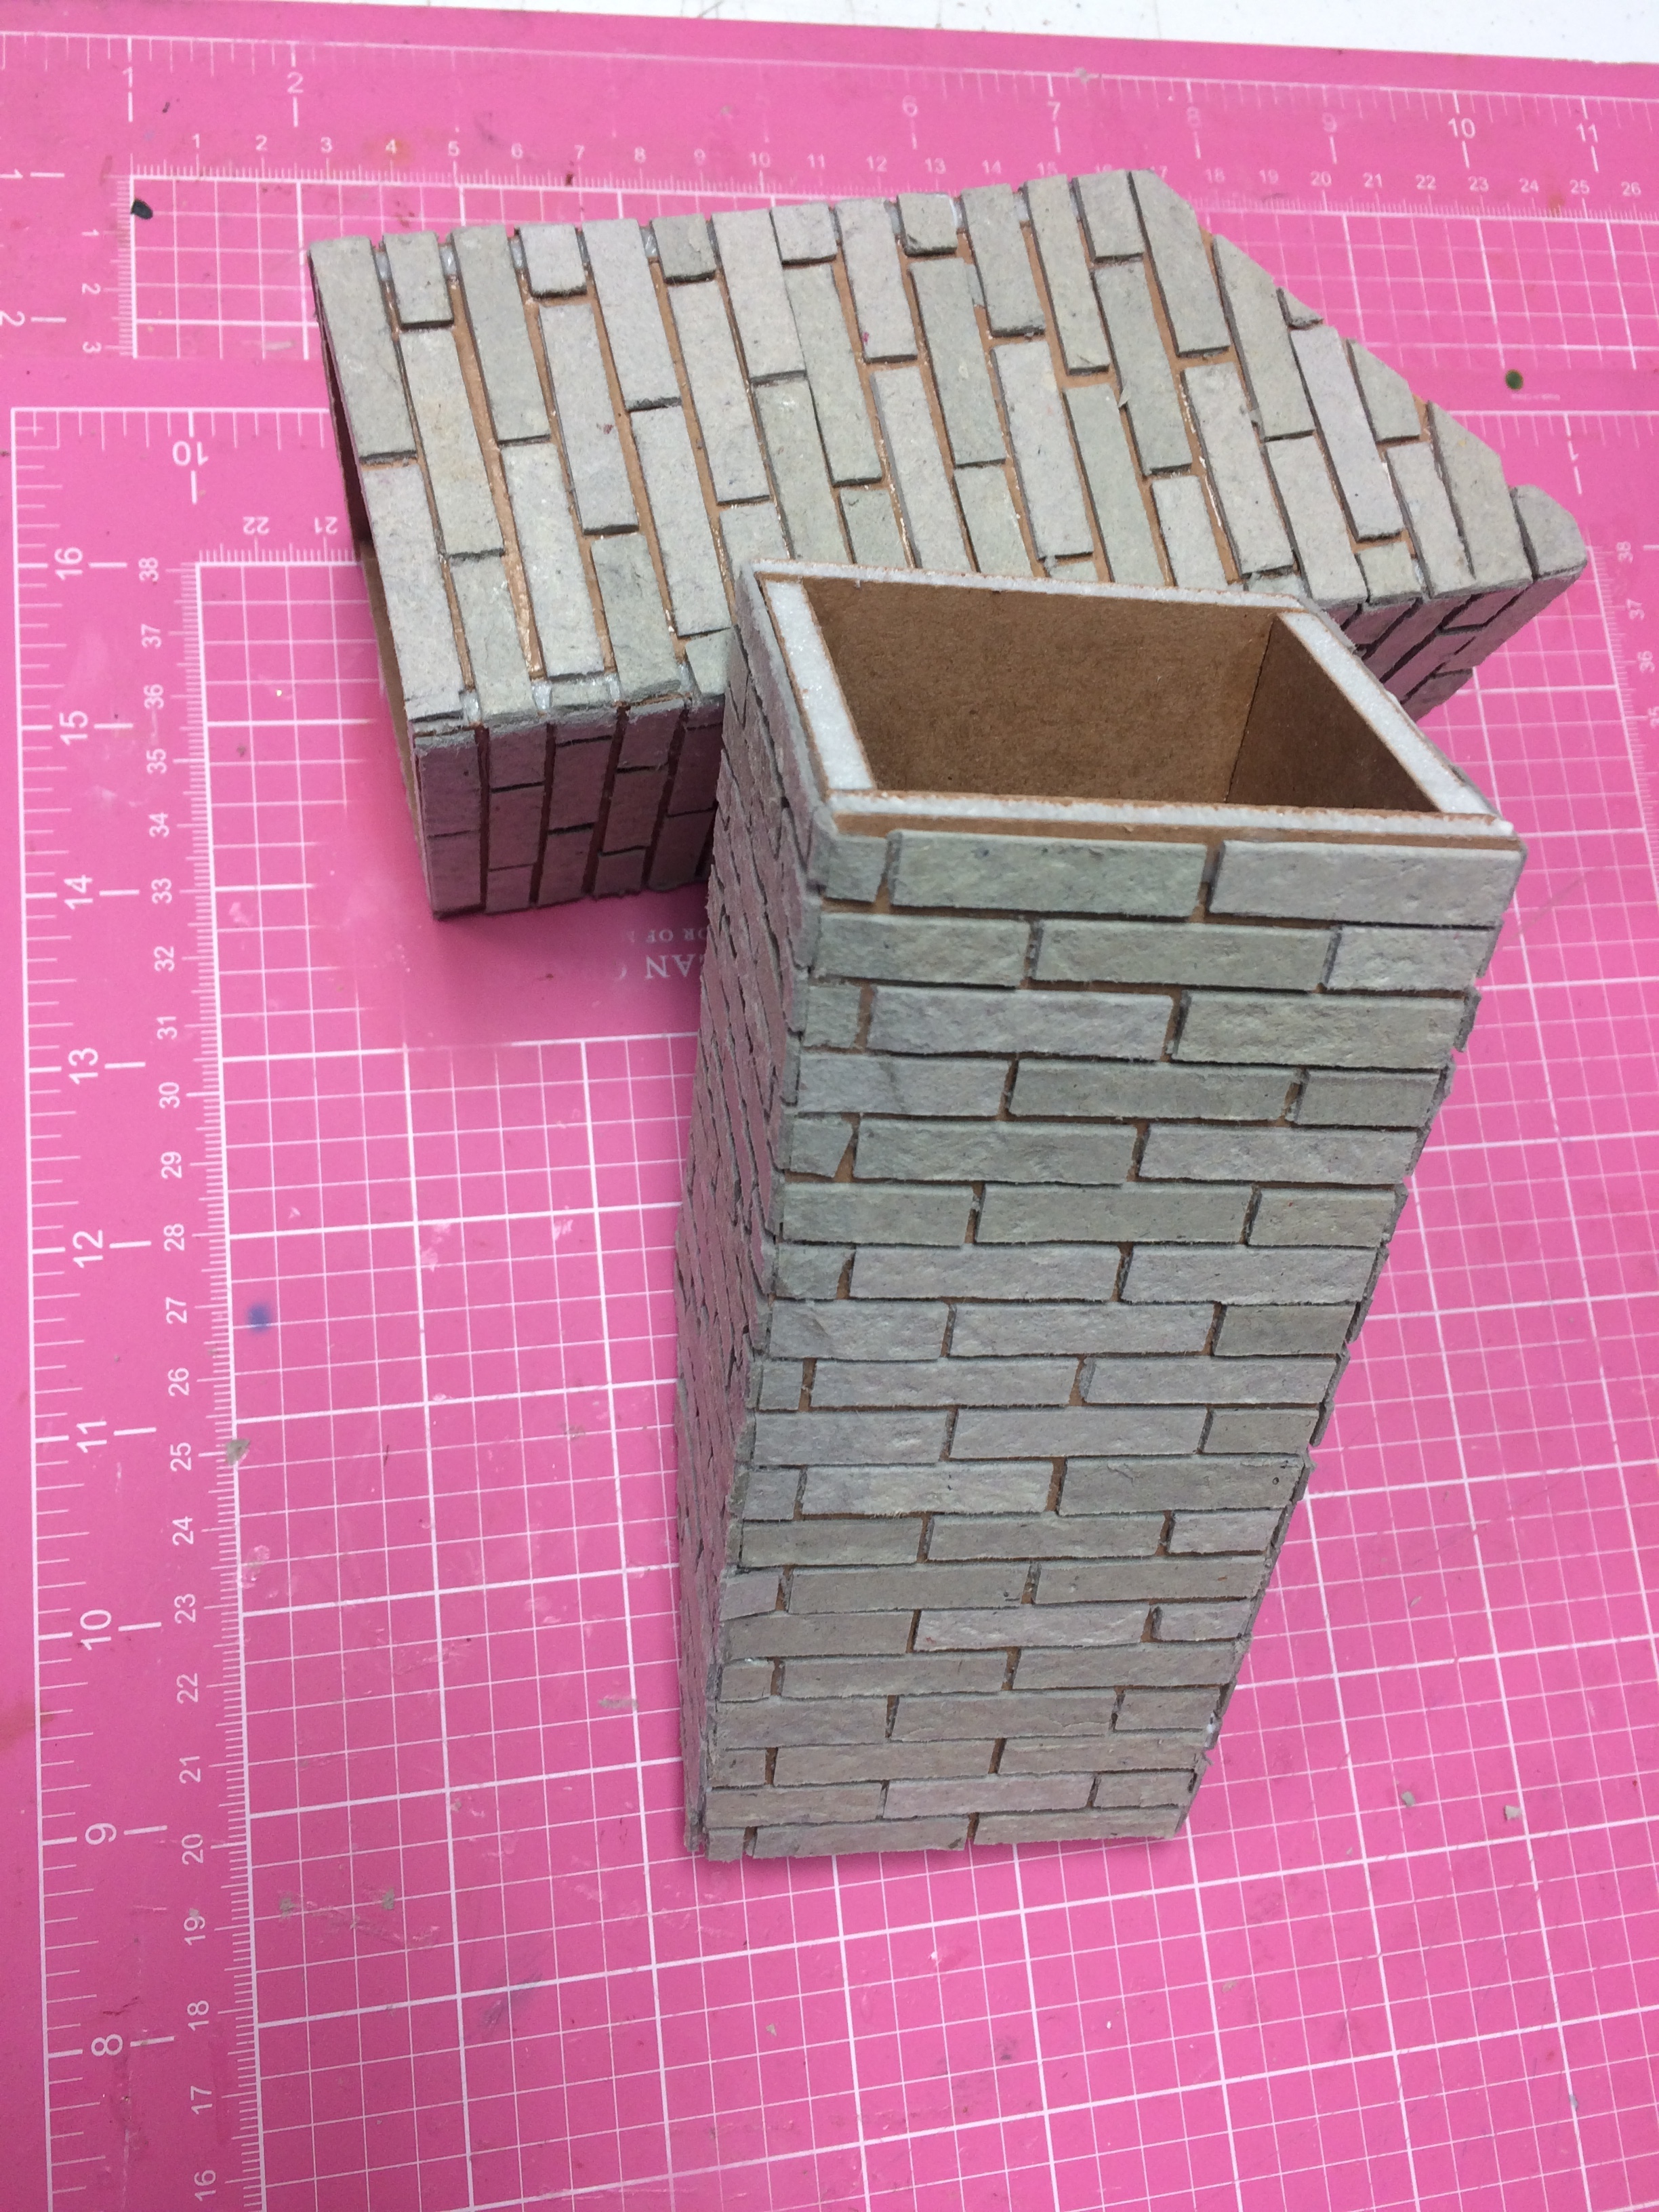
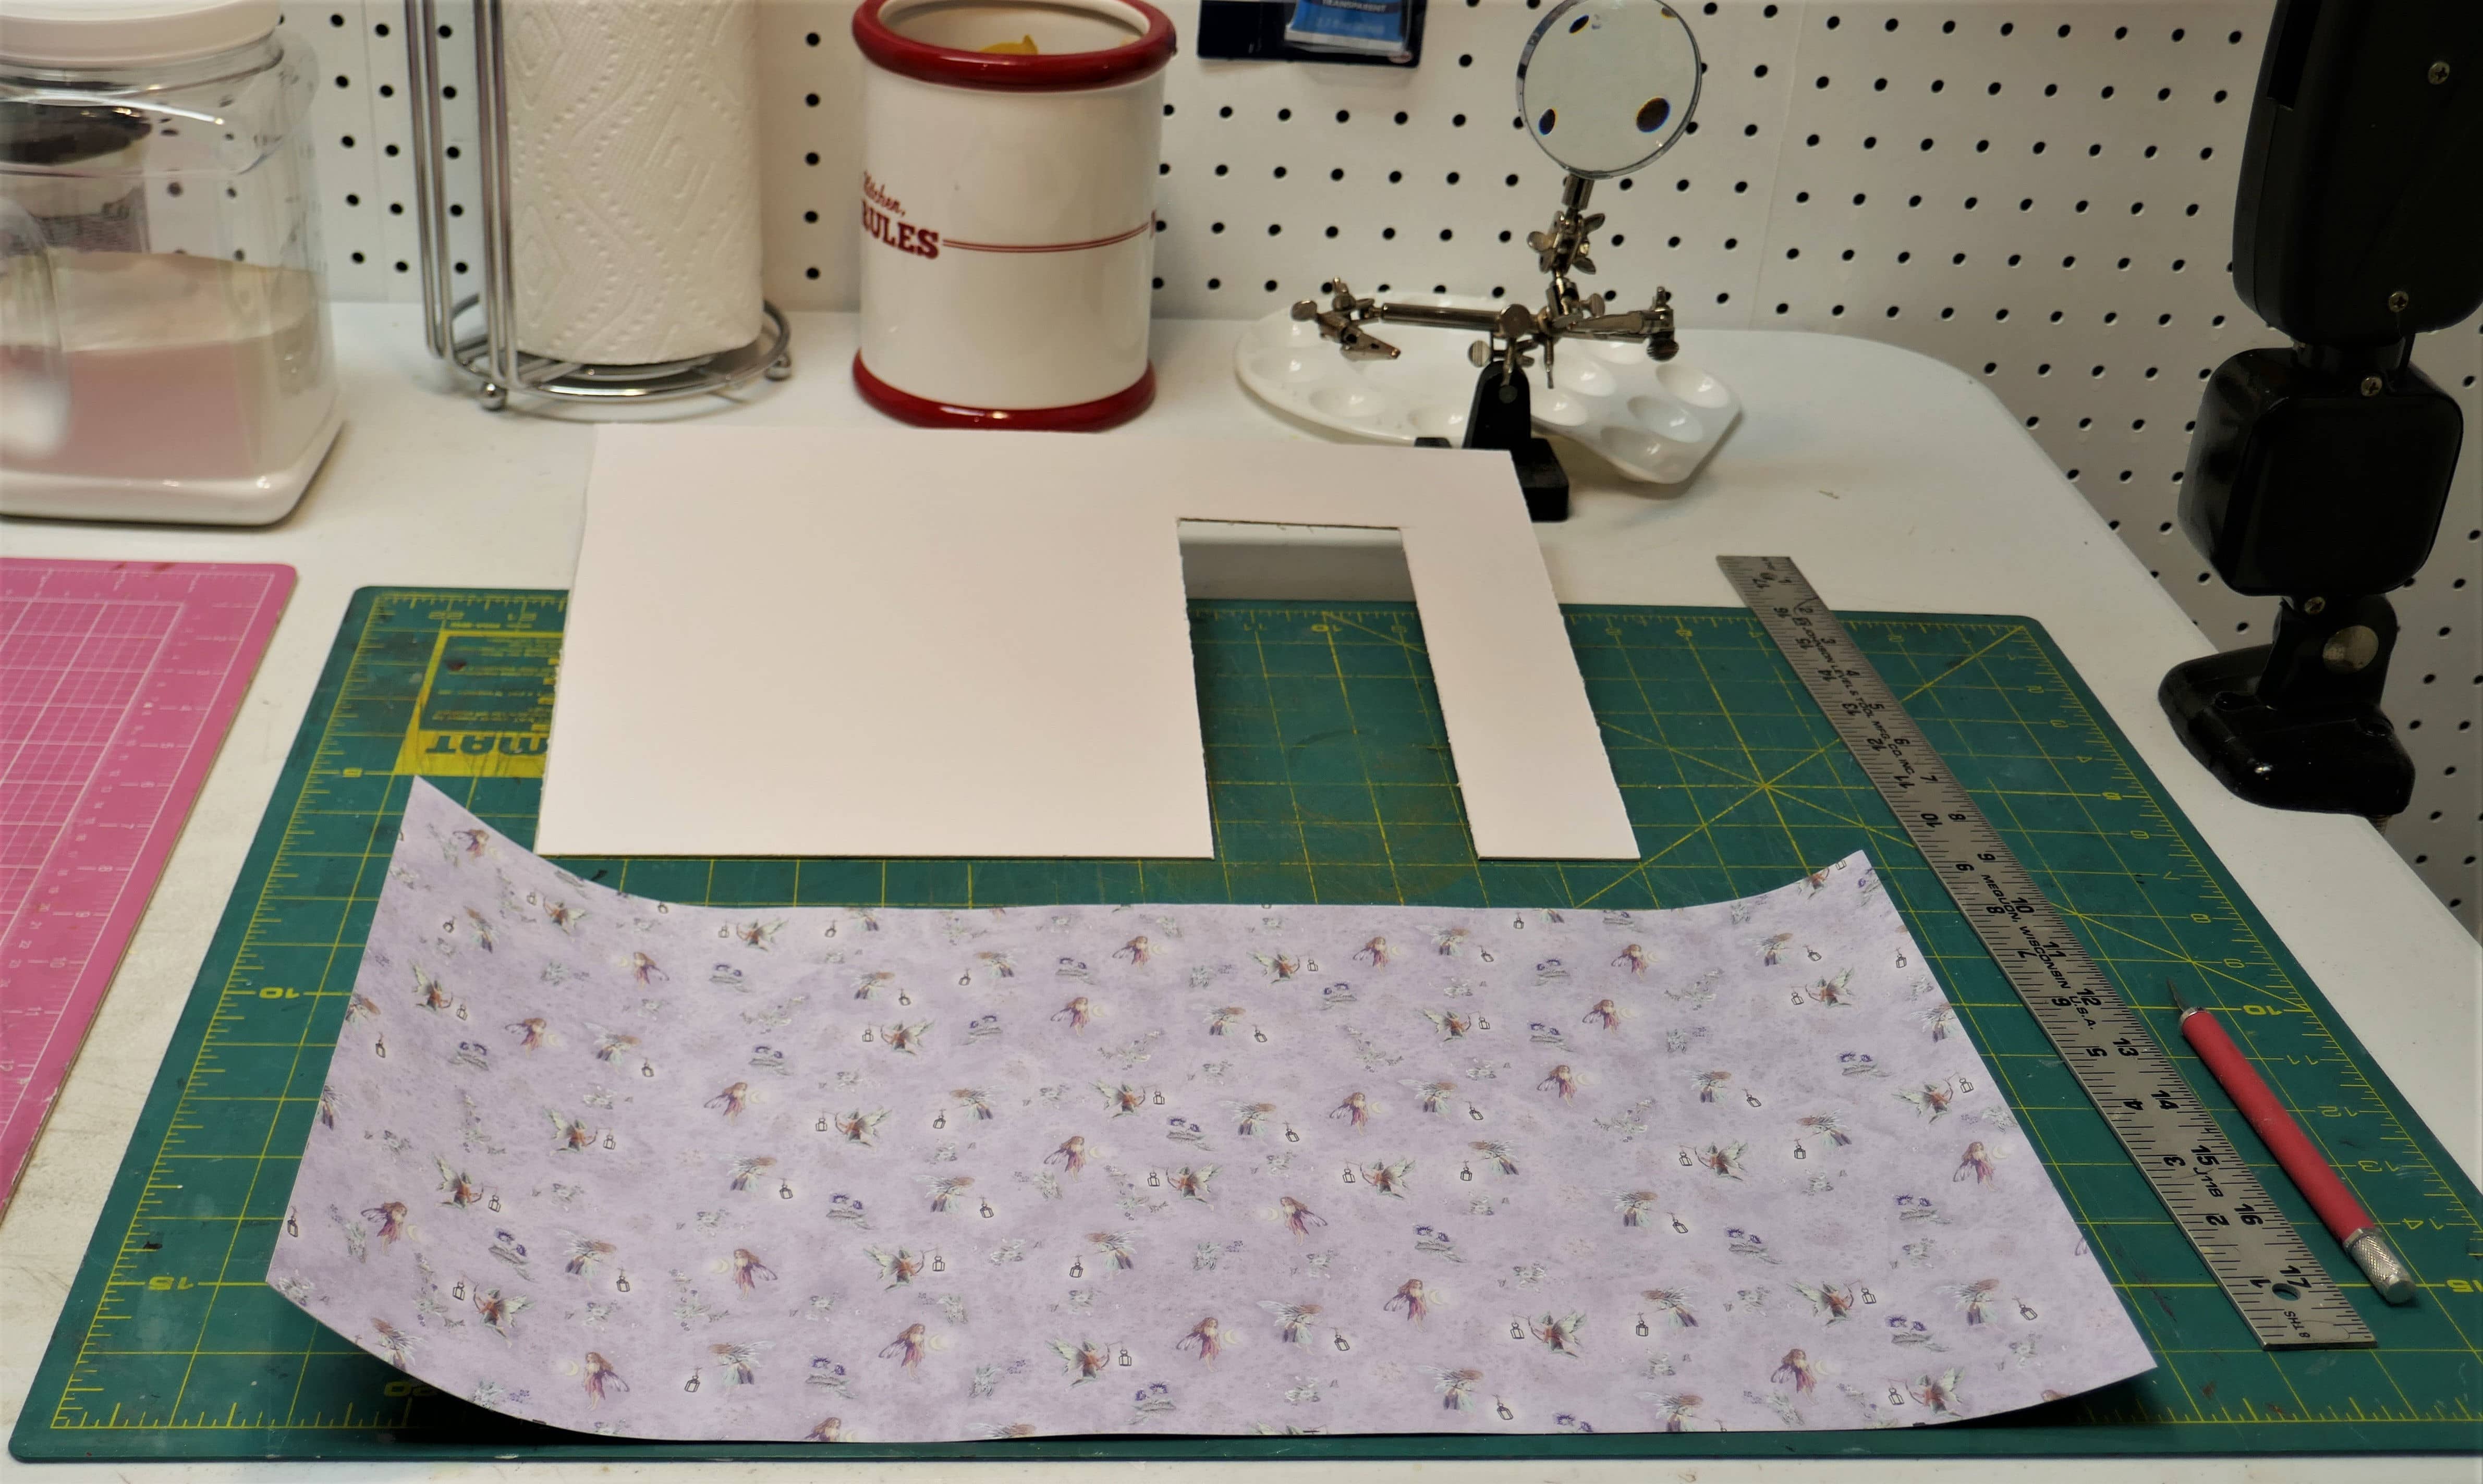
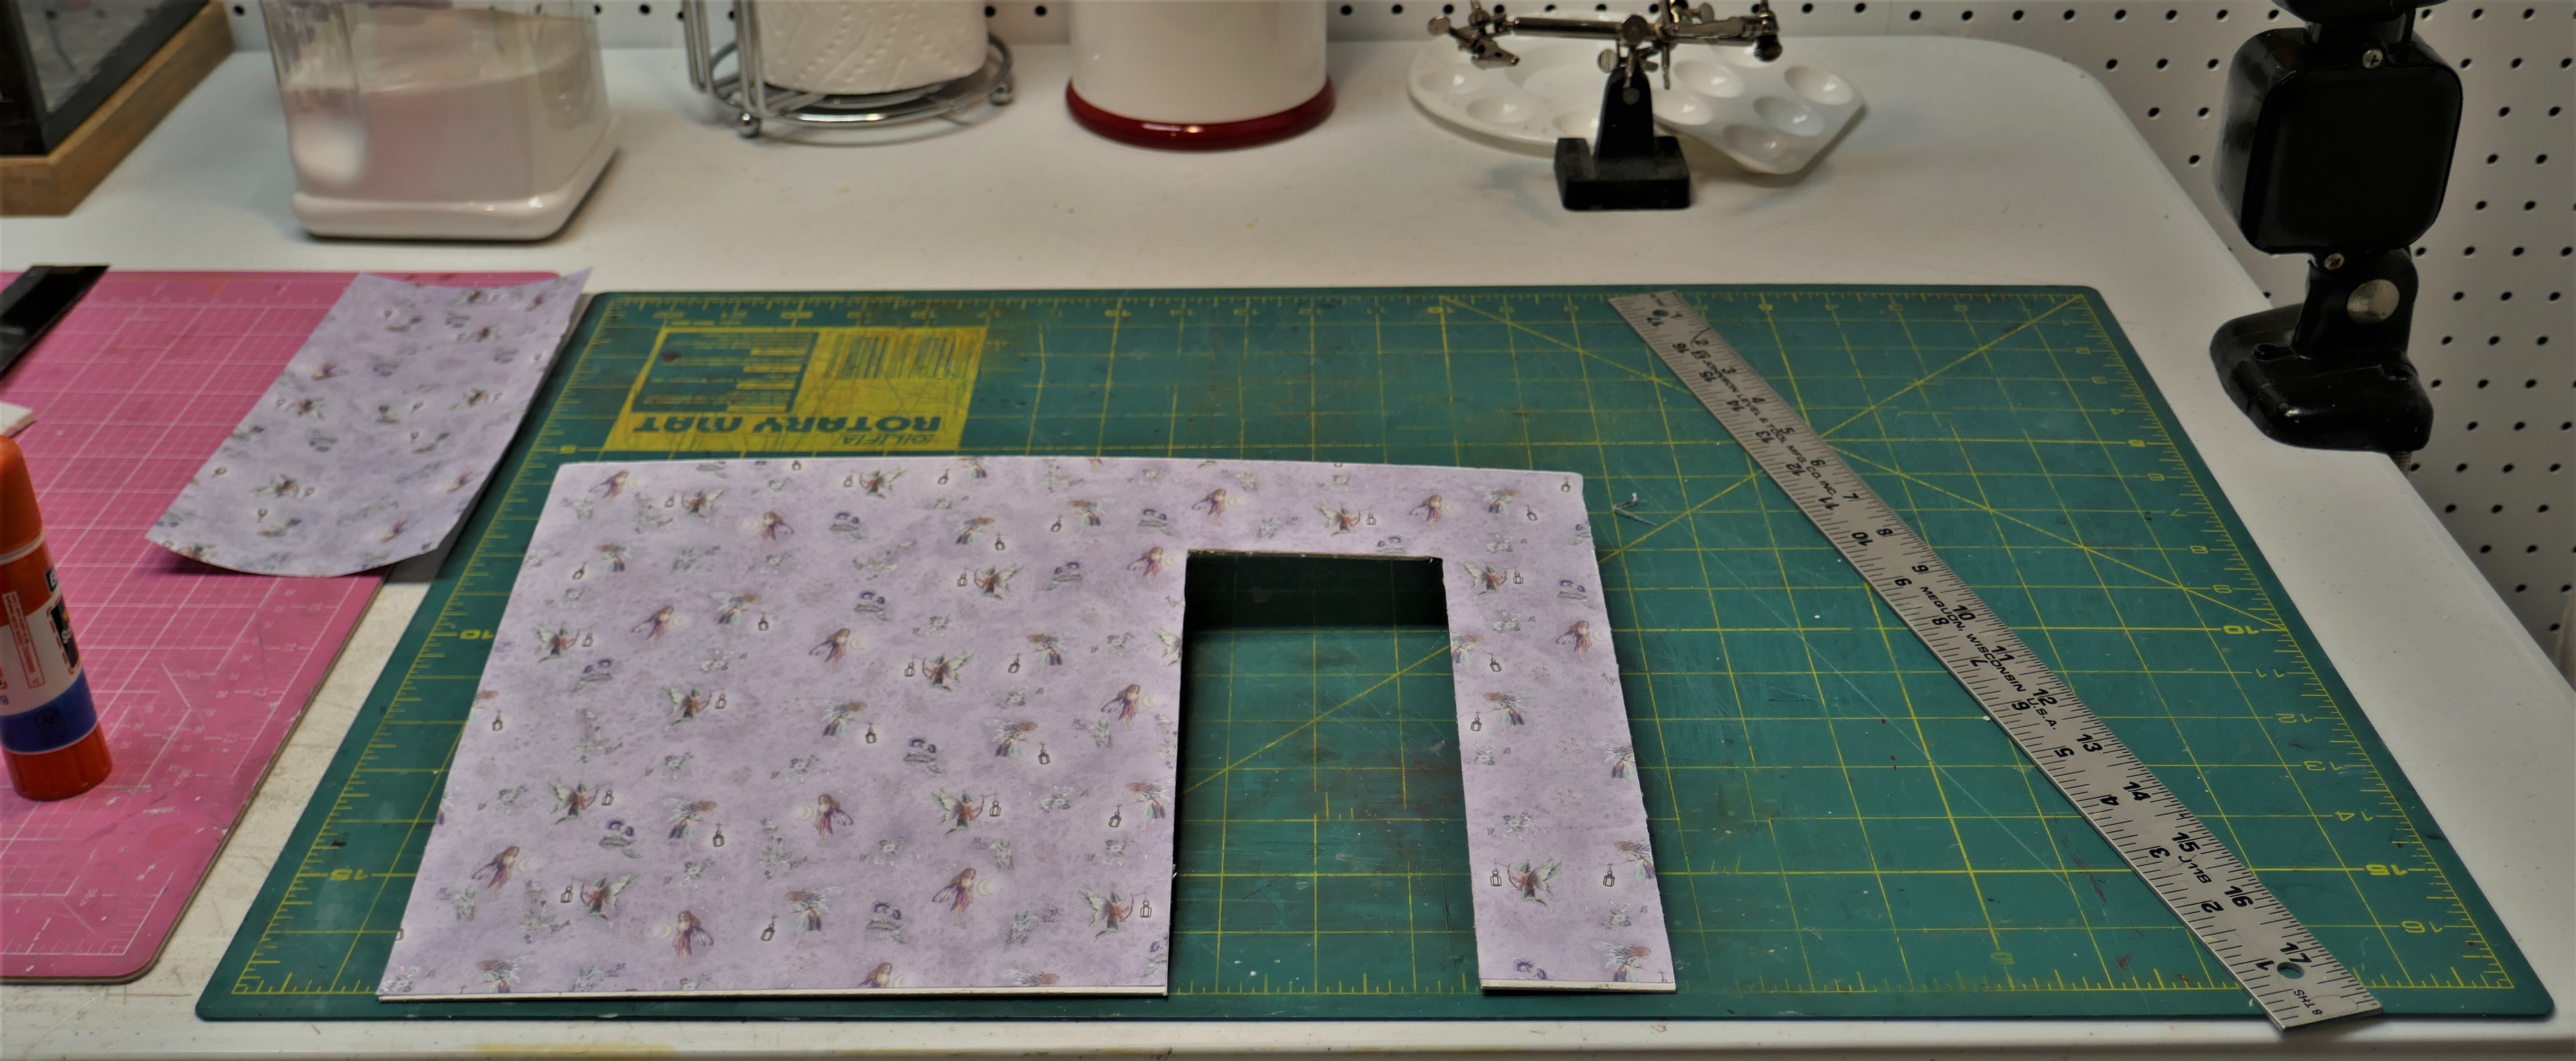
The construction steps:

Floor frames Flooring and wiring Walls Floors and walls Roof Roof shingles Installed flooring Finished floors Staircase Stair railings Window frames Installed windows Bump out window Stained trim Back balcony Glue on mat board Mat board glued Filler between tiles Balcony with flooring Columns Chimneys Chimney Back steps Back steps painted Window flower boxes Window box flowers Finished boxes Flower boxes Interior Panel Papered wall Master bedroom Master bedroom trim Overall view of upstairs master bedroom Furniture from kits
×
Blueprints

This is the first page of the plans I used to build this house.

Front view of house

Front view of house.

Back view

Back view.

Left side view

Left side view.

Right side view

Right side view.

Entrance door

Entrance door.

Left side of front porch

Left side of front porch.

Bump out window

Bump out window in the study, on the back of the house.

Living room right side

Living room right side view with the window curtains.

Living room with lights on

Living room with lights on and flickering fireplace.

Study with ceiling fan

Study with ceiling fan.

Dining room

Dining room.

Kitchen with the lady of the house

Kitchen with the lady of the house.

Kitchen with possible linoleum

Kitchen with possible linoleum.

Overall view of upstairs master bedroom

Overall view of upstairs master bedroom, with Victorian heirloom furniture.

View of left corner of that bedroom

View of left corner of that bedroom.

Partially finished upstairs bathroom

Partially finished upstairs bathroom.

Young girl’s bedroom with fairy wallpaper

Young girl’s bedroom with fairy wallpaper. She is sitting on the floor with a friend.

Guest or third bedroom

Guest or third bedroom. It may be a boy’s room.

Study

Sitting area

Sitting area with fireplace

Kitchen

Kitchen sink

Bathtub

Kid's room

Floor frames

I began building this house with three sheets of 1/4” plywood and eight 1”x2”s of clear pine. First step was to build the three floor frames.

Flooring and wiring

Then the subfloor sheets were cut, leaving 1/4” gaps between them to slot the walls into. Before I fixed the floors in place, I ran all the wiring for the light fixtures underneath them and up the to the attic. They all run to a false wall behind the study and the bathroom. I also ran a heavy-duty extension cord from the attic, through this false wall and out the bottom of the house, near the back steps. I plugged the extension cord into a multi-outlet surge protector installed in the attic to plug two transformers for the lights throughout the house.

Walls

Walls fit into ¼” gaps, and glued into place.

Floors and walls

View of all the floors and walls in place.

Roof

Next the roof was built to fit over the second-floor ceiling.

Roof shingles

The roof was then covered with shingles cut from mat board. This process is described in the construction and installation of the front porch and balcony floors. The current picture shows the roof set temporarily in place. The rest of the house structure was then primed.

Installed flooring

At this point, the flooring was installed. It came in 11”x17” sheets of individual boards glued to a paper backing. I had previously stained and finished them, and now cut them to fit each room’s floor.

Finished floors

A closer look at one of the finished floors.

Staircase

Next, I turned to the staircase. It had to be installed, and the hallways finished, before I could attach the front and back panels of the house, because there would be limited access to that area after the house was assembled. At the same time, I installed a light at the top of the stairs and another in the front door entryway while I could still reach them.

Stair railings

This picture shows the railing around the opening at the stop of the stairs.

Window frames

I then turned to making all the window frames. I used patterns on graph paper to keep them straight and the correct size. They are glazed with Plexiglas panes. I was able to cut the Plexiglas to size using my 4” blade table saw.

Installed windows

The windows were installed on the front and back panels of the house.

Bump out window

I built the bump out window for the back of the house last.

Stained trim

Doors and their trim were stained, and two coats of Zar Interior Oil Base finish were applied. The papering and painting of the rooms were done before installing the trim and doors.

Back balcony

Next the back balcony, front porch roof, and top railing for the main roof were built. I applied three coats of oil base enamel to them. I used the same paint on the front and back house panels. Note: The porch, its roof railing, and the balcony are screwed in place, not glued. They can be removed to fit the house through doorways. They are each attached with long wood screws run into the floor frames. The house measures 41” across the front and 40” along the sides. If you remove the porches, it will fit through a 36” door.

Glue on mat board

This picture shows a thick coat of craft glue over a sheet of mat board I used to make the roof shingles and the porch slate tiles. The process is messy but simple. I drip acrylic paint in shades of gray, white, and black onto the mat board. I smear the paint with my fingers, being careful not to mix it too much. I want a variegated color. I seal it with the craft glue shown in the picture. It dries clear. I use a heavy-duty punch to cut out rectangular pieces.

Mat board glued

This picture shows the pieces glued to plain mat board bases. These will cover the porch and balcony floors.

Filler between tiles

I applied a fine sandless grout to fill the lines between the tiles. I tinted it with a little gray paint. I then sealed the tiles with another coat of watered-down glue to give them a dull sheen.

Balcony with flooring

The balcony is shown on the back of the house with the flooring installed.

Columns

For the four columns across the front of the house, I used a fluted wooden curtain rod. I took a 6’ section and divided it into four pieces. I then added bases and tops to meet the porch roof. A 3” long wood screw holds each column in place. I ran the screw up through the bottom of the porch floor and into the center of each column. As I mentioned earlier, the porch can be removed, along with the railed roof above it. That roof rests on the columns and is attached to the front of the house with two long wood screws through the front bedroom walls.

Chimneys

The chimneys are made from Gator board covered with bricks cut from egg cartons. (Gatorfoam, also known as Gator Board, is a heavy-duty foam board. Instead of foam board's paper surface, Gator board is comprised of a wood pulp impregnated with plastic surface. The wood fiber veneer provides a high structural strength. It is extremely durable, long lasting, and reusable.) I cut the chimneys to fit the angle of the roof, but didn’t like the way they looked, so I leveled off the bottoms and glued them inside the top roof railing.

Chimney

This picture shows one of the chimneys installed on the roof. It has been grouted and a black cap top trim was added.

Back steps

Back steps. I would like to do something different on the back of the house, perhaps a porch, but for now the occupants will have to use these steps.

Back steps painted

Back steps painted and installed. The house cat is slinking over to a milk bottle.

Window flower boxes

To finish the exterior, the window flower boxes needed to be built. I made seven and painted them white.

Window box floxers

To fill them, I took small plastic flowers and greenery and glued them into the holes of spongy packing material that I cut into blocks. I added green moss to hide the sponge blocks, and used plastic flowers because they would hold up best when dusted.

Finished boxes

The finished boxes with the blocks of flowers glued inside them.

Flower boxes

he flowerboxes installed beneath the second story windows. There are none on the first floor. I felt more would be too much.

Interior

Now I could turn to the interior. I lined all the rooms with pieces of mat board cut to shape so that I could remove them to paint or wallpaper before gluing them in place.

Panel

A panel waiting to be papered.

Papered wall

The finished papered wall ready to be glued in place.

Master bedroom

The master bedroom will all three walls papered and glued in place.

Master bedroom trim

The master bedroom with the wood trim and doors added. Light fixtures were added last to all the rooms.

Overall view of upstairs master bedroom

The finished master bedroom with paper, trim, doors, and ceiling light fixture.

Furniture from kits

Some of the furniture I made from kits. I raided my stash for the other furnishings. They are just to fill the rooms for now. I’m sure they will change by the time I am finished and all the accessories are added. I can work on it slowly now that the main structure is mostly done.